For our first Christmas in our new CO house, and since LED prices had come down to a more reasonable level, I decided to make the switch and go all in with LED. Given the 3-story height (off the back of the house with the walk-out basement) compared to the 1-story I was used to in CA, we decided to rent a lift and acquire some safety gear just to make the install a bit easier.
I wanted a clean streamlined look for the house outline, so I opted for LED Rope Lights, approximately 625 feet, mounted in clear 1/2" plastic channeling, screwed into the house. It looked great! From a slight distance you could barely discern the individual LED lights in the rope light. It looked more like NEON!
The DOWNSIDE:
Plastic CHANNELING is NOT UV resistant. I tried several brands and from several different suppliers. Nothing last the year outdoors in the sun. I could maybe get 2 seasons out of before the channeling turned yellow (actually brown on the west side) and cracked. I then switched to clips screwed to the house that I left up year round, and clipped the channeling into those for the Holidays. That helped a little. But the clips, albeit small, were still visible year round. All in all I think replaced the channeling 3 times over the course of 9 seasons, and roughly $350 each time.
ROPE LIGHT IS NOT VERY DURABLE. I works great right out of the box, but season after season of bending it around 90-degree corners, pushing it into channeling, and even just the daily temperature swings (above/below freezing = expansion/contraction of the rope tube) meant that sections were always going out. Every year I had to cut out and splice in at least 10+ 3-foot sections that stopped working. That mean every year I was purchasing at least another 125' spool just for spare parts (at roughly $1/ft) on top of the initial purchase.
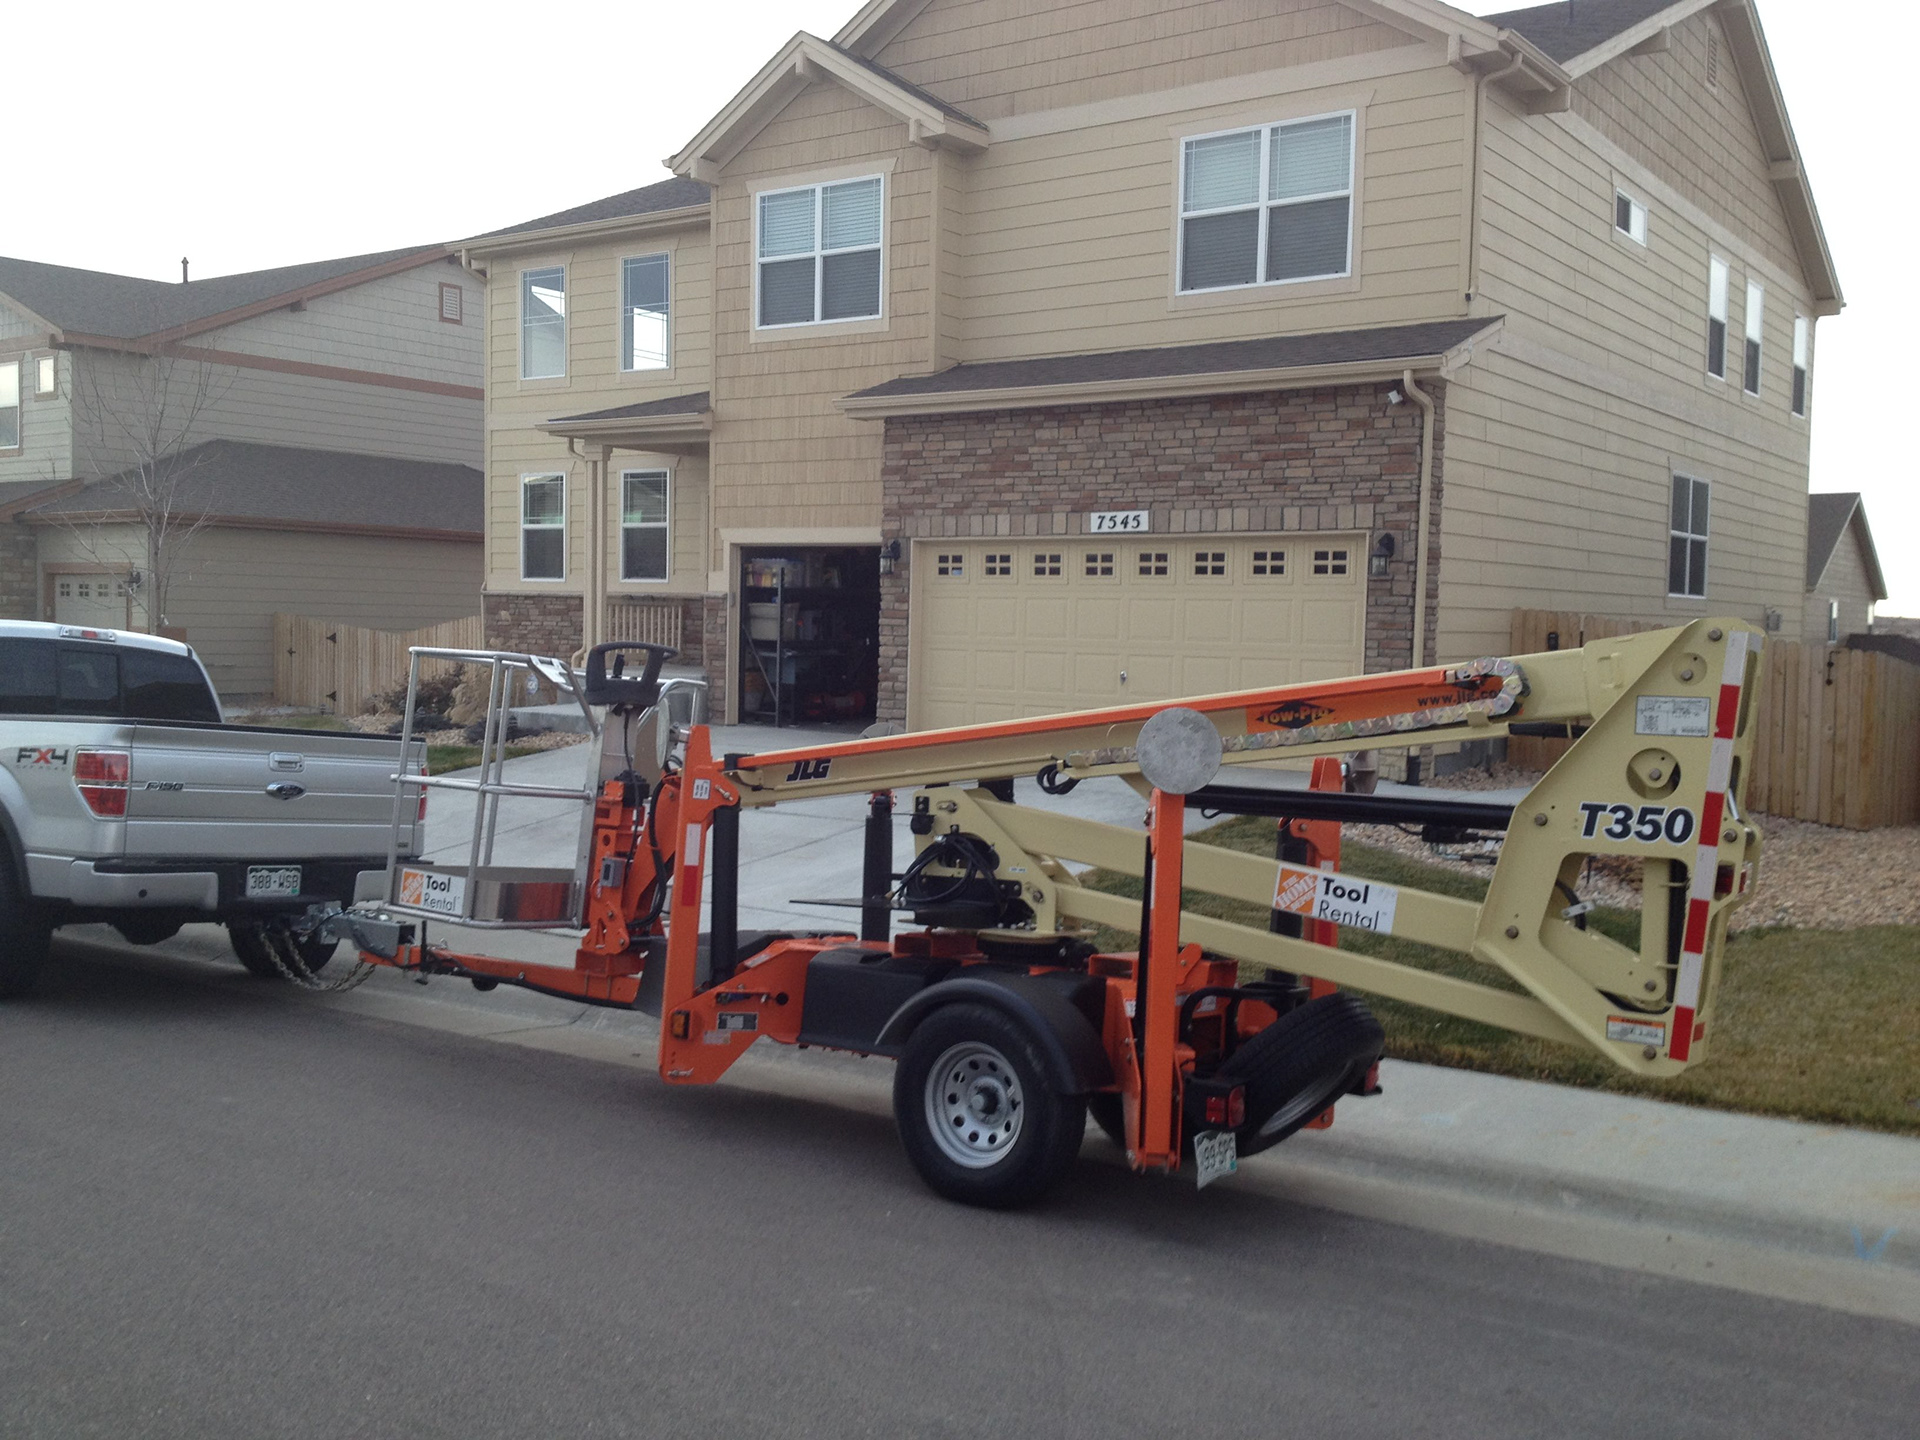
Bringing in the Lift
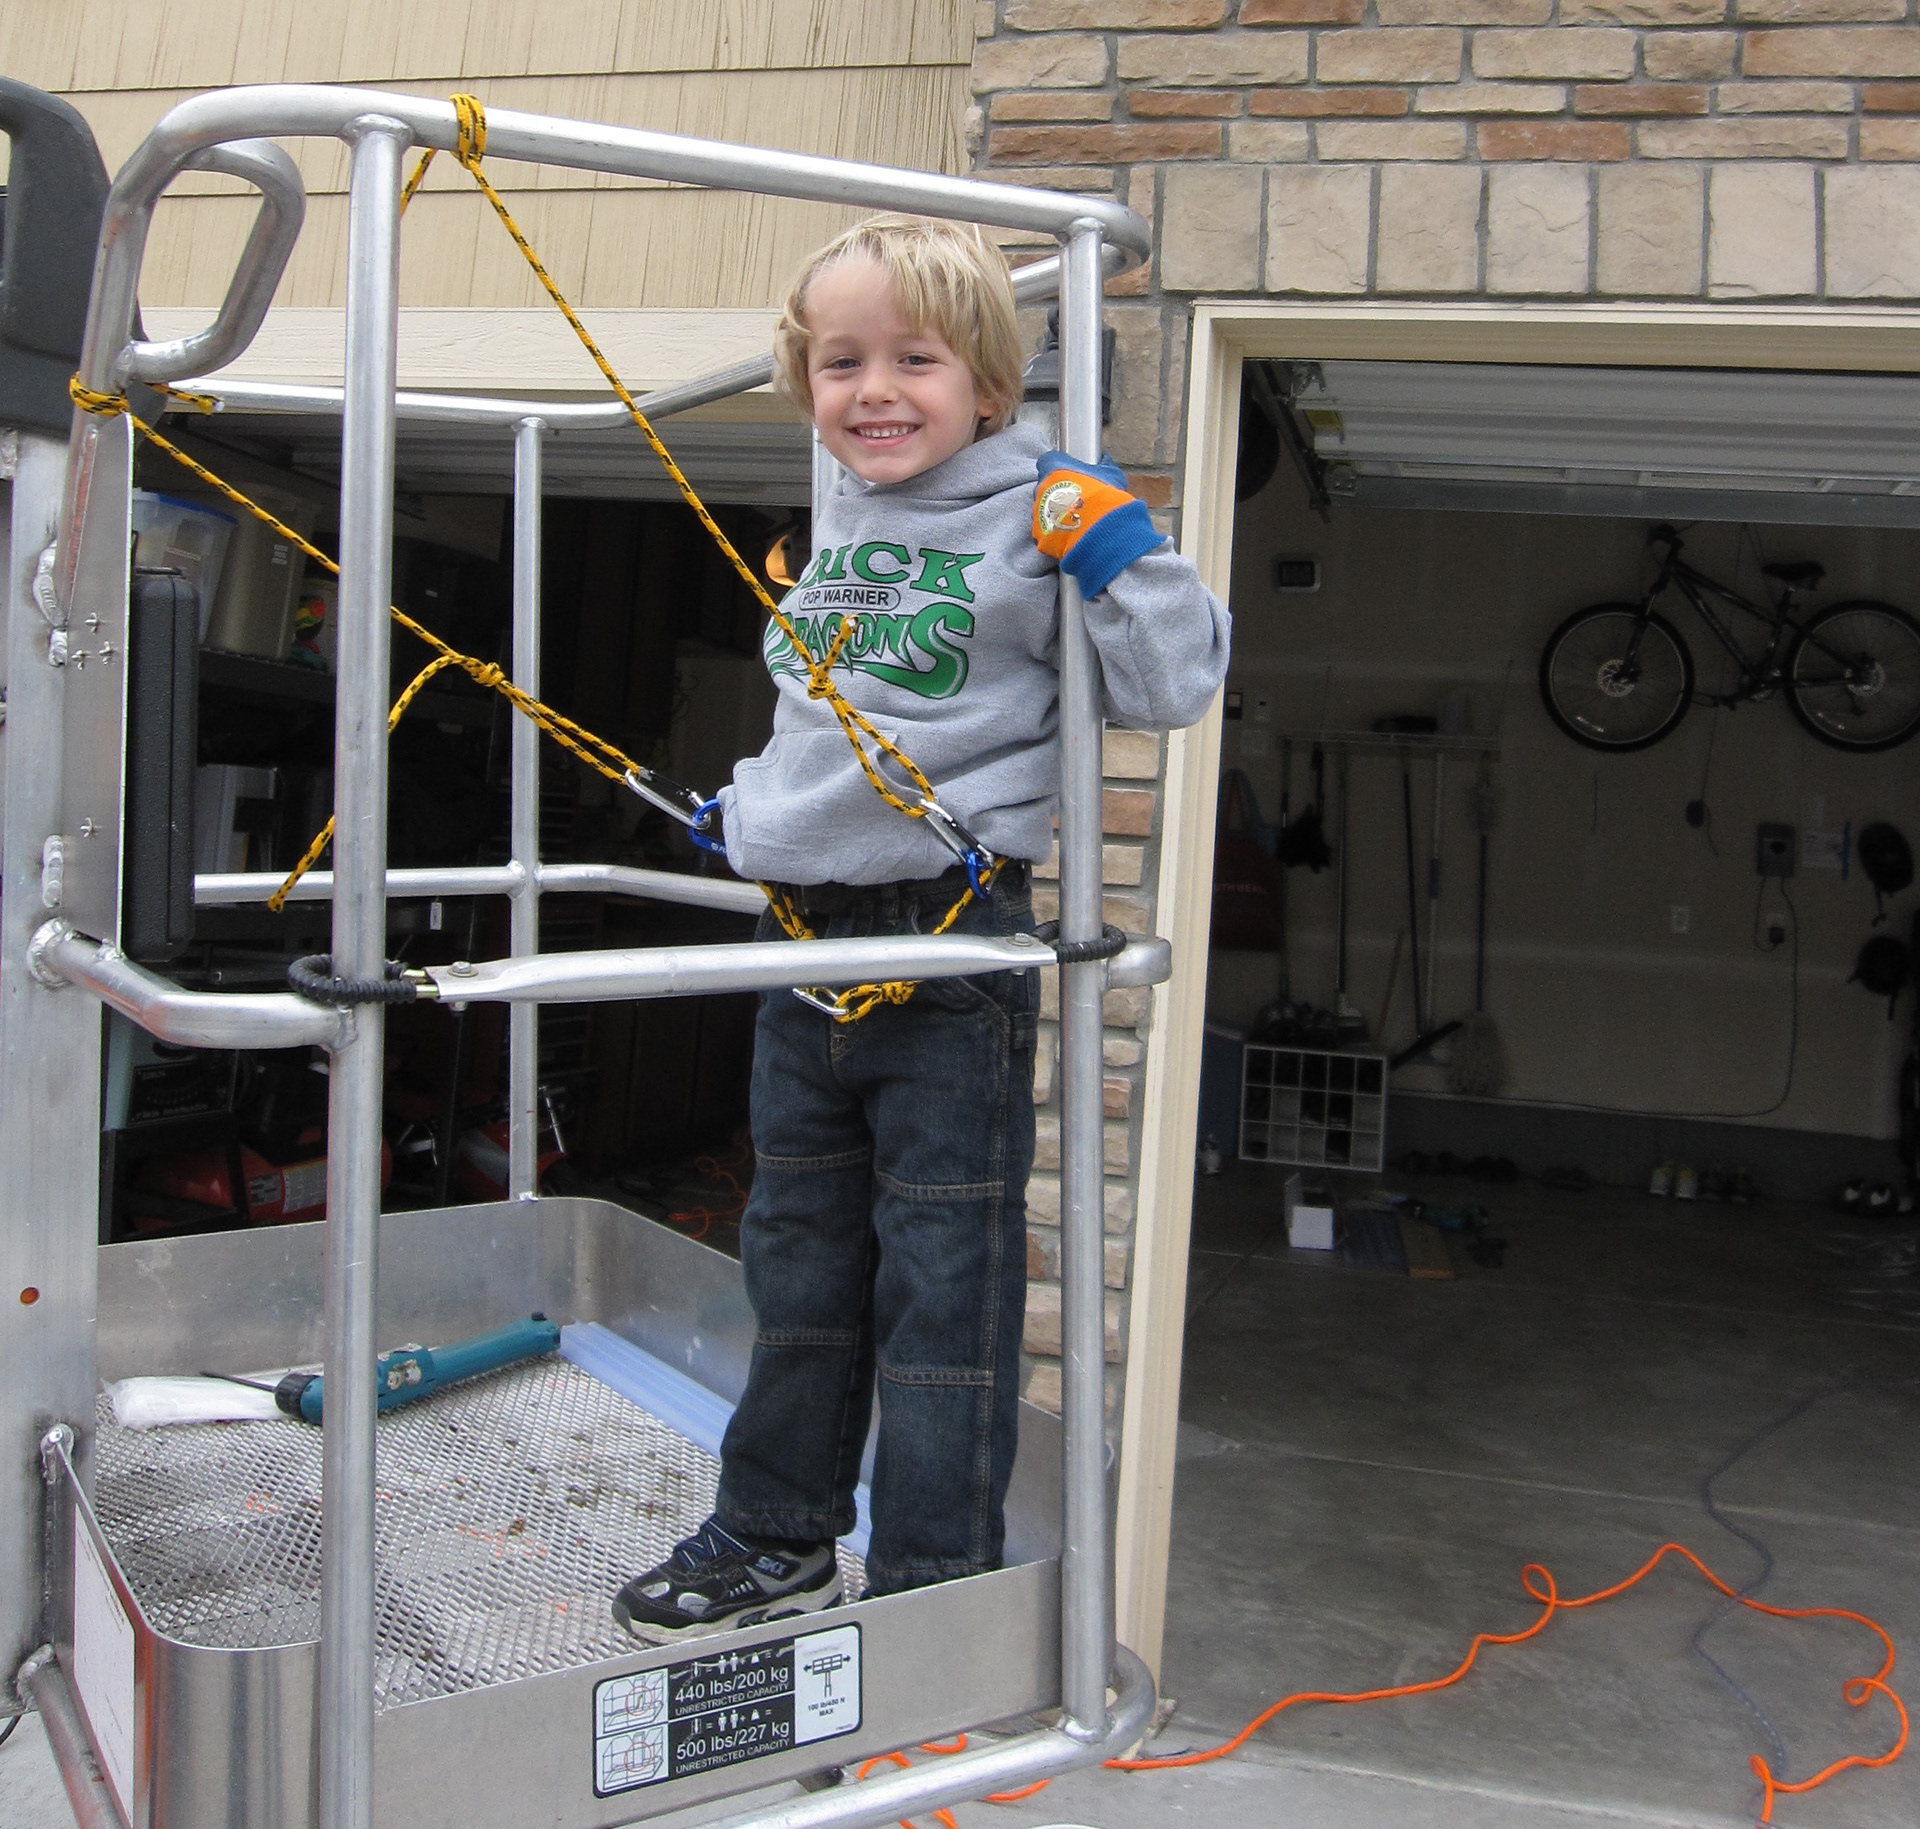
My Helper!
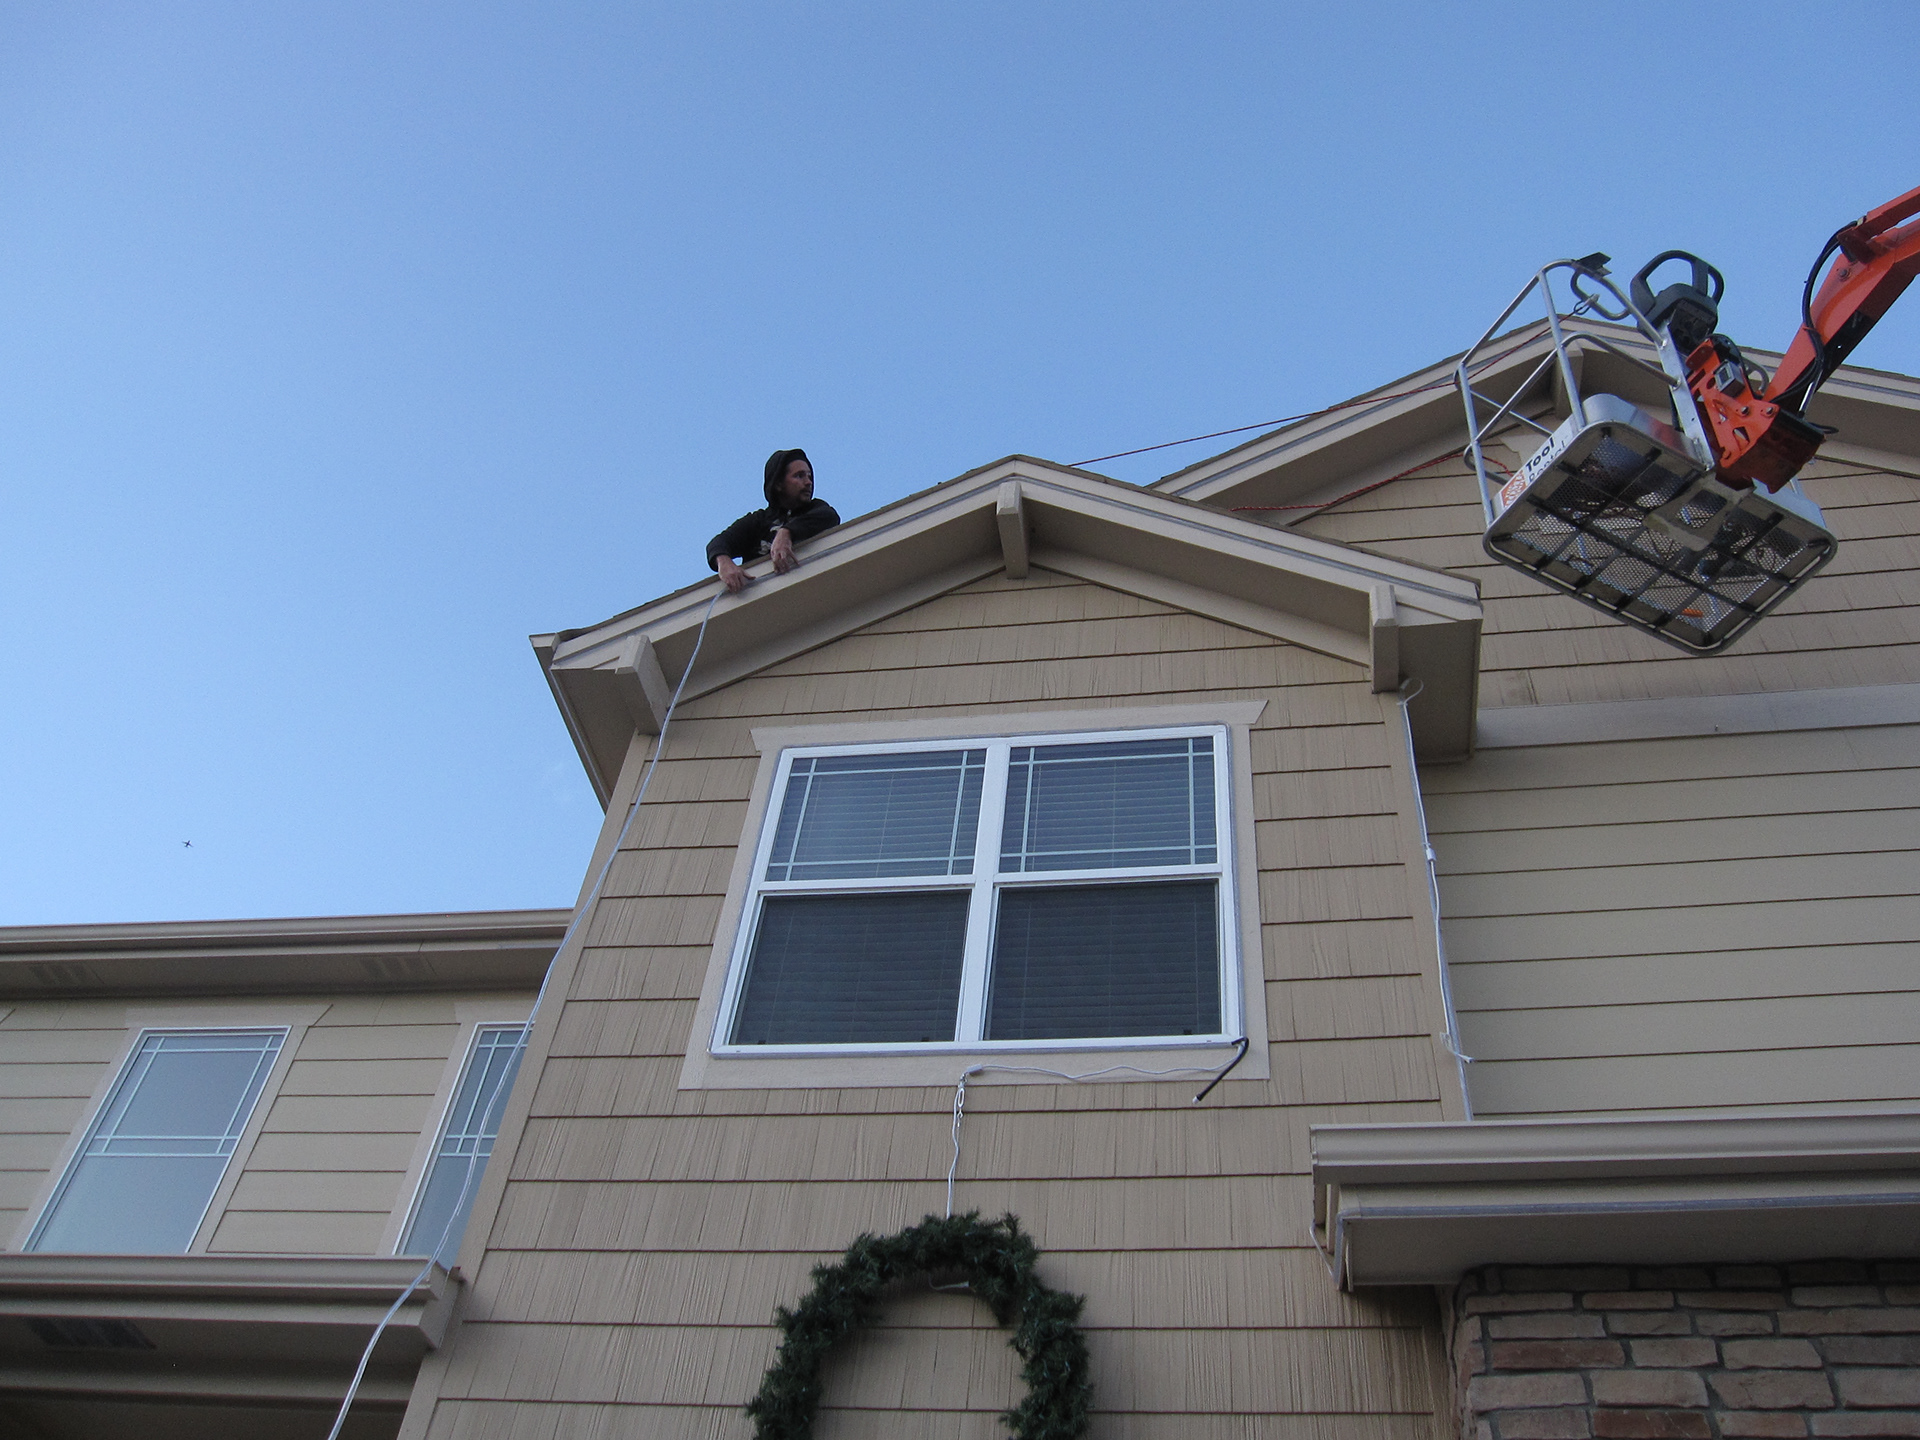
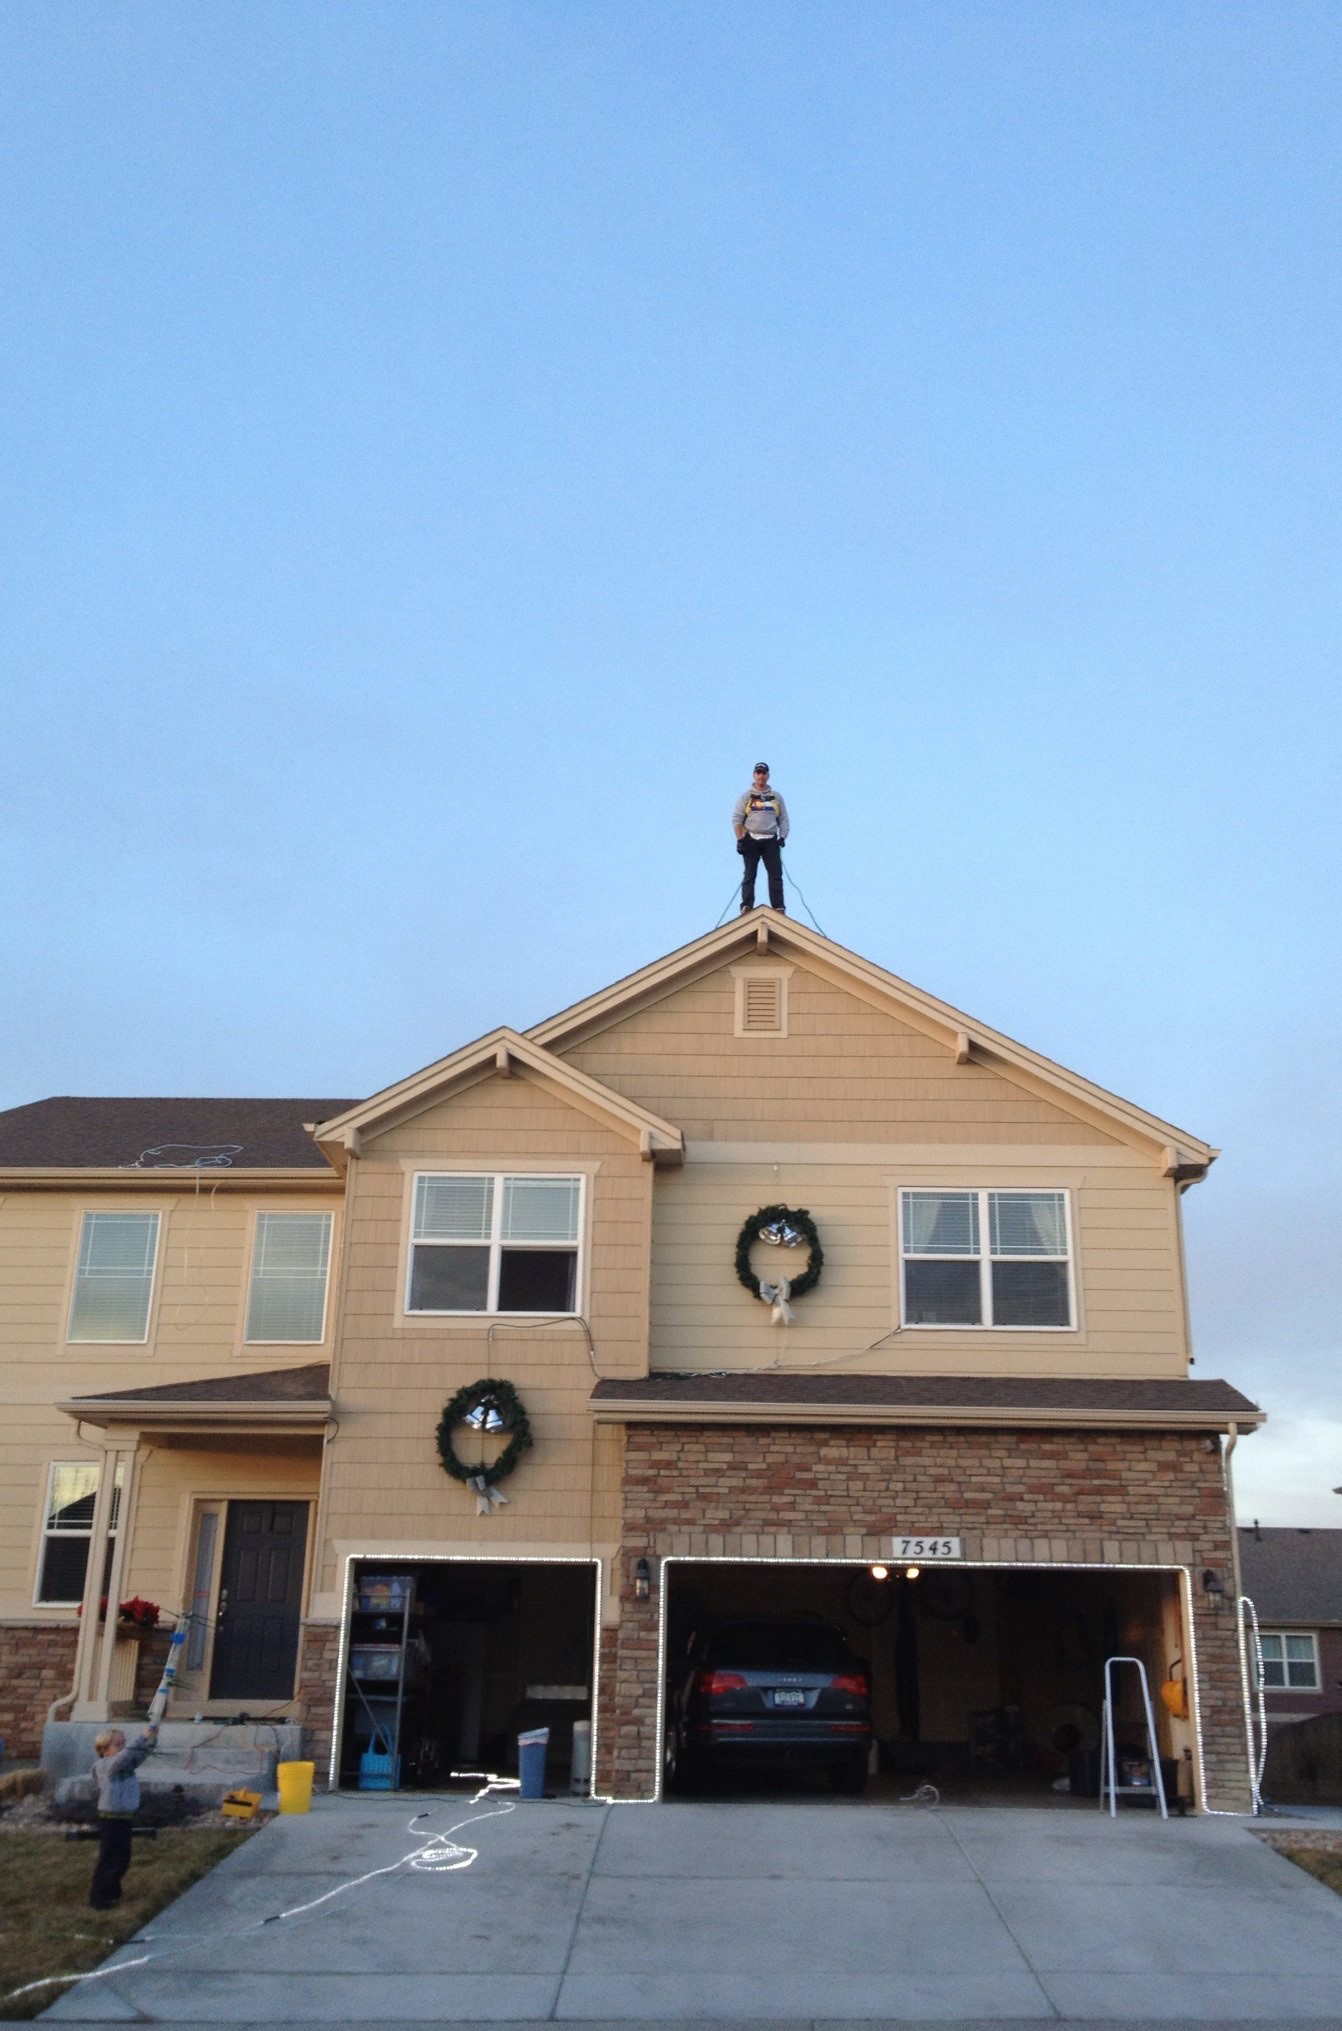
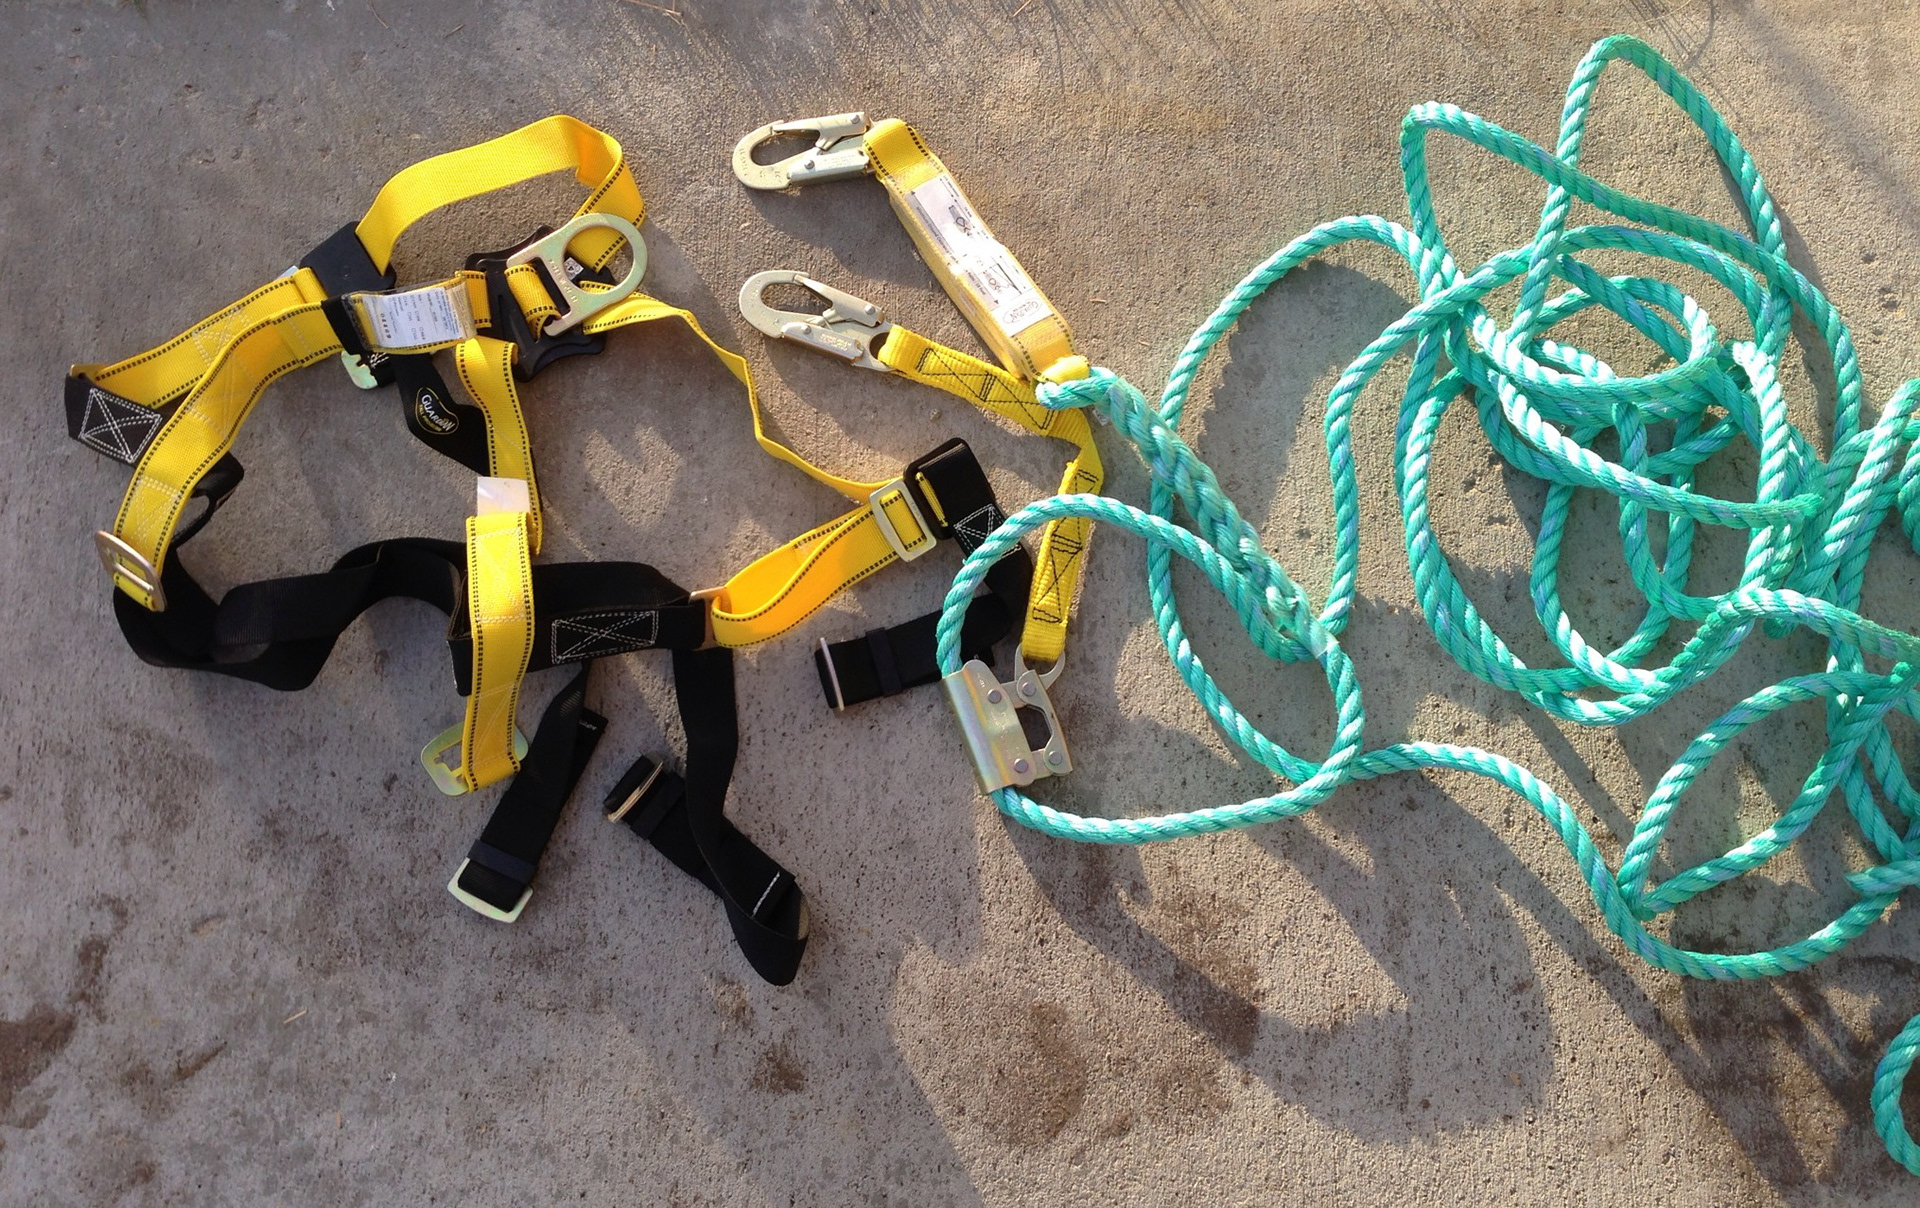
Roofer's Harness
The UPSIDE:
MUCH LOWER ELECTRICITY COSTS!
Compared to the $600 power bills in CA, the LED set-up that first year drew barely 3.5-amps (420 watts) of total power for ALL of the exterior lighting. That's less then $20 in electricity usage for the whole Christmas season!
This is my first DIY control board. The Kill-A-Watt meter monitors the power consumption of the entire display. The flashing strobe lights that you see in the video below are not powered on the entire time, but rather cycle on 1 min off 1 min via a programmable cycle timer. And the whole set-up is power on/off each evening via a
Z-Wave plug module controlled via my Home Automation system.
Z-Wave plug module controlled via my Home Automation system.
DIY Control Panel and Watt Meter
View From The Sky