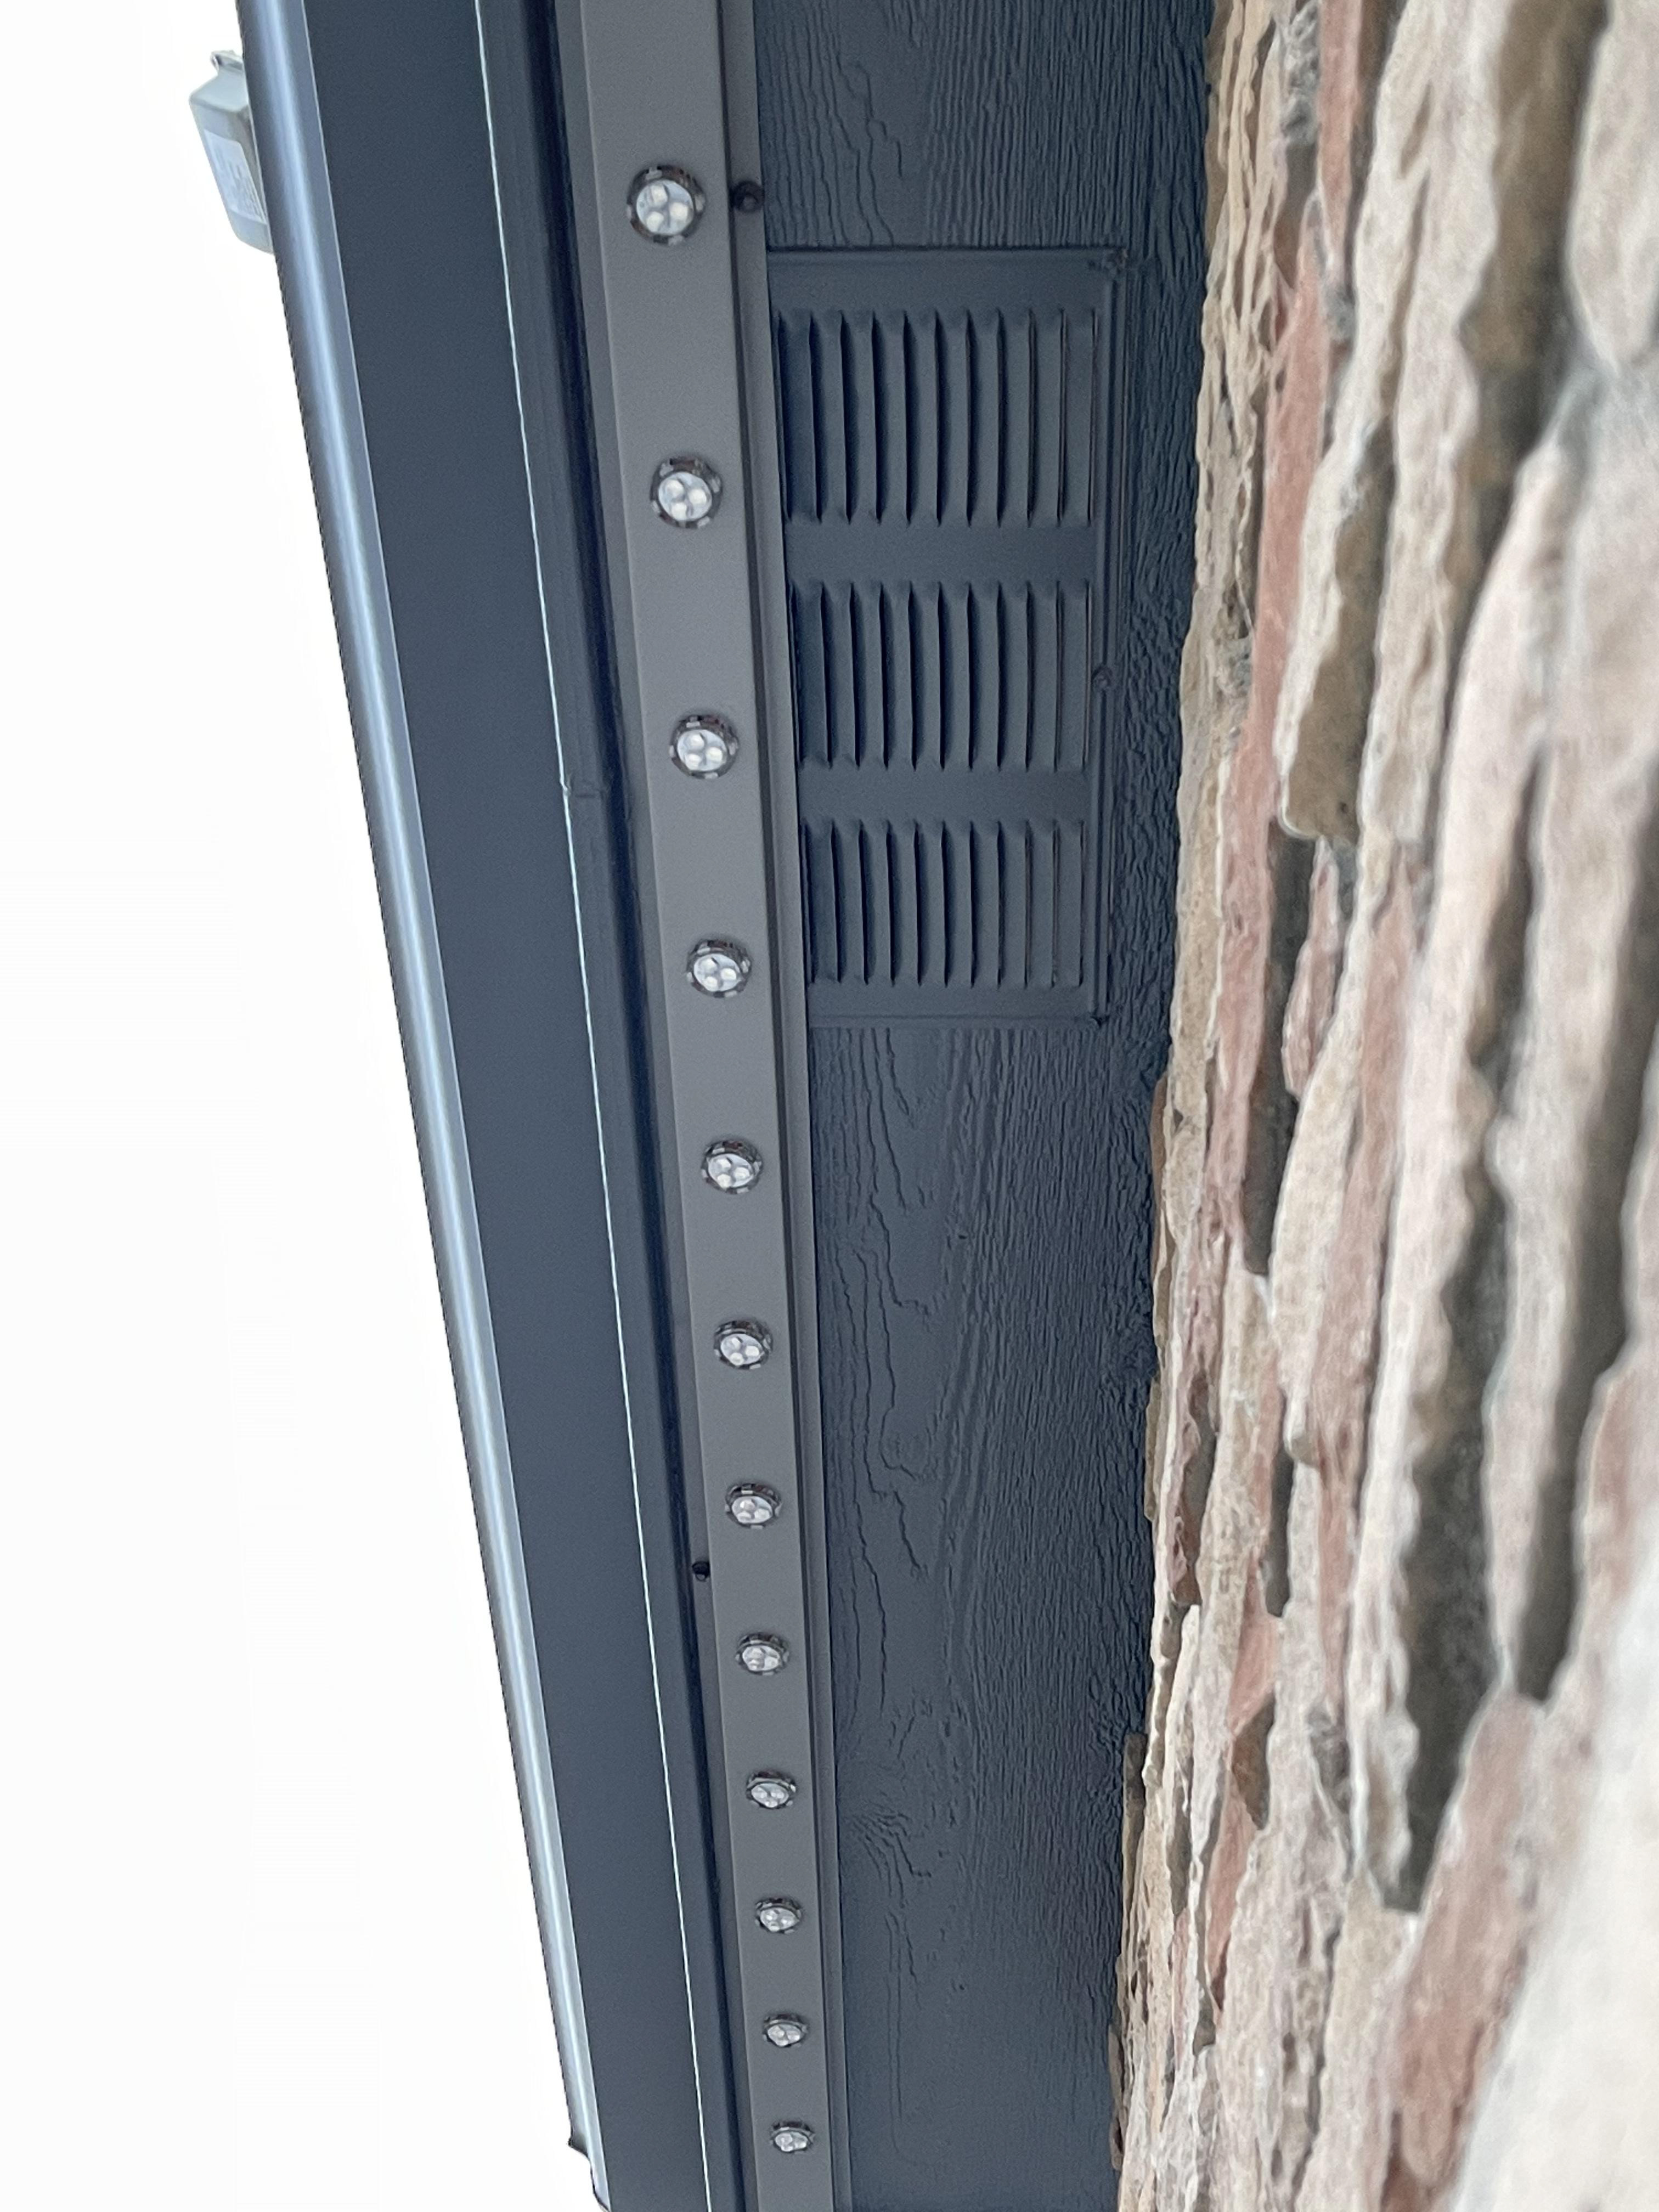
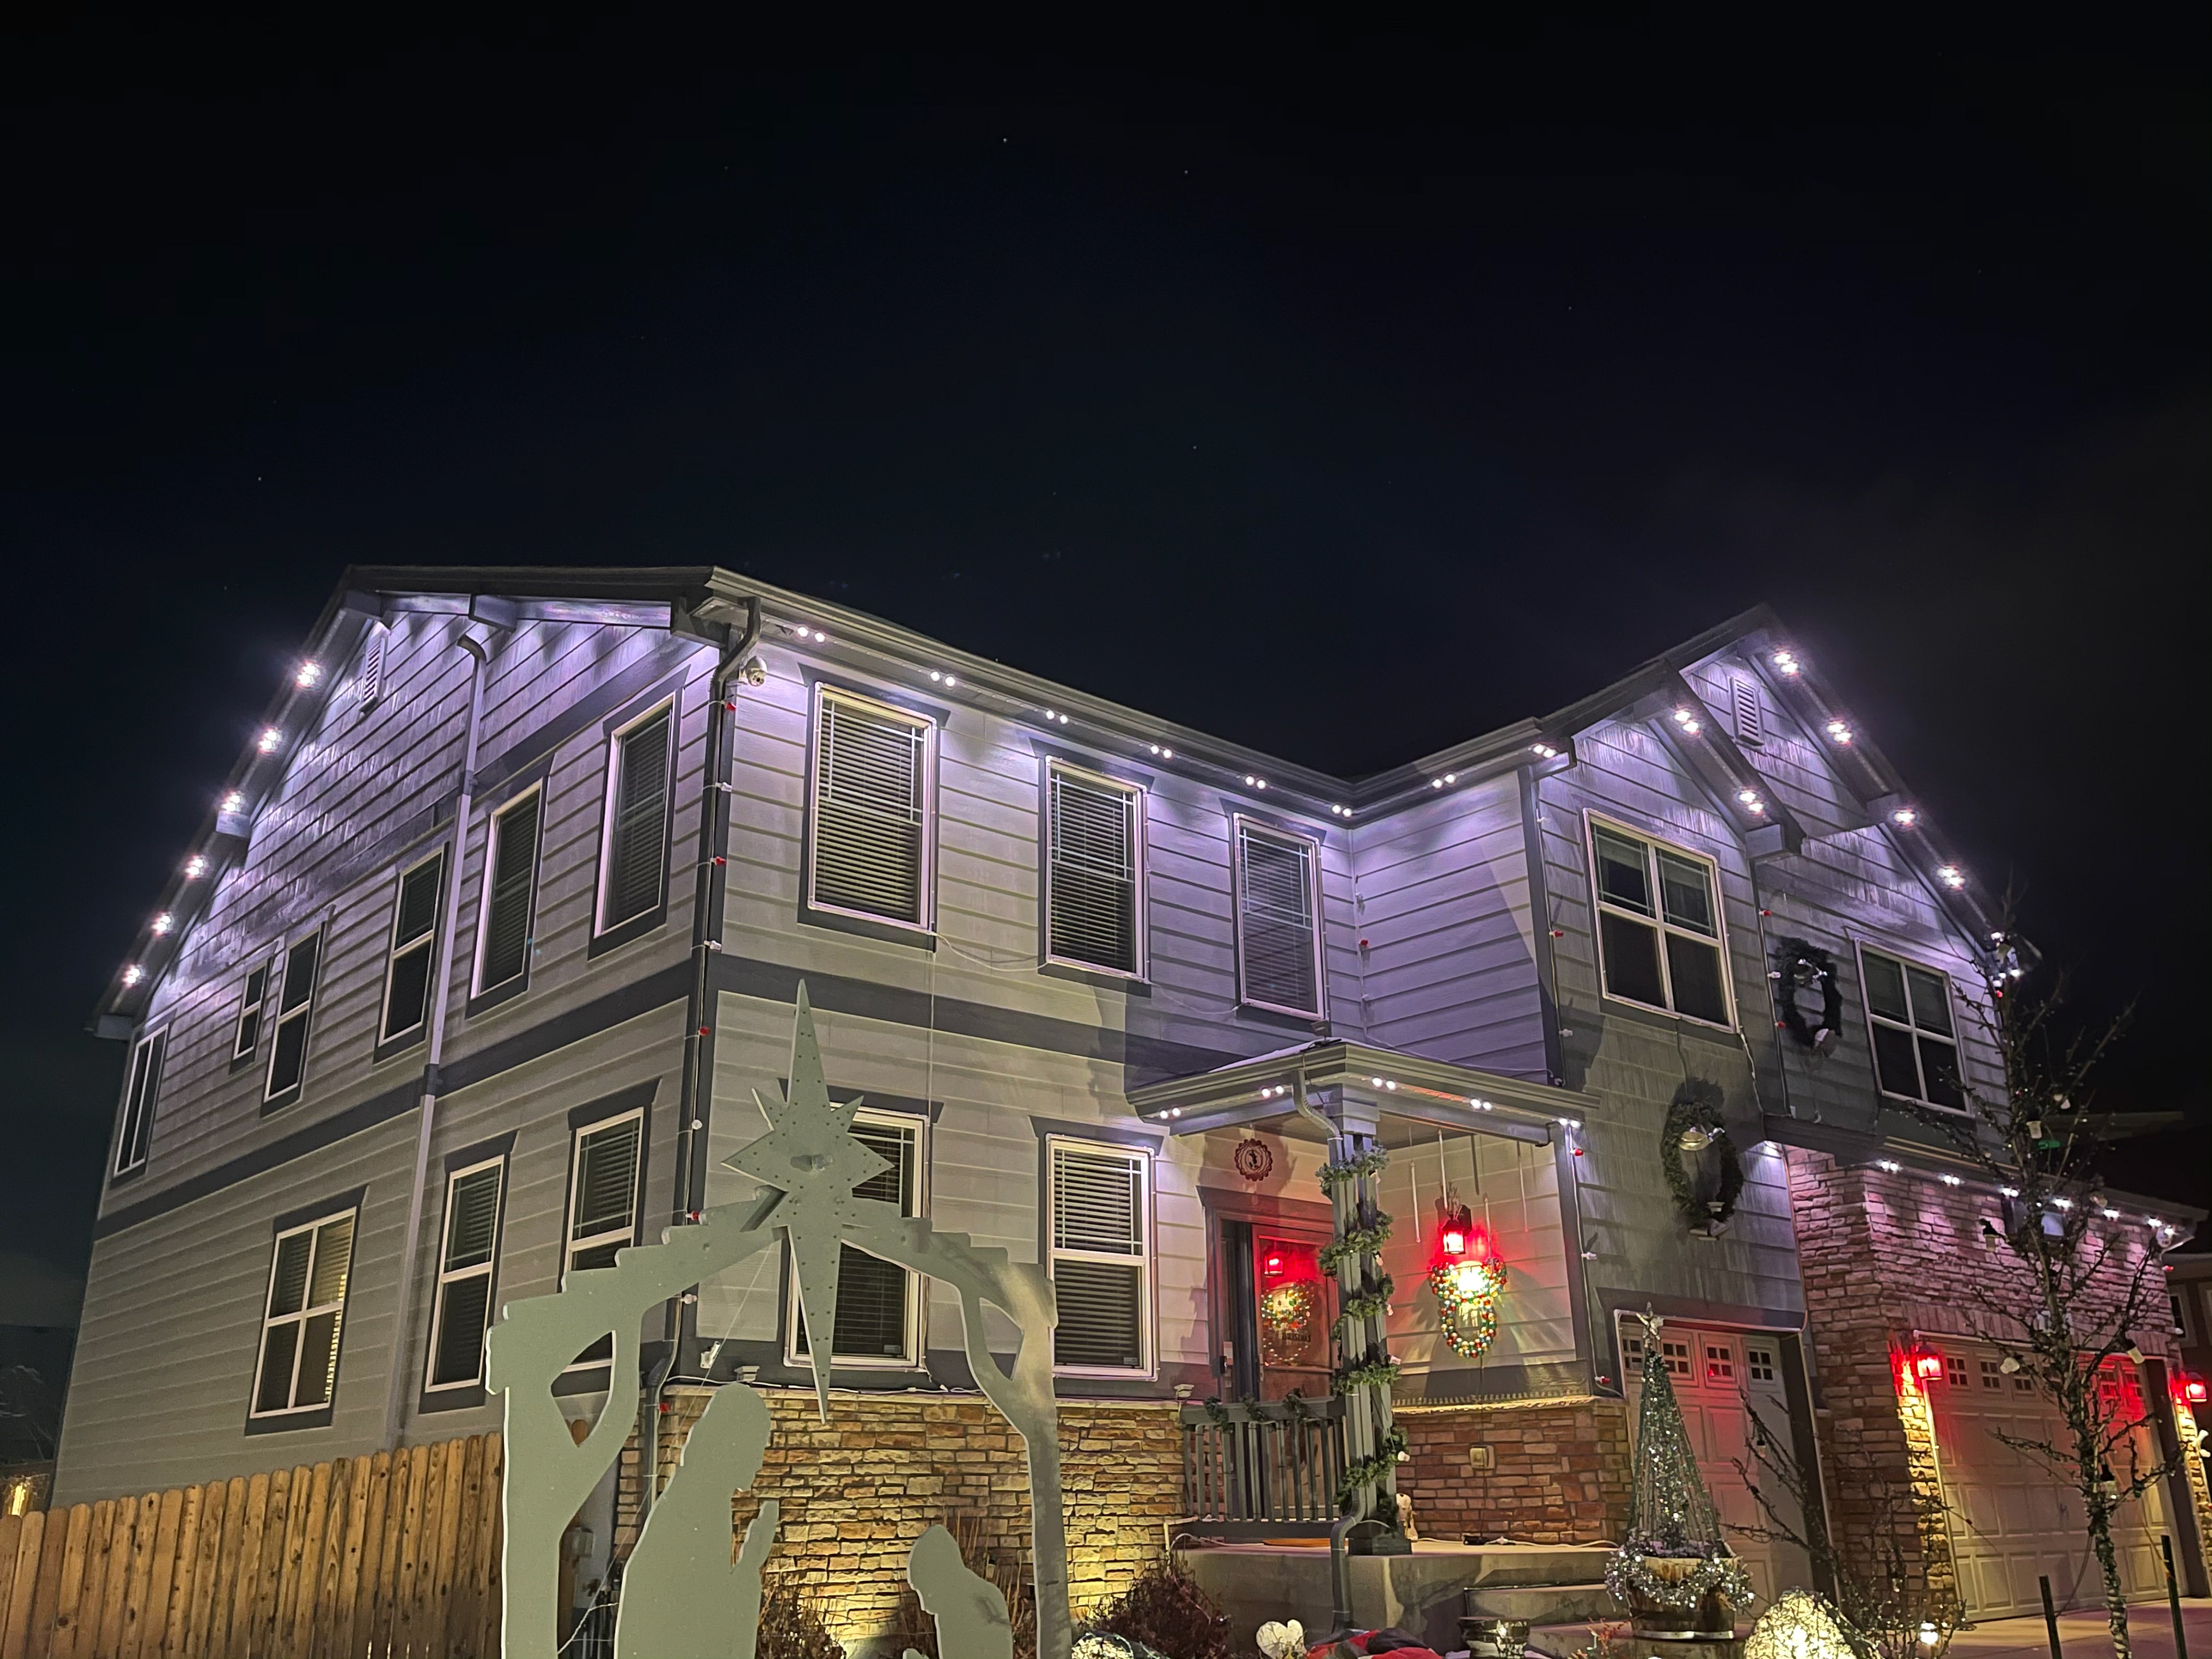
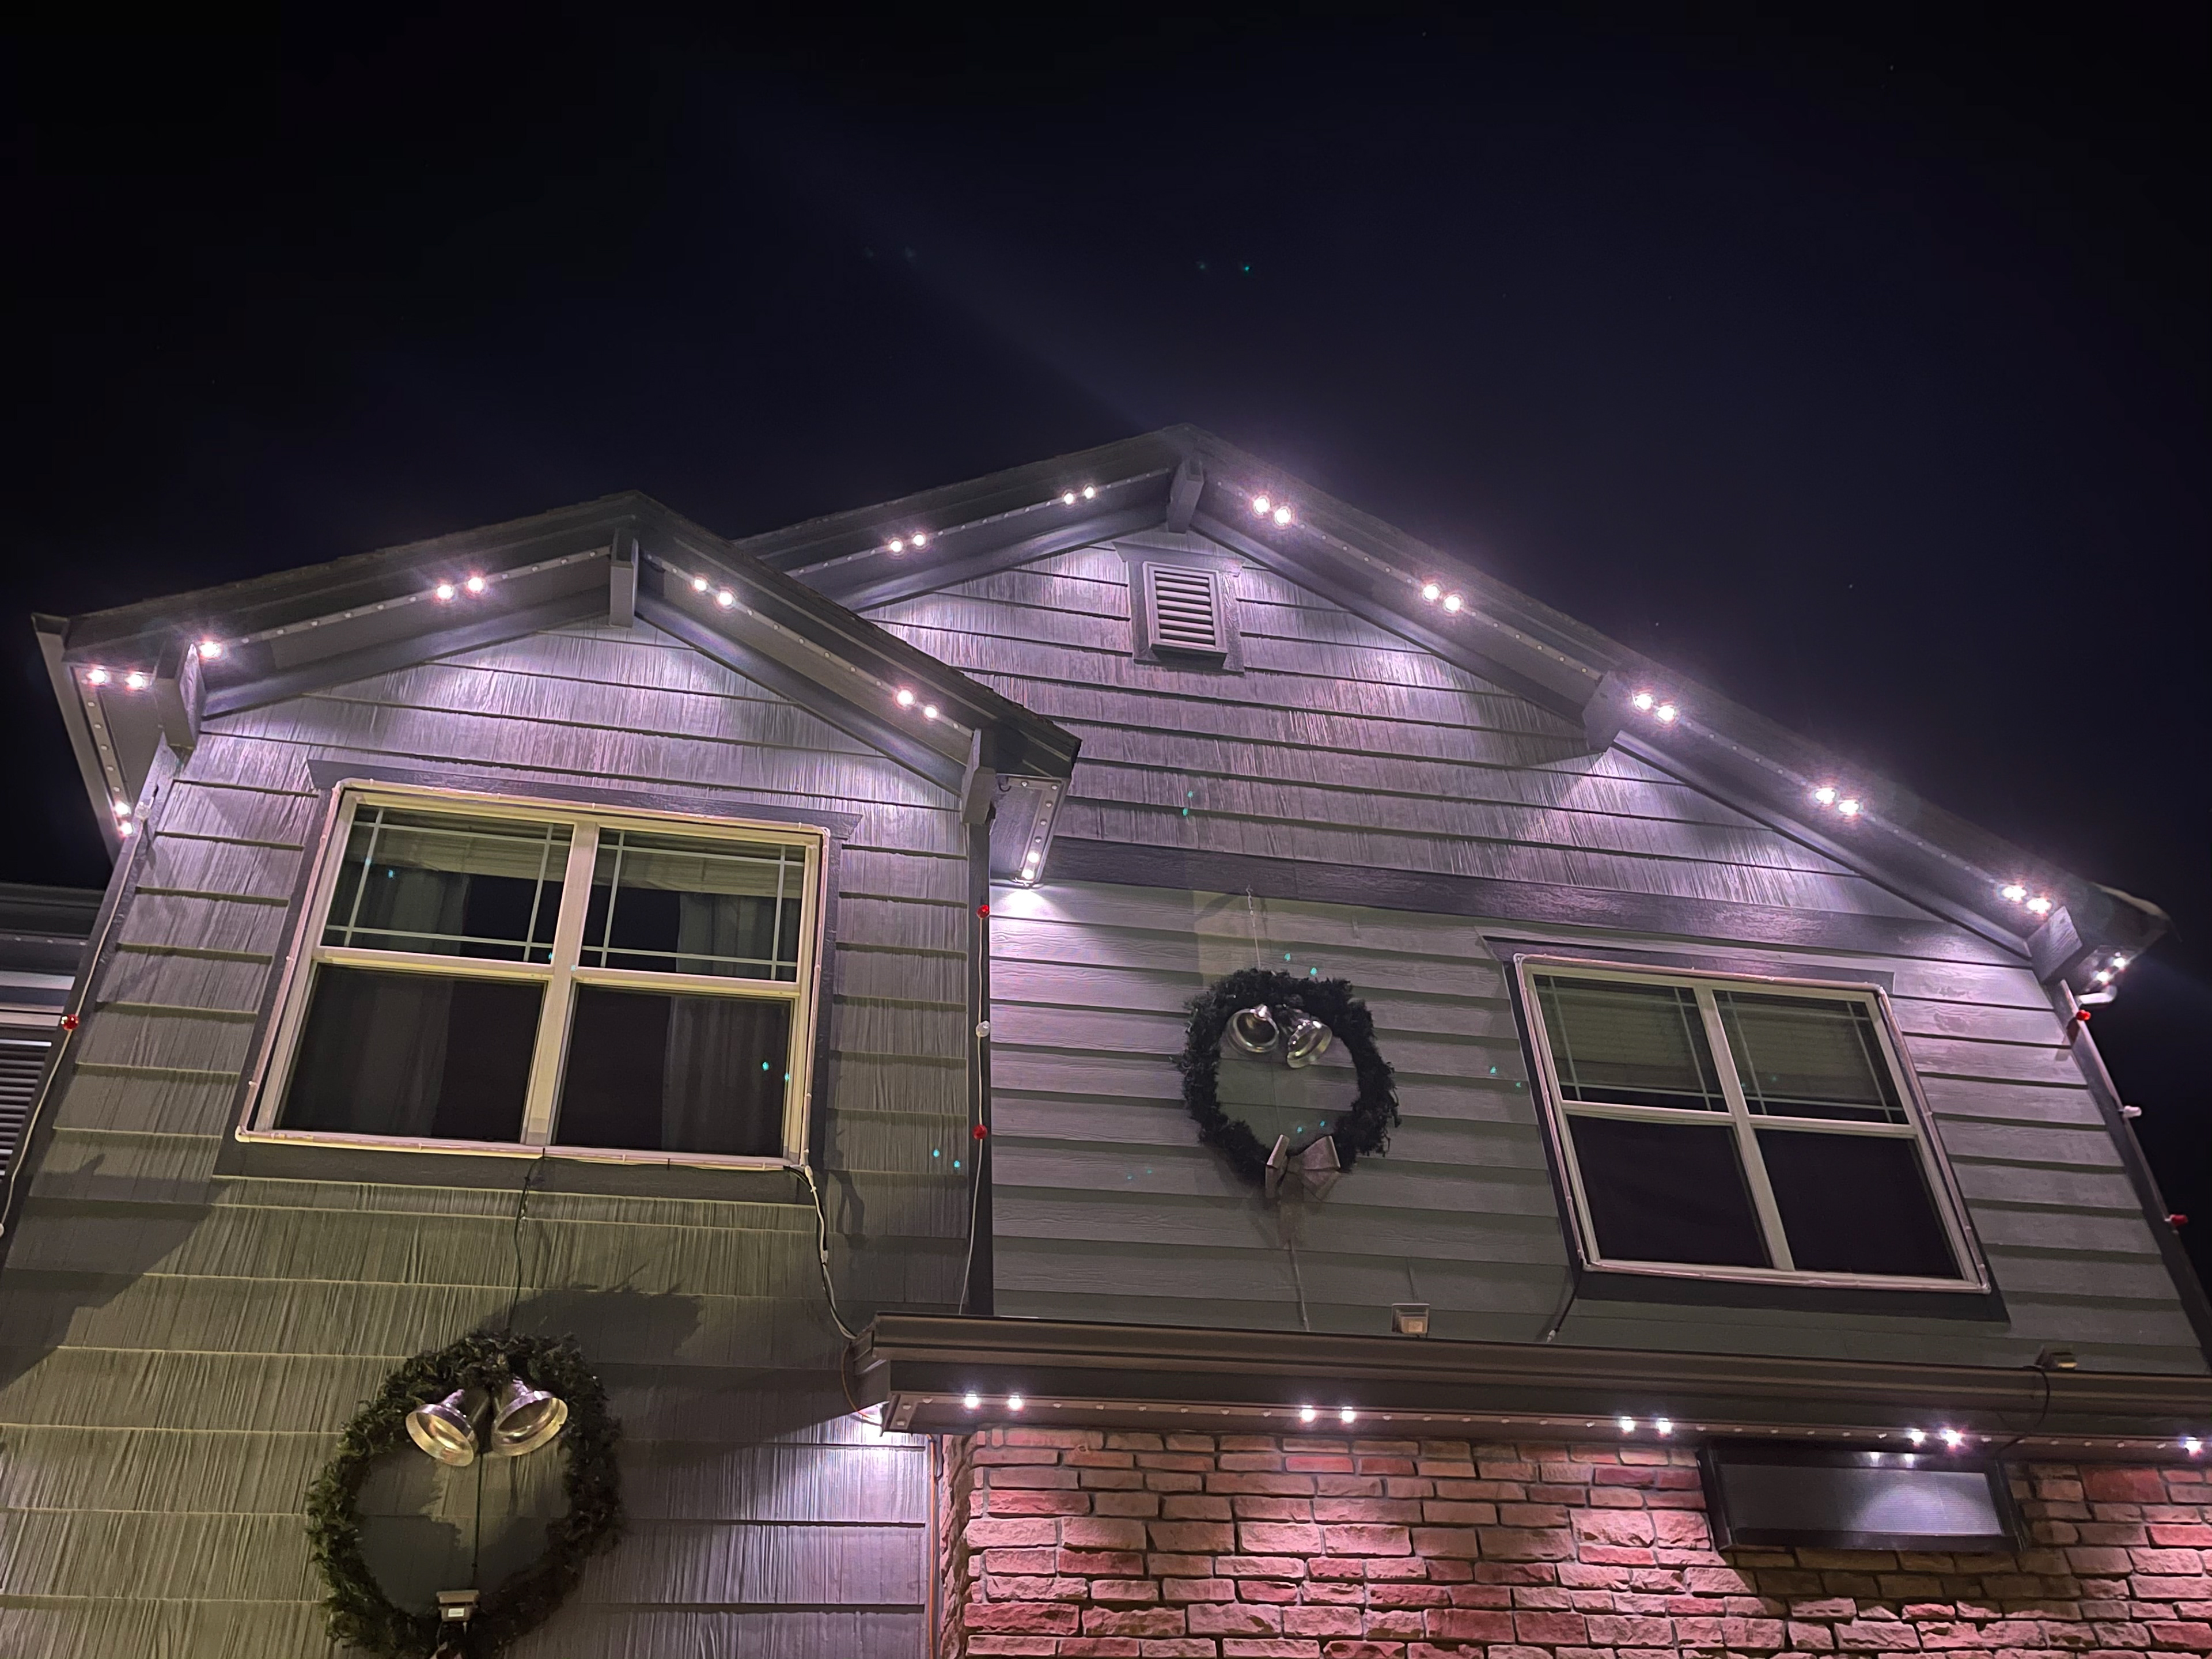
Installed!
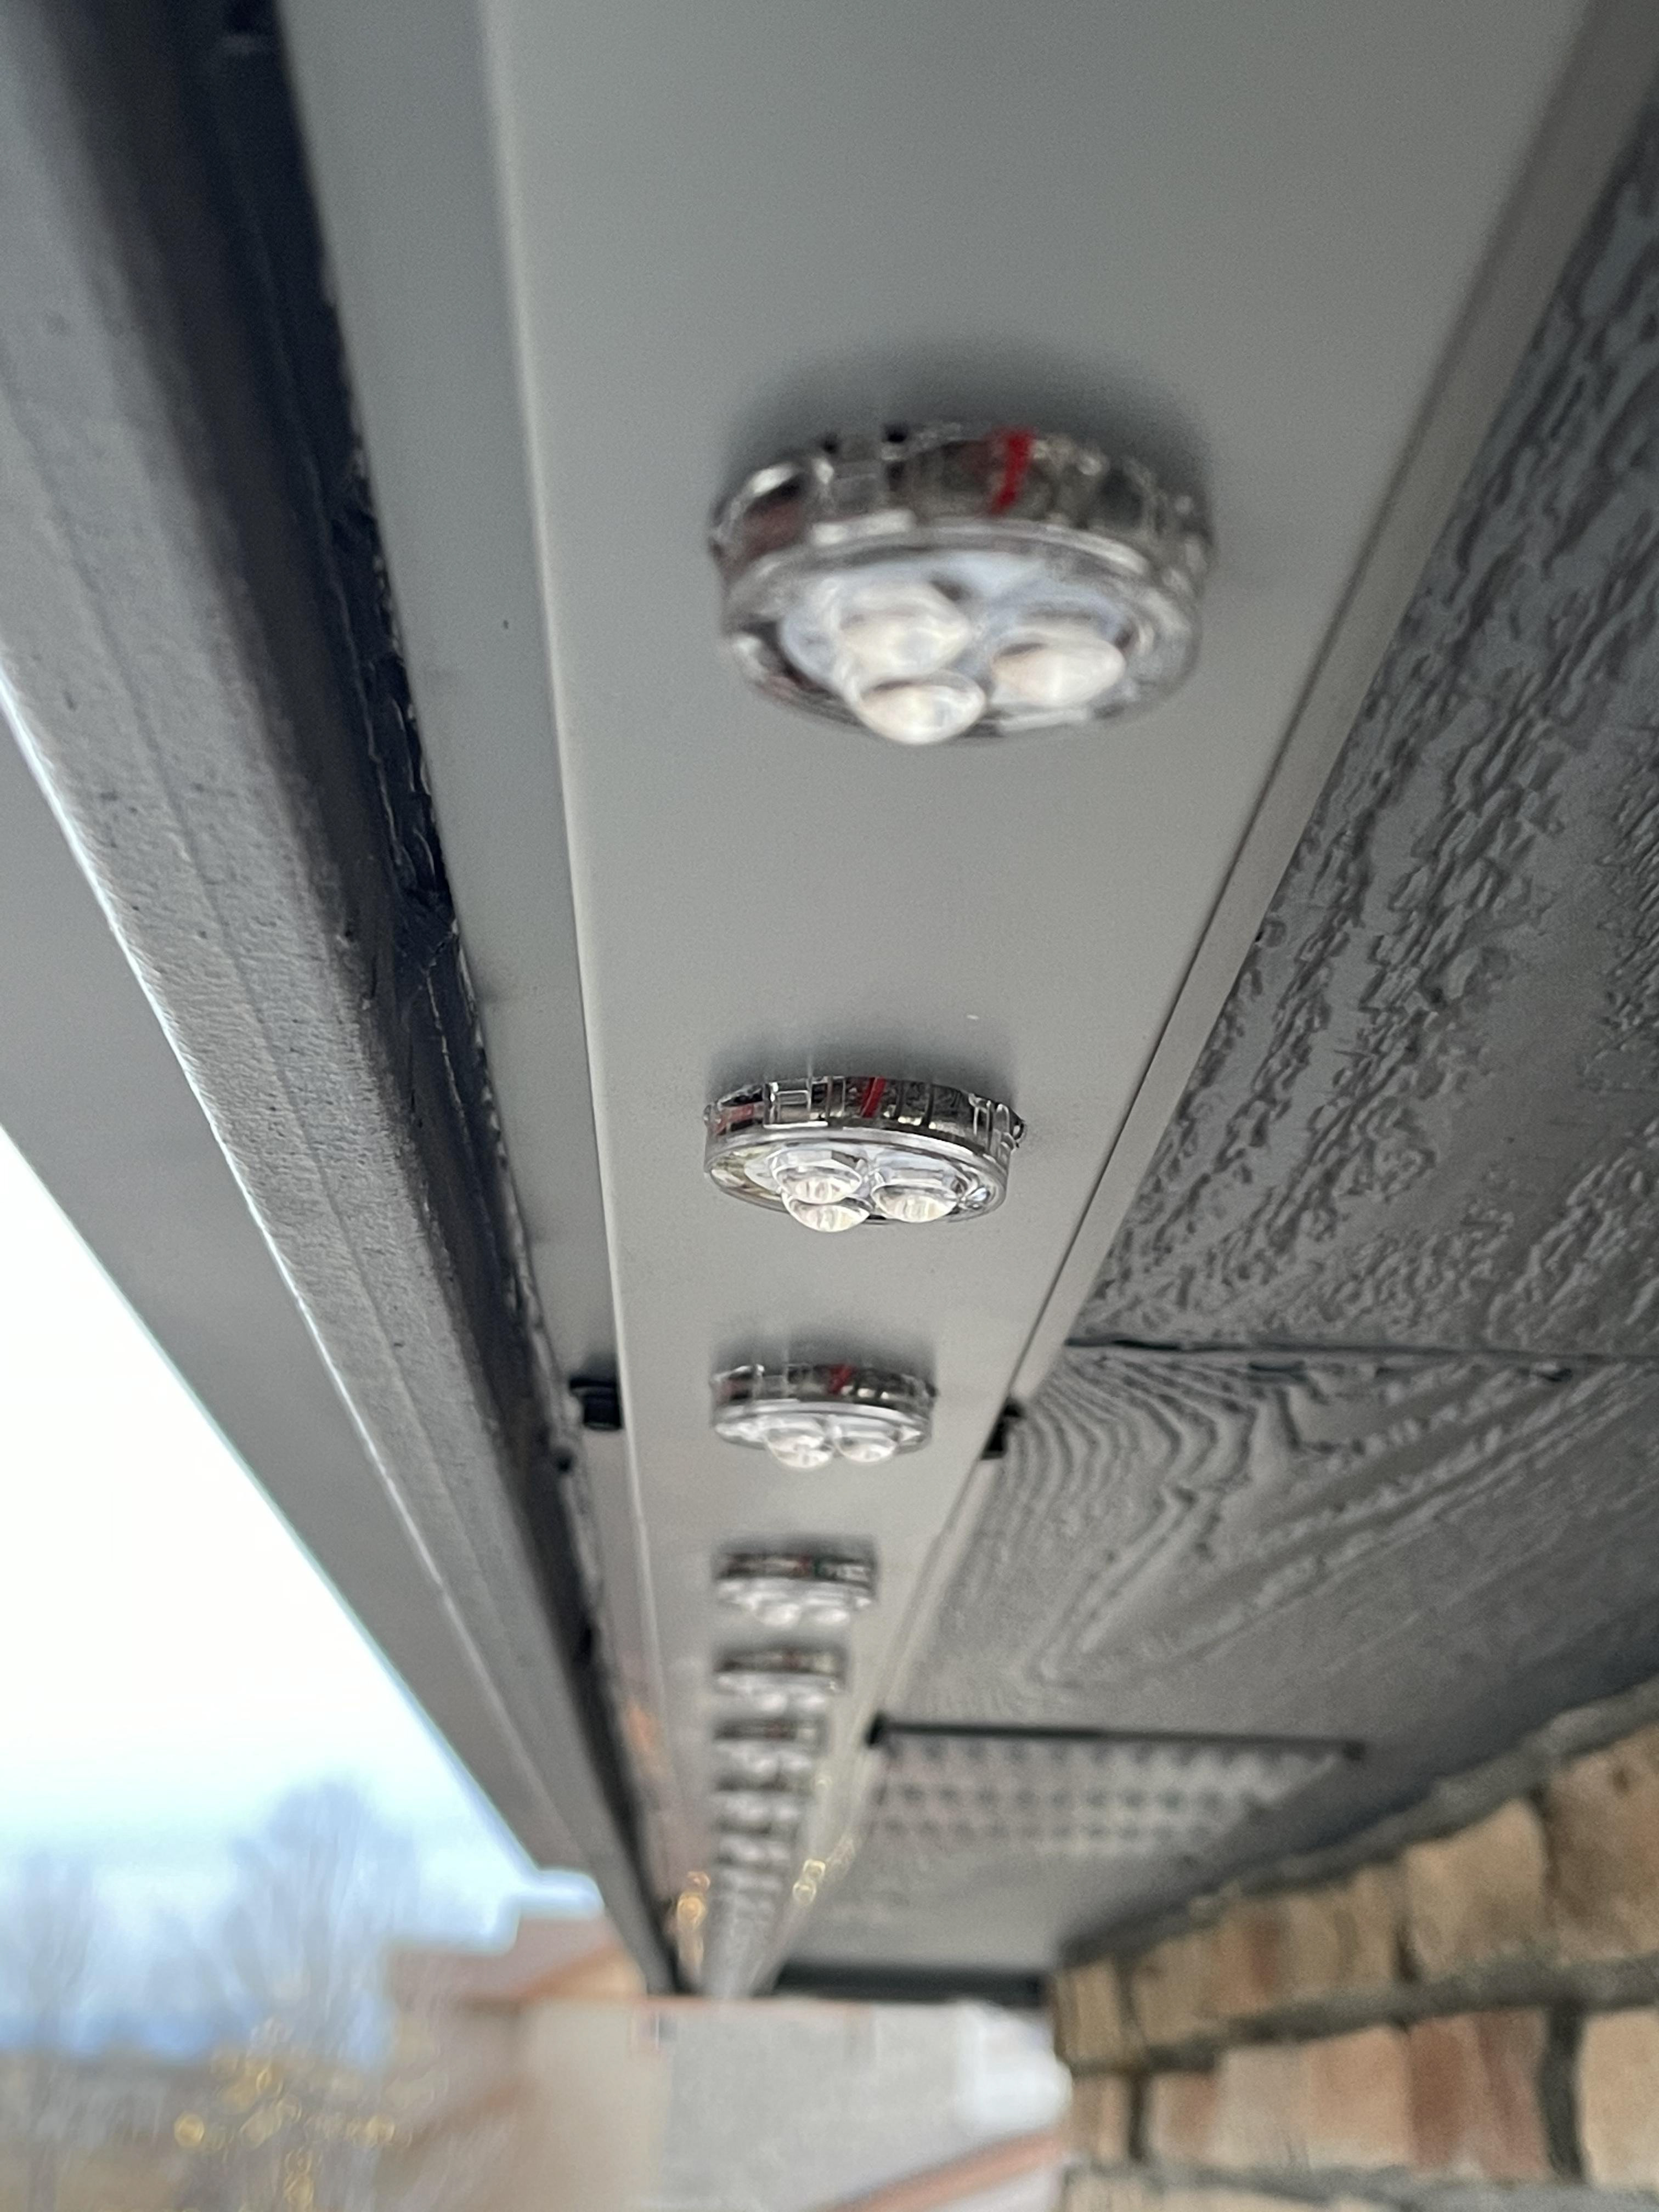
Installed on Underside of Soffits
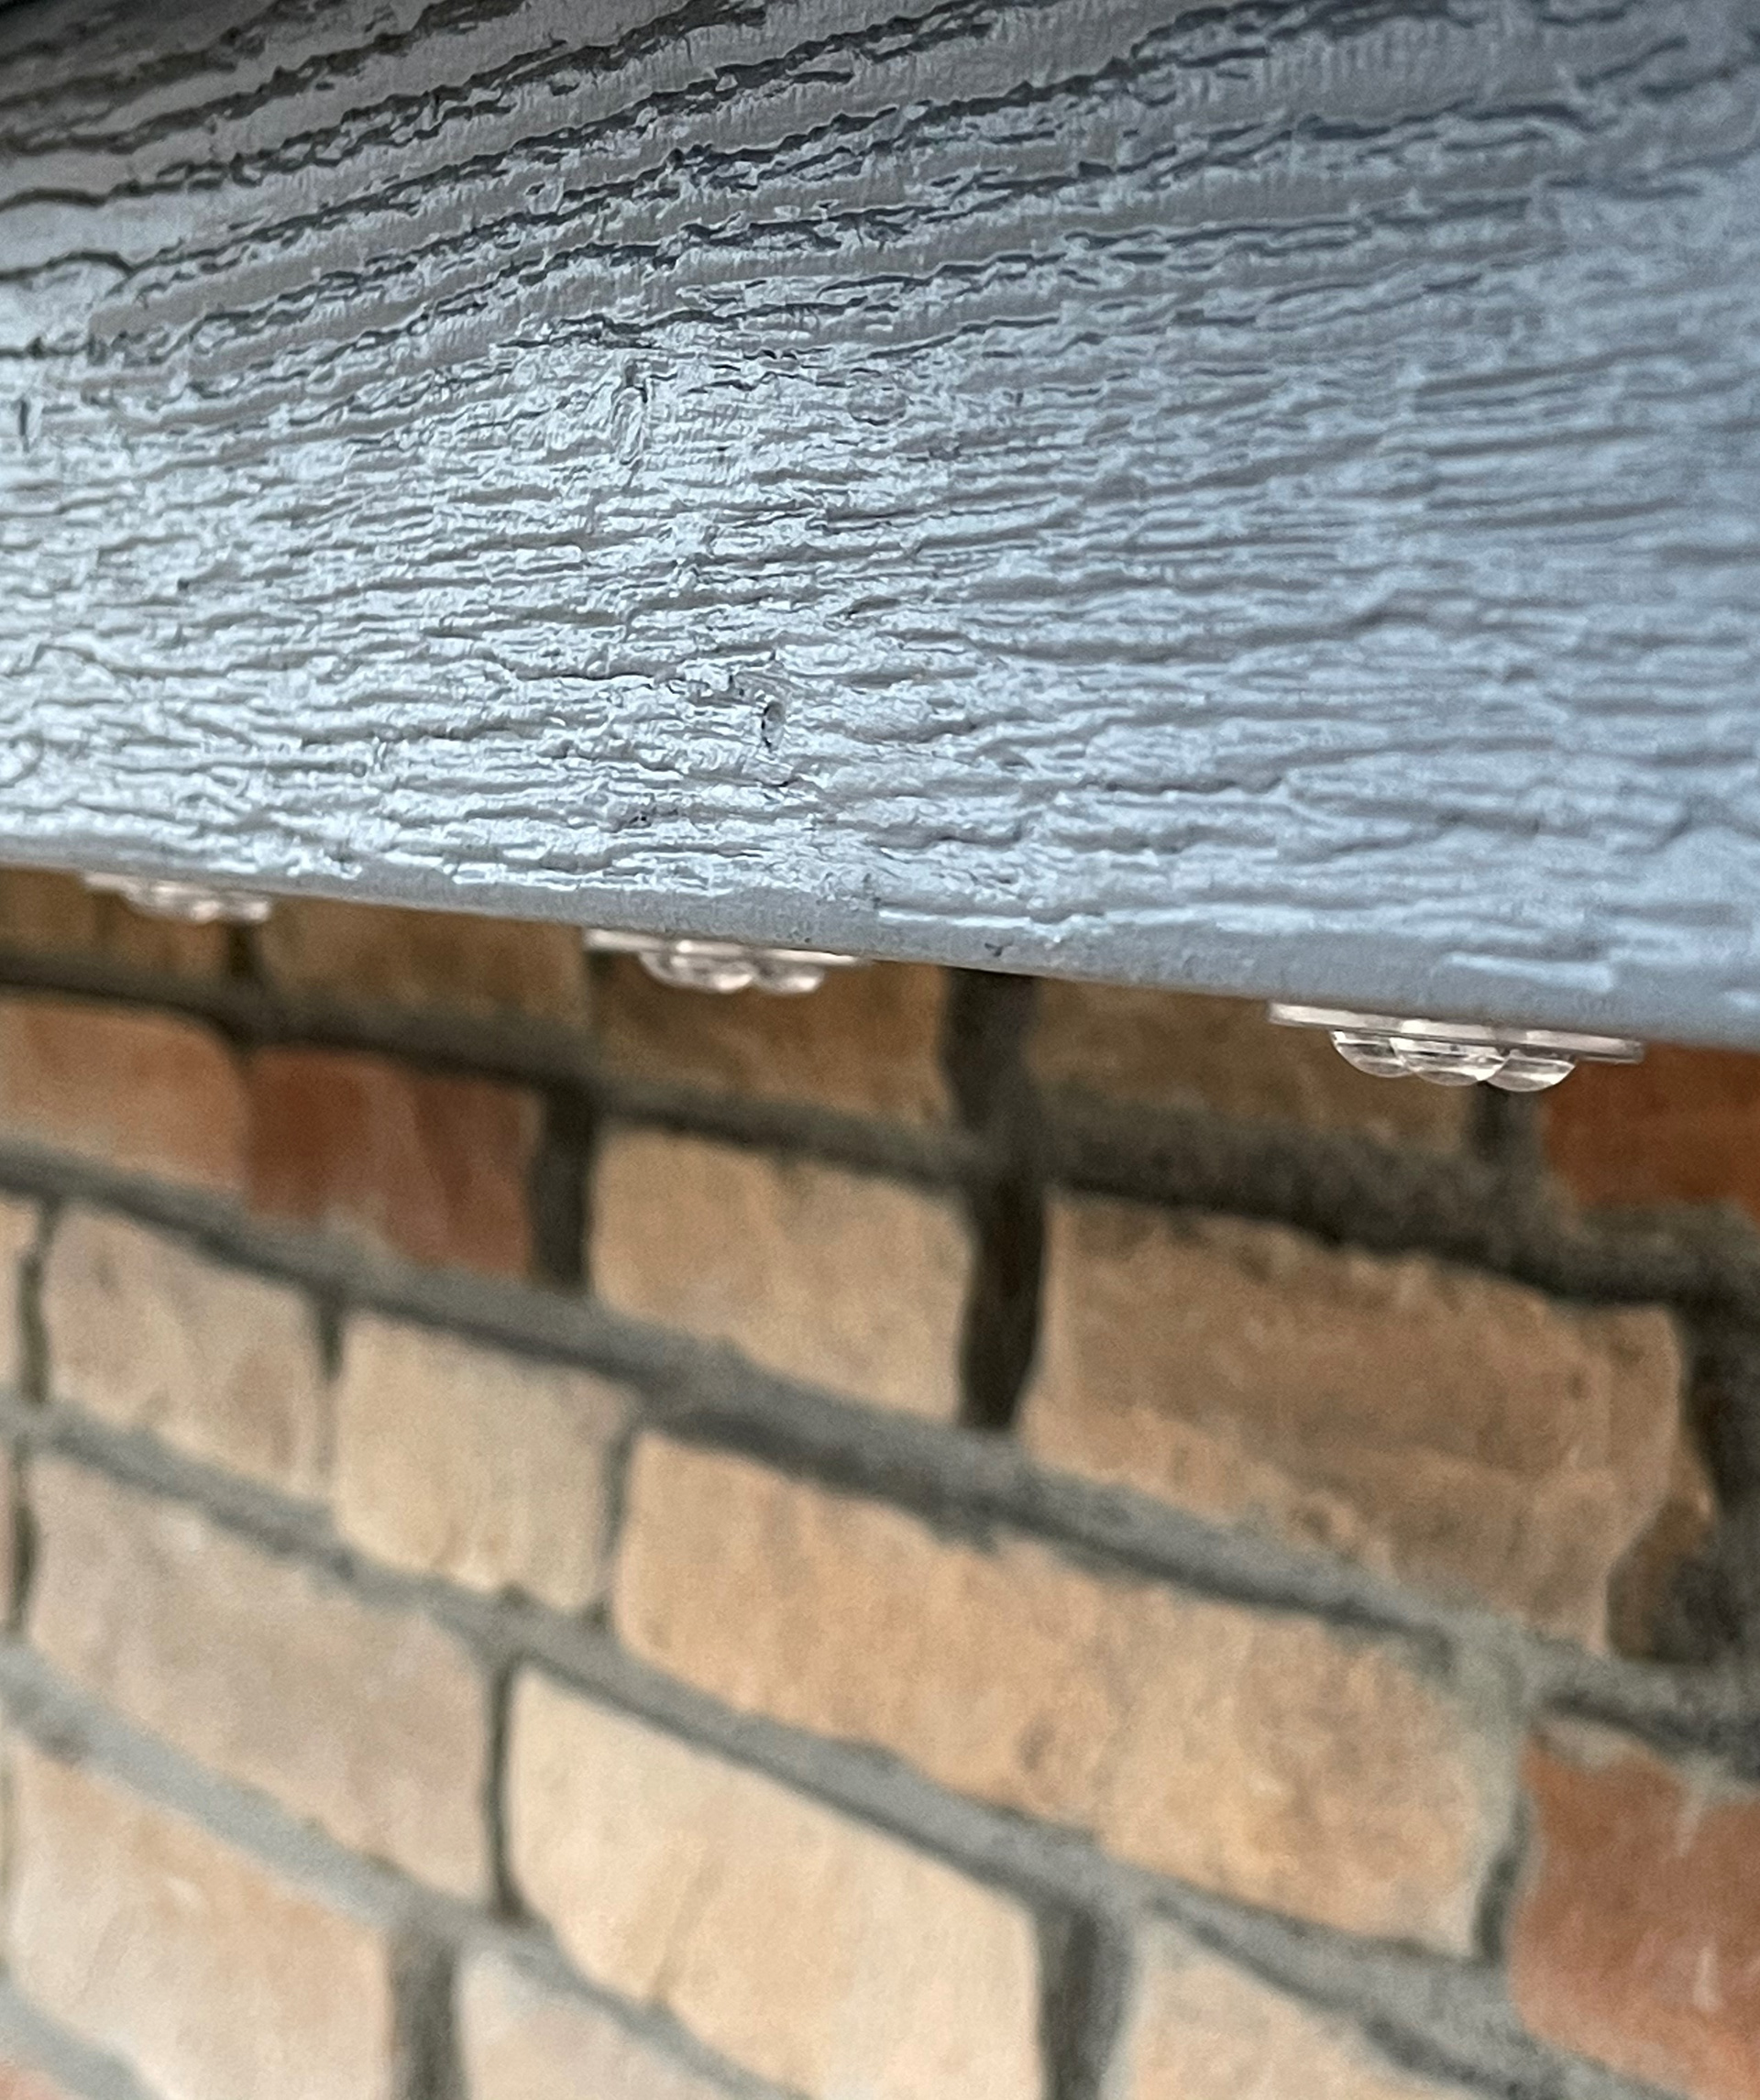
Barely Visible Below Fascia
When "Permanent Christmas Lights" first hit the market around 2015-2016, I thought it was a great concept...I mean not having to crawl up ladders and dangle off of the roof every year...not having to deal with cracked and broken channeling or repair fickle rope lights...seemed like a great idea!
Most companies' installed priced is around $25/linear foot. That means for a house with 200' of roof line you are looking at $5,000 + taxes, etc. A few companies have a DIY self-install option, but you really only save on the labor cost. The DIY kits still average about $20/linear foot, or $4,000 for that same 200' of roof line.
That is a lot for Christmas lights especially considering the limitations. After all, these are designed for homeowners who want to "set it and forget it." These systems use proprietary controllers and programs with iOS/Android apps for convenience. That makes it great for the rest of the year when they are used as the only Holiday decorations. But if you have a larger Christmas display with lights in the yard, around windows, etc. and you wanted to tie them all in together to synchronize them, you would be out of luck.
Well earlier this year we had our house painted and some deteriorating window trim boards replaced with new wood. While the painters were at it, I also had them remove all of those mounting clips, and caulk/seal the screw holes before painting, just to make sure everything looked good and was water tight. There was NO WAY I was going to go back and put all those screws and clips back in, and after 9 years of battling with the channeling and the rope lights, I decided I had to try something else.
So I decided to make my own Permanent Christmas Lights! This way I could choose the lights, the spacing, and the controllers, AND still be able to tie it all into whatever else I decided to do for Christmas decorations, but have it stand alone as just trim lighting for the rest of the year.
Since I didn't get started until early Oct with this idea, and had less then 60 days to get this installed and functional, I knew that I wasn't going to get the entire house and yard retrofitted in full RGB pixels. For 2020 I was going to have to just focus on the roof line and then use my existing rope lights and LED strings for the rest of the house. So after getting the necessary HOA approvals, I got started ordering, fabricating and installing the lights.
To save cost I ordered my pixels directly from the factory in China to avoid the markup added by U.S. resellers. In my research, and after talking to other light enthusiasts, Ray Wu is one of the more reputable suppliers. You can easily find his store on AliExpress.com. A few things to keep in mind: #1 Make sure you know what you want to buy and don't expect a lot of customer assistance. They are very responsive when you email "Contact the Seller," but they typically use "Google Translate" or a similar service to translate your inquiry and send back a response in English. So getting detailed or lengthy answers in very unlikely. #2 Be prepared for costly international shipping expenses. This is coming all the way from China after all. Larger orders (heavier shipping weights) and expedited shipping (because you waited too close to the Holidays) may drive up the shipping cost to a point where you are no longer saving money compared to buying the same items from a U.S. reseller, so do your research and run the numbers.
There are literally hundreds of different LEDs to choose from, depending on color, IC chip type, waterproof rating, current draw, voltage, etc. You will have to research to determine what works for you. I chose this one because I wanted multiple LEDs in each node for added brightness. I wanted an outdoor rating of IP68. I wanted a common chip type such as WS2811 (which is the same as UCS1903) for the greatest compatibility amongst controllers and lighting software. I also wanted 12V (as opposed to 5v) because generally the higher voltage you start with the longer runs you can go before needed additional power injection to prevent voltage drops at the end of a string. This why many of the commercial permanent light companies use 24V or even 48V LEDs, but those require harder to find power supplies and are not compatible with most of the controllers on the market. I also liked the "bubble" on the lens above each LED which I feel helps to better disperse the light.
My only regret is that I couldn't find a customized pixel with not only the 3 standard RGB pixels for color and "bright white," but also an additional 4th pixel dedicated for "Warm White" only. So basically a RGB-WW. You can get close to a warm white color with RGB by approximating something in the 2700 Kelvin range, but it will never match a true warm white LED.
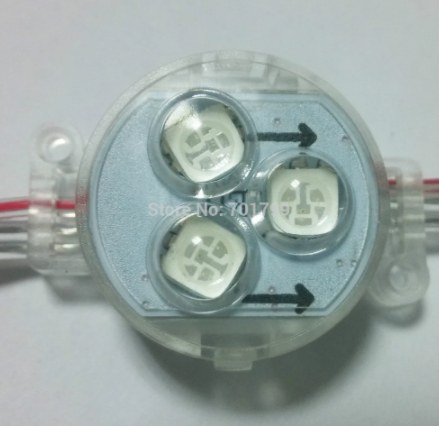
RayWu Aliexpress.com
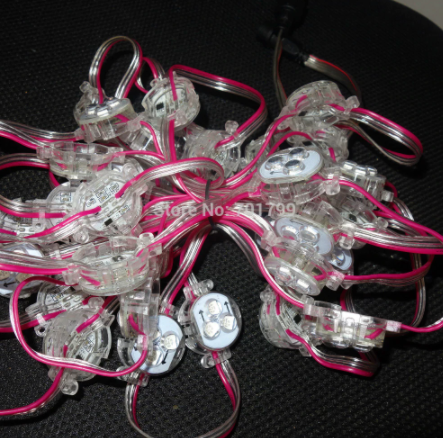
RayWu Aliexpress.com
For Controllers, after much research and discussions online with other light enthusiasts, I decided to go with Falcon Controllers using their differential controller and receivers. One big issue with pixel lights is voltage drops over long runs, which requires additional power injections after every so many pixels. Not a big deal with a condensed decoration like a mega tree or matrix display, but for long roof line runs, running additional low-voltage power lines to various parts of the roof can be cumbersome. So instead of having one centralized controller with all the wires being home-run back to that location, the differential receivers are cost effective and you can have multiple ones throughout the display limiting your wire run lengths and reducing the pixel count from each output to ensure adequate voltage.
There are several companies offering this type of receiver technology, but I felt that the Falcon units were very reasonably priced, and they came highly recommended from some local light enthusiasts that I contacted. I also liked the fact that Falcon is local Colorado company. Above else, the customer service and quick email responses I received from David Pitts from PixelController.com was exceptional! Treating customers right is very important to me. I first dealt with another popular online Christmas light distributor, but the arrogance and un-helpfulness of the company representative that I dealt with caused me to quickly take my business elsewhere.
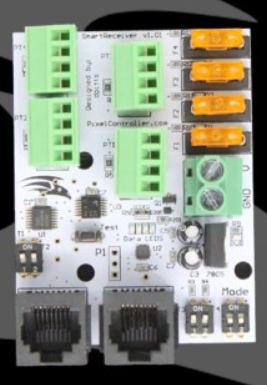
Falcon 4-String Differential Smart Receiver Board
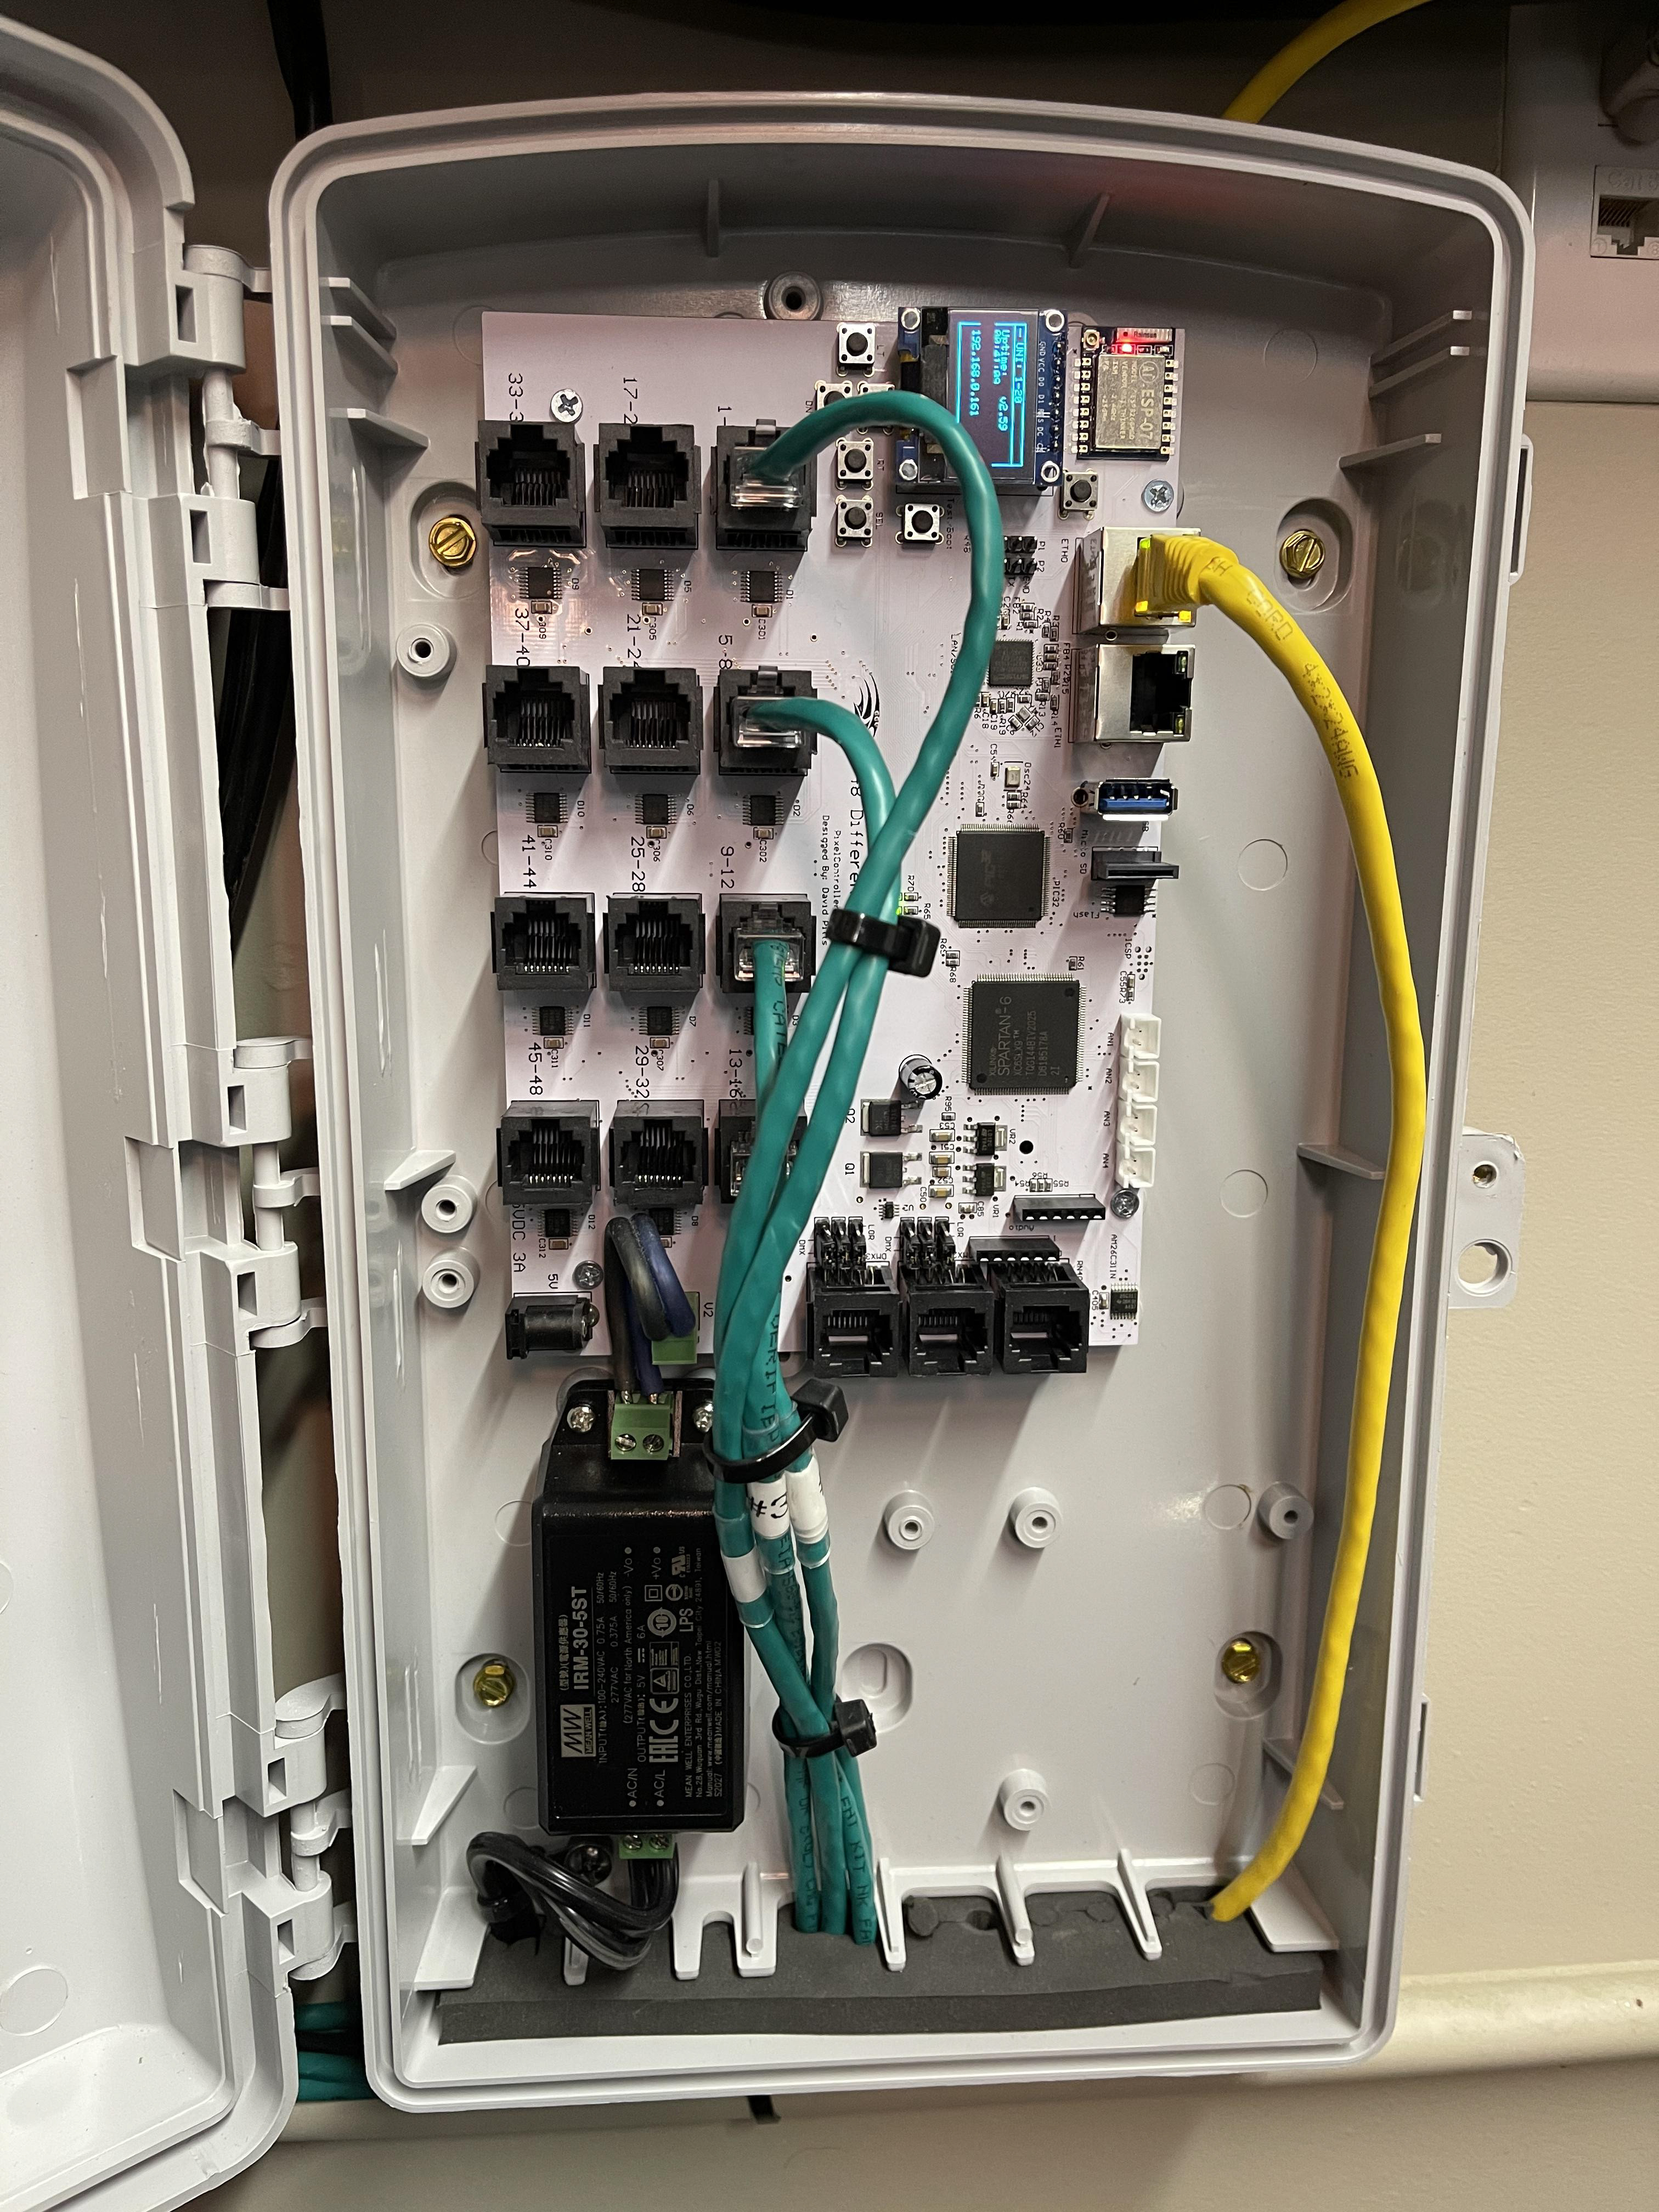
Falcon F48 Differential Controller
In order to keep the wire lengths from the receiver to the first pixel as short as possible, I knew that I was going to mount 3 of the 4 receivers in the attic to keep those runs to no more then 17' feet maximum. If those wire runs are too long before the first pixel receives the data signal to repeat it to the next pixel, you can end up with non-responsive or misbehaving pixels and sometimes have to add a "null pixel" in between.
For the 12V power supplies, I initially didn't want to mount those in the attic for safety reasons. But after running some calculations on the wire size and wattage required to have a centrally mounted power supply in the garage and 30-75' runs to the attic without incurring detrimental voltage drops, I realized that mounting the power supplies in the attic was the only option.
To mitigate some of the risk, I went with enclosed IP68 rated power supplies, even though they would never be subjected to the elements, because I considered the sealed chassis design to be more immune to a fire hazard then the standard perforated chassis design. I also went with only name branded power supplies from Mean Well (which tend to be regarded as some of the most reliable) and sourced them from a reputable U.S. Distributor to avoid the risk of counterfeit units being purchased from a 3rd party seller on an online marketplace. I have similar power supplies such as these powering LED strip lighting in our basement bar cabinets, and they have been working flawlessly for 7 years now.
Lastly, since I needed to install power outlets in the attic anyway, I ran a dedicated 20-amp circuit for everything related to the Permanent Lights. Before connecting it to my garage electrical sub-panel, I also installed a Nu-Tone Z-Wave 20-Amp switch so that I can power down the circuit during the daylight hours to allow the power supplies to cool (especially during the hot summer months) and to reduce the overall "up-time" on the components, including the processors in the controller and receiver boards. Lastly I also installed an Energy Consumption Monitor so that I can see how many Watts/Amps the system is drawing. Full White draws the most power, but since most of my display sequences are a combination of colors and brightness, the average power draw is around 275 watts (2.29 Amps). Even "at rest" with none of the LEDs on and just the power supplies and controllers powered up, the draw is about 85 watts.
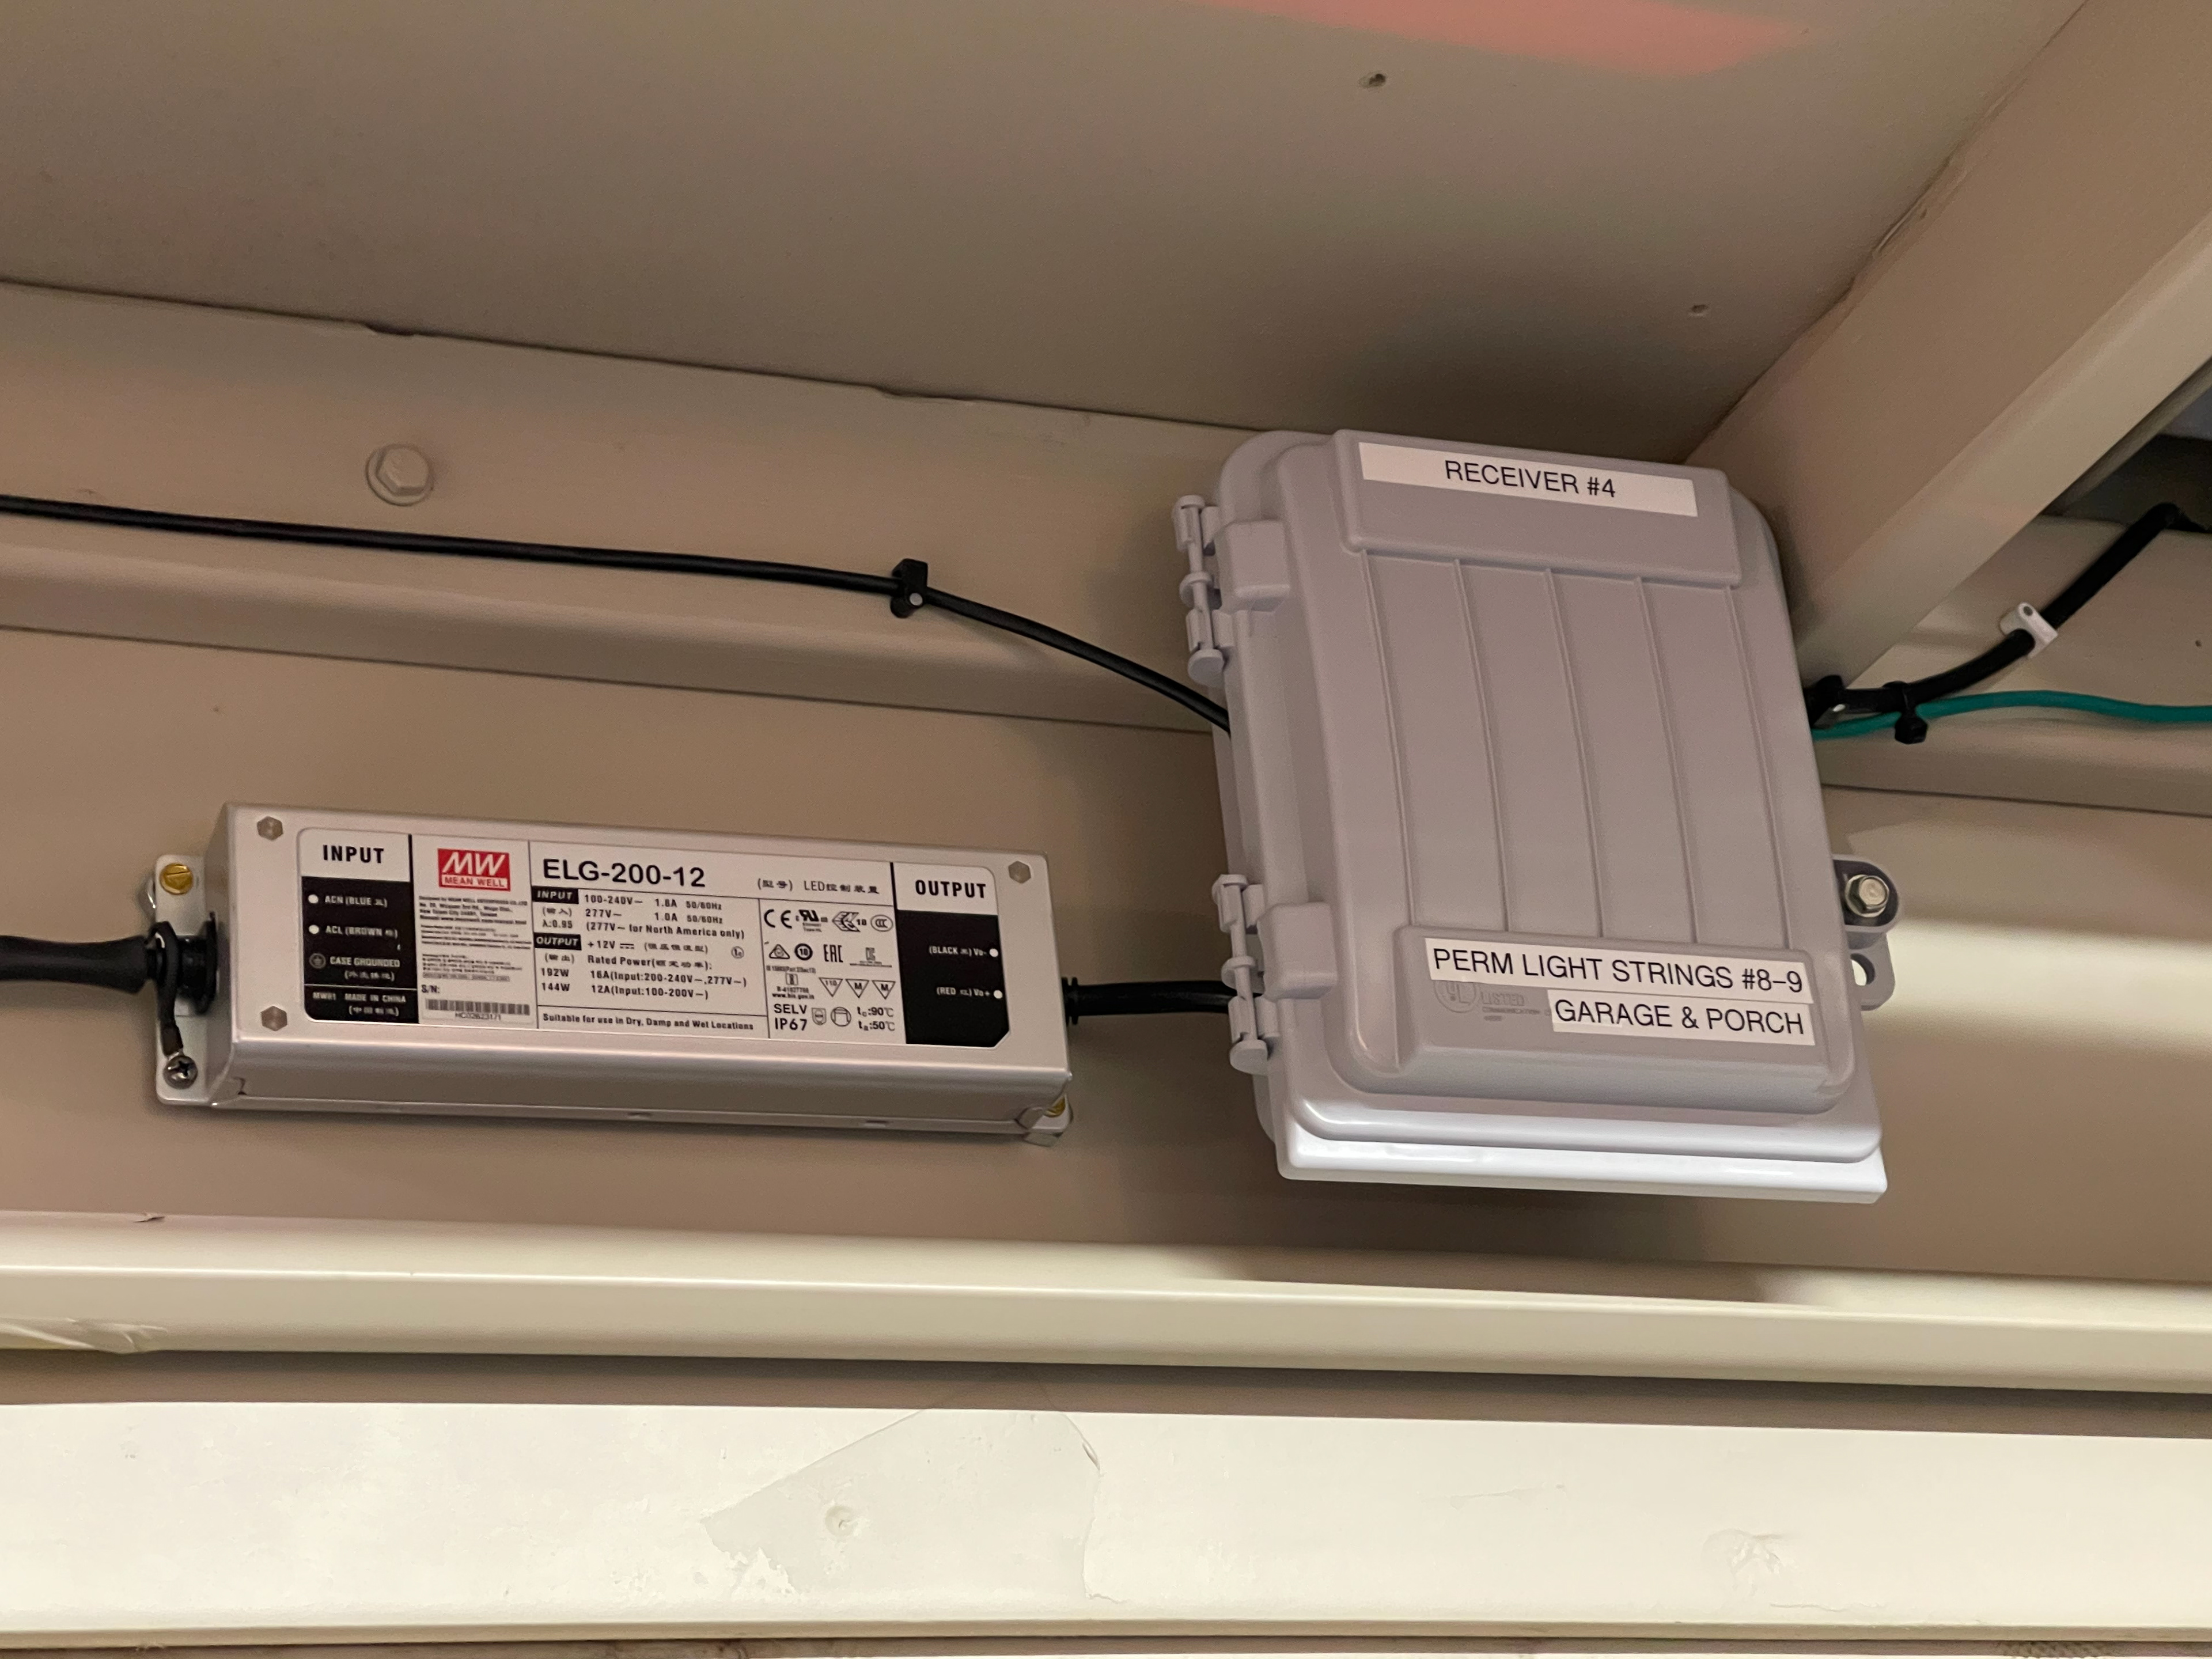
Garage
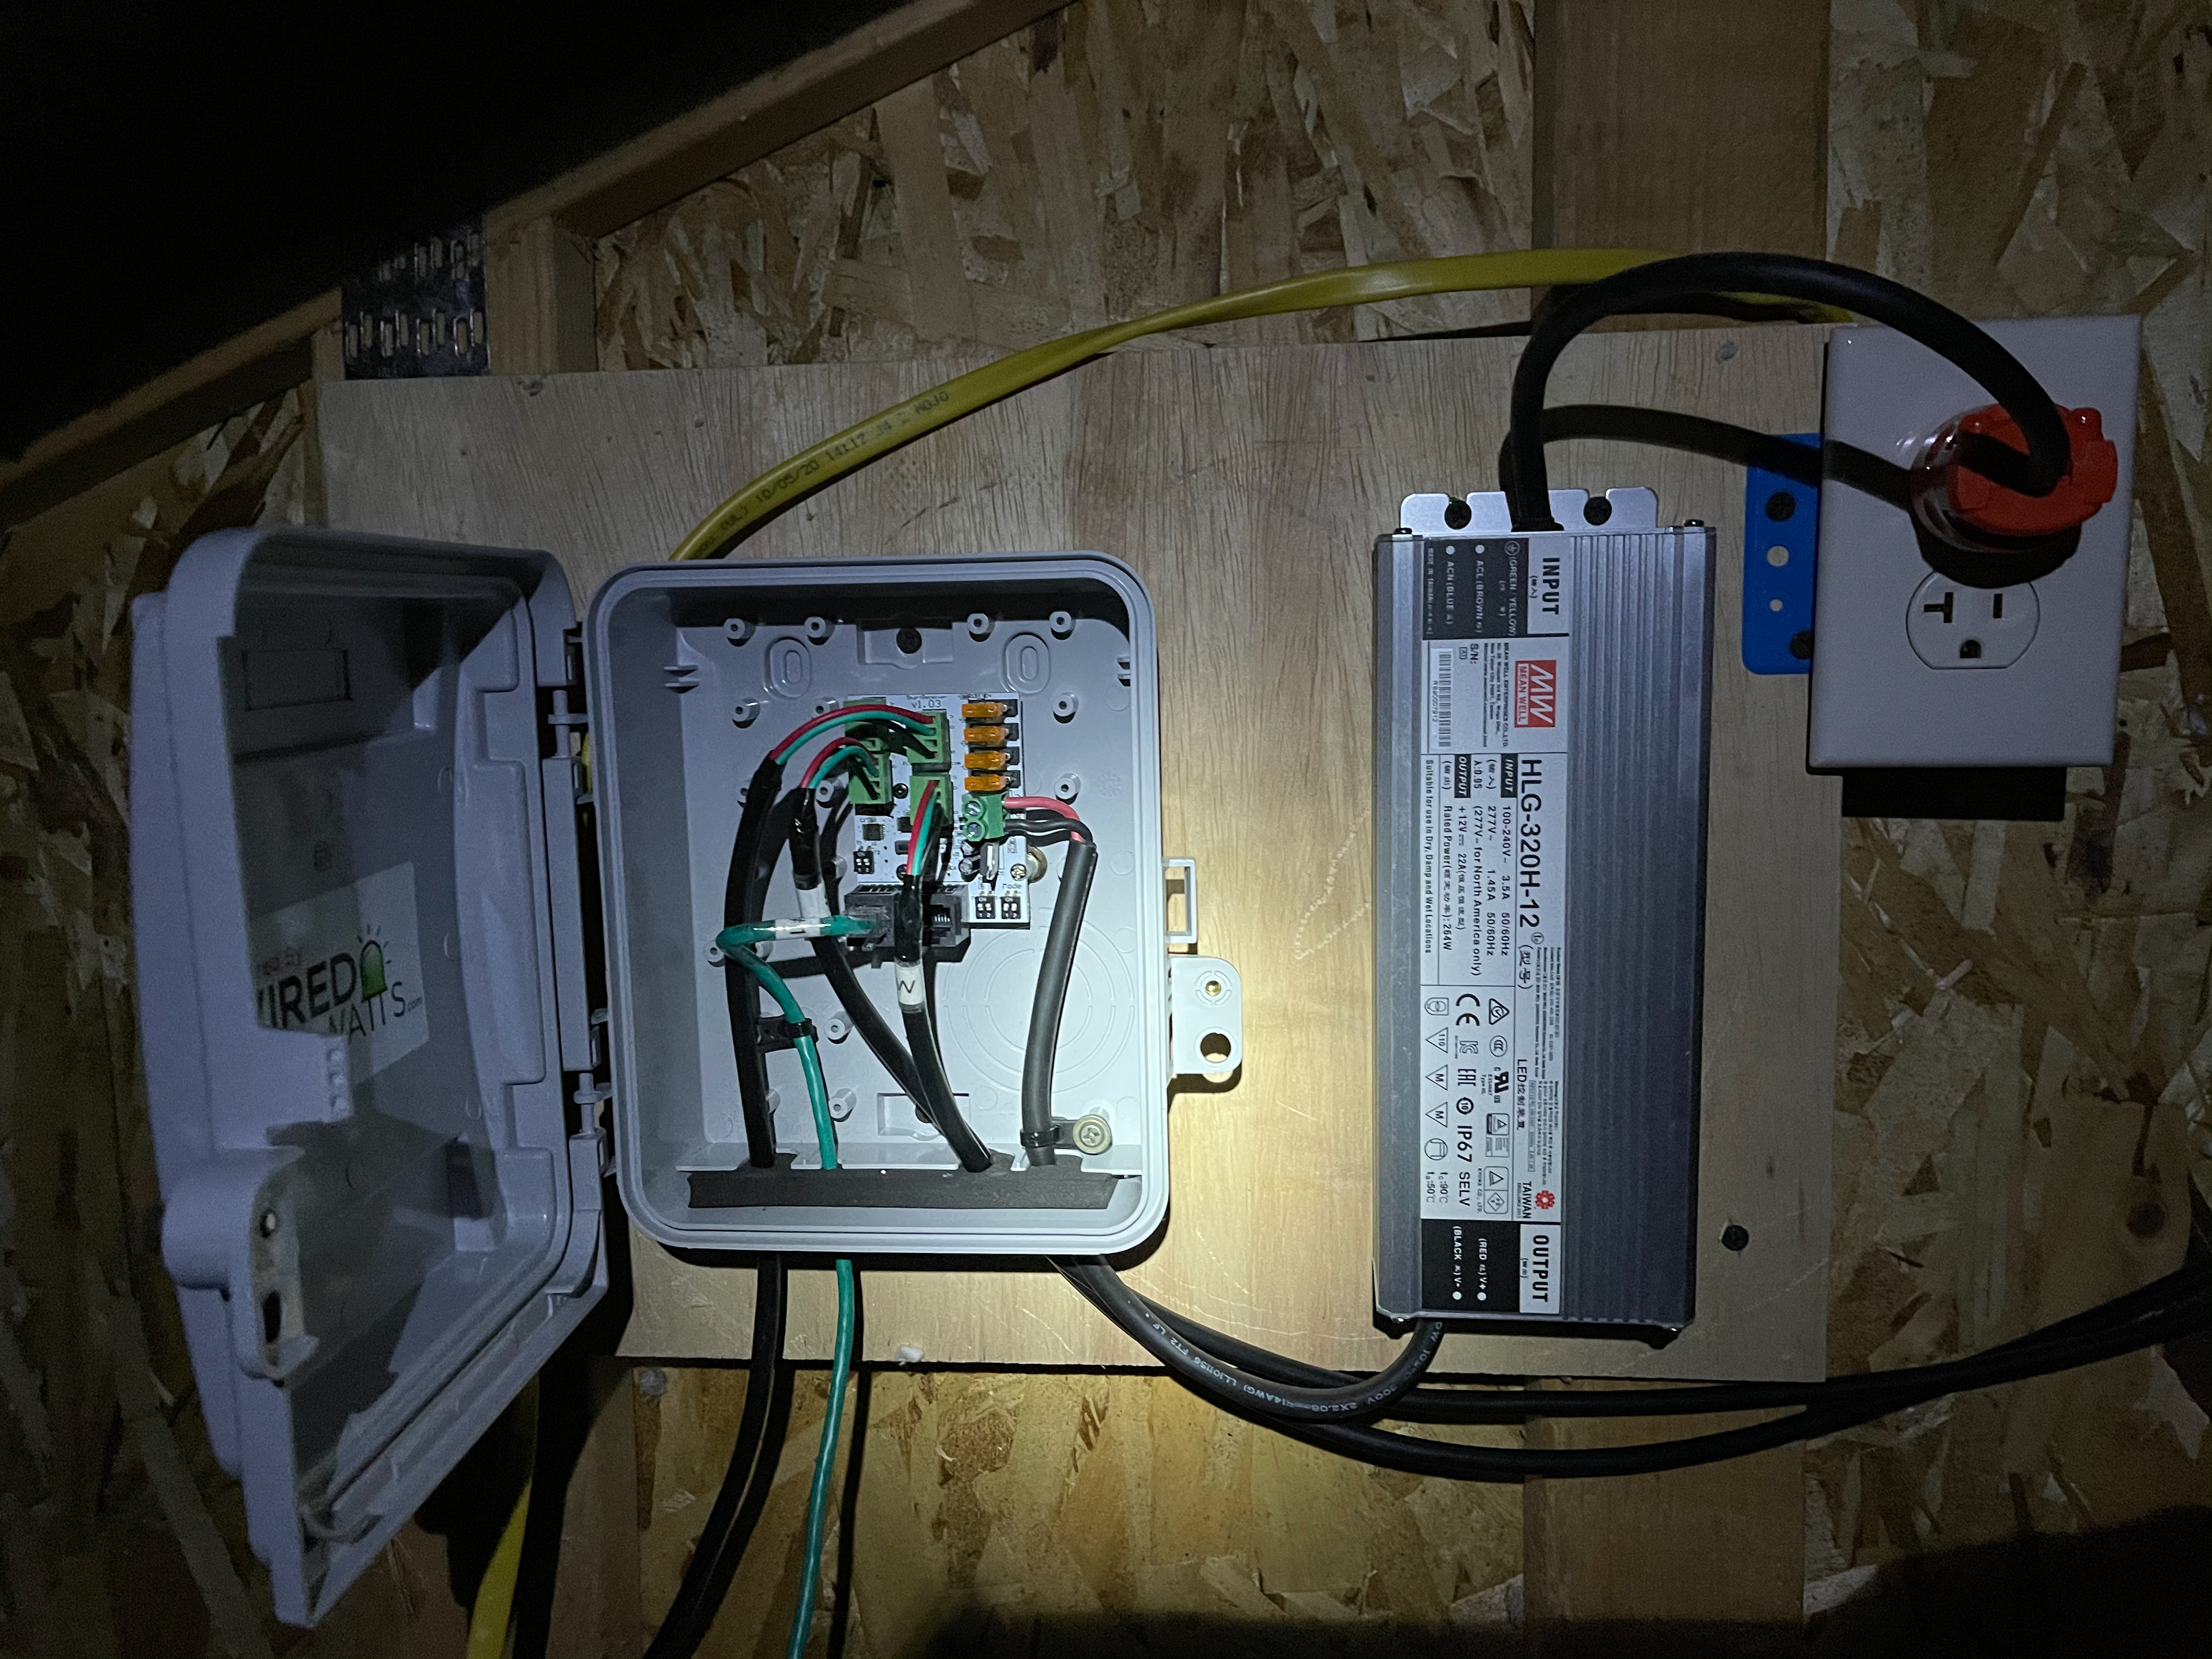
West Attic
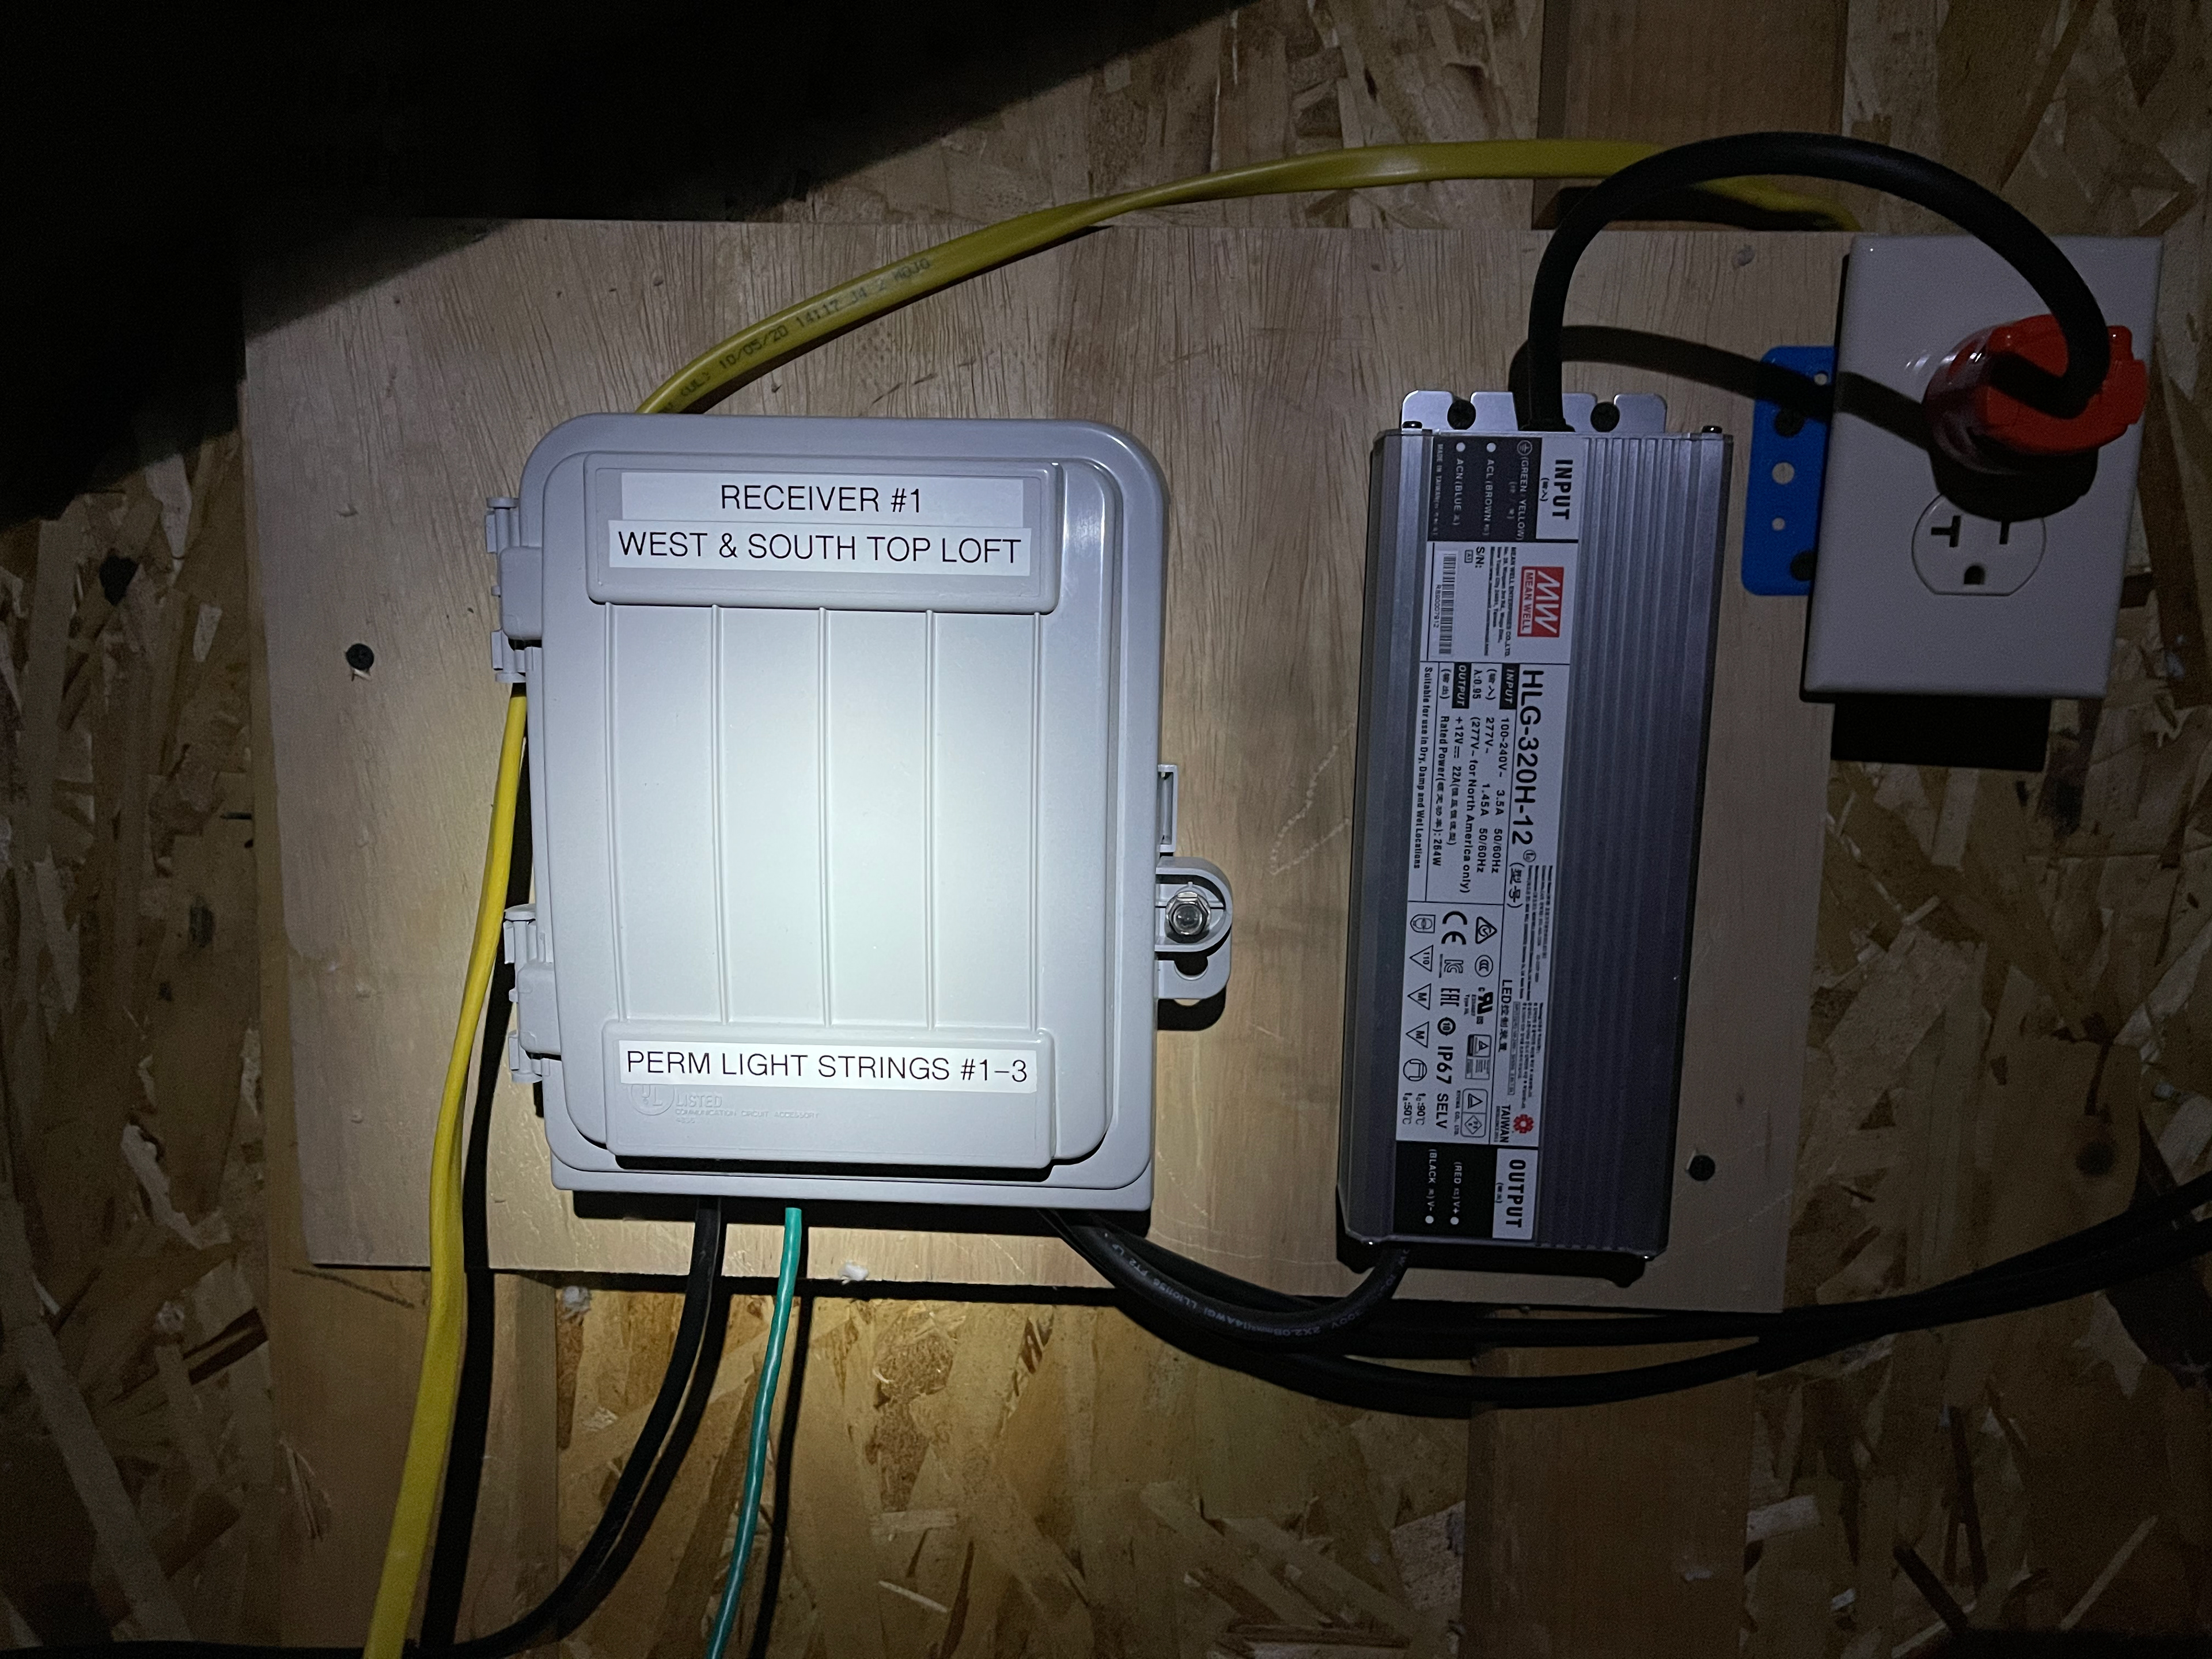
West Attic
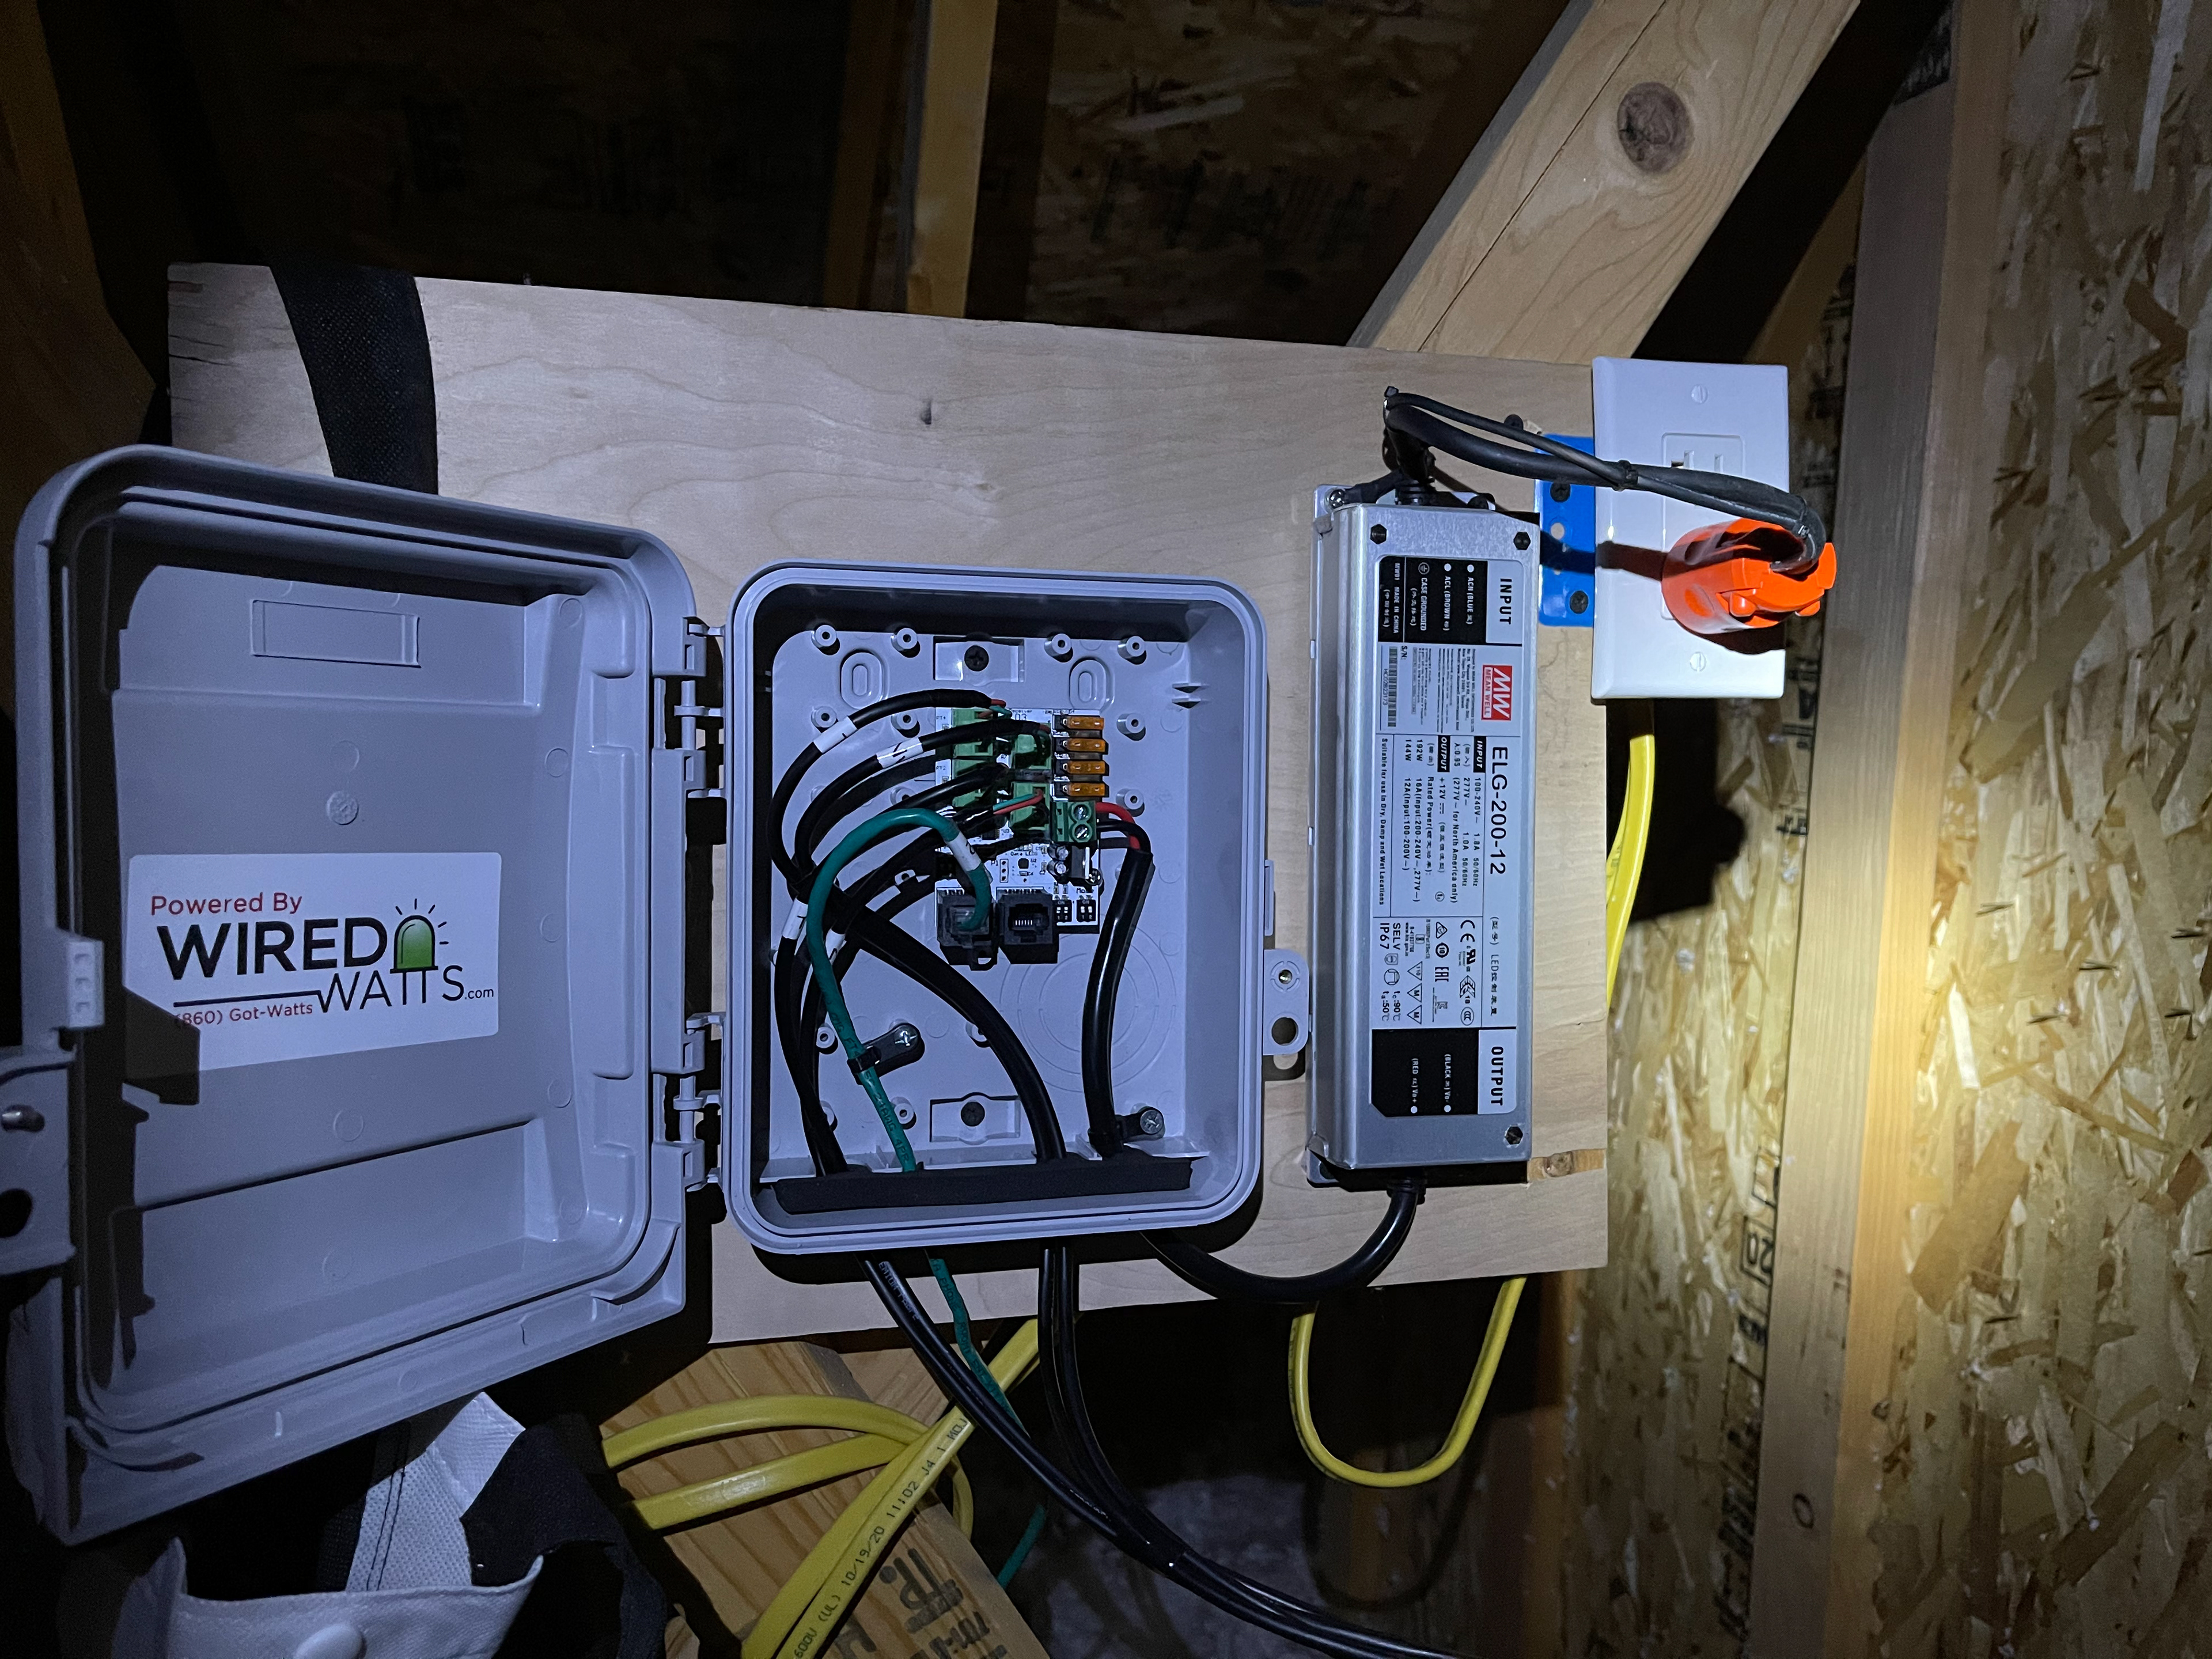
South Attic
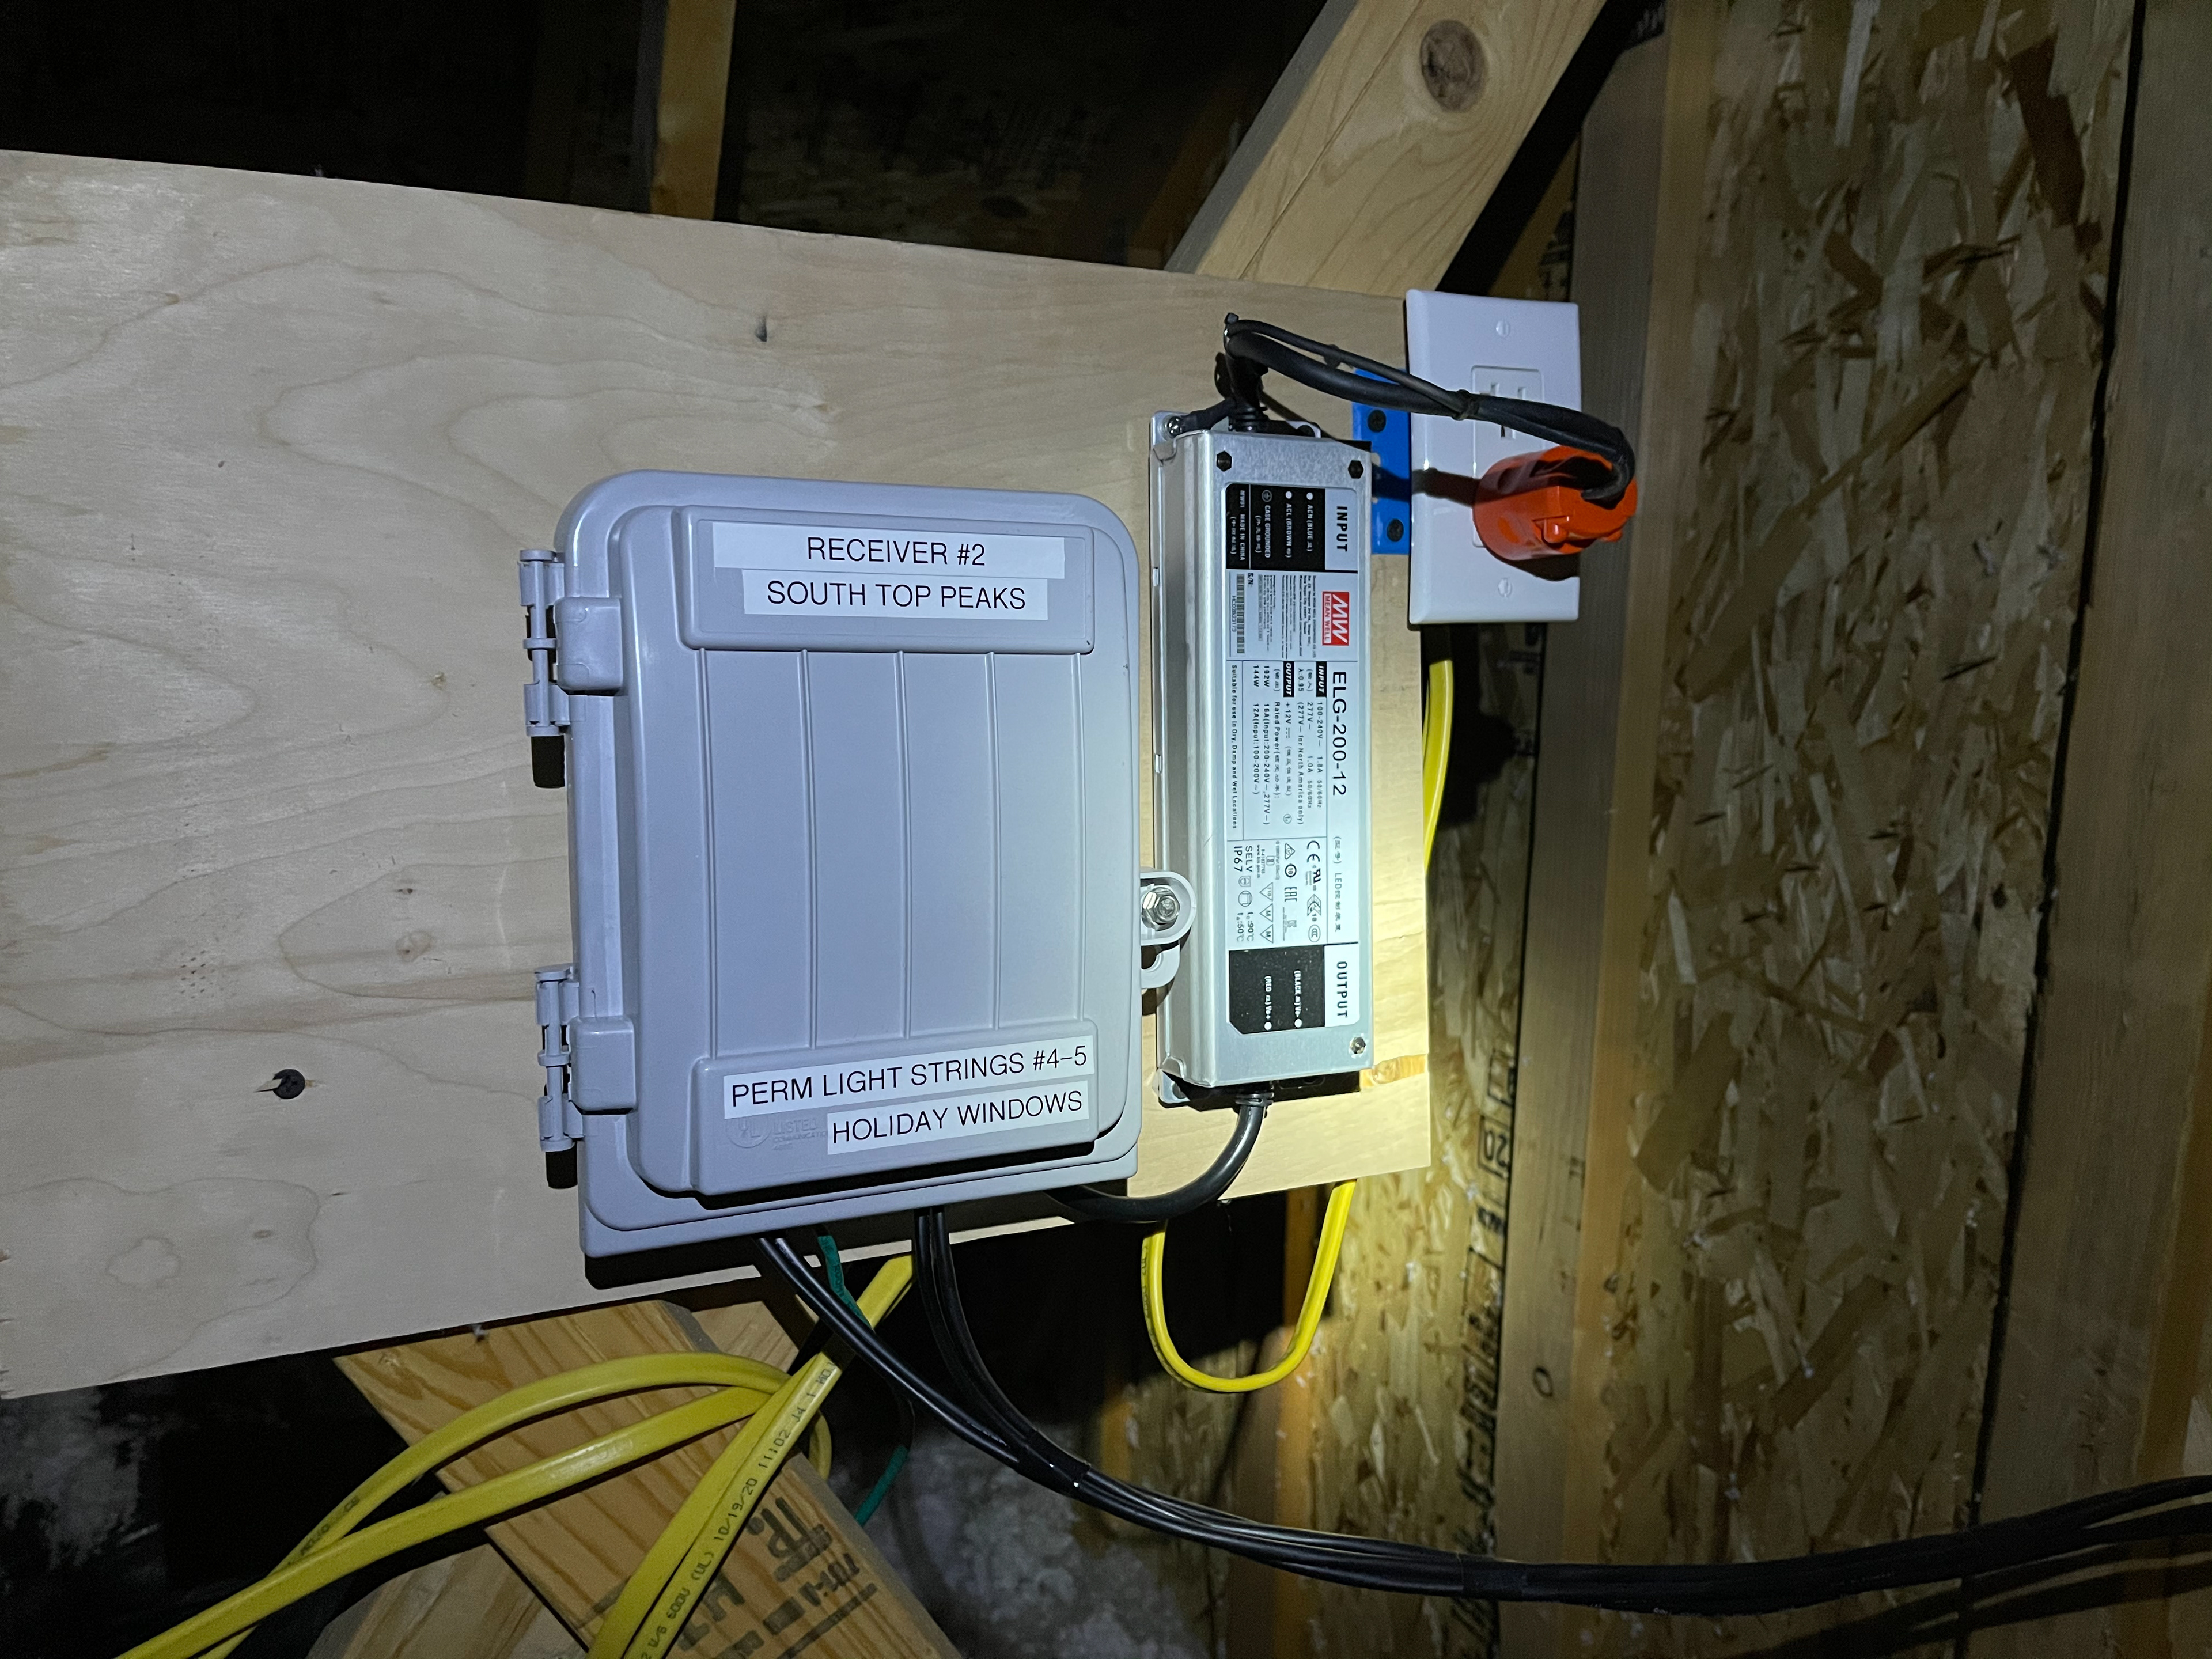
South Attic
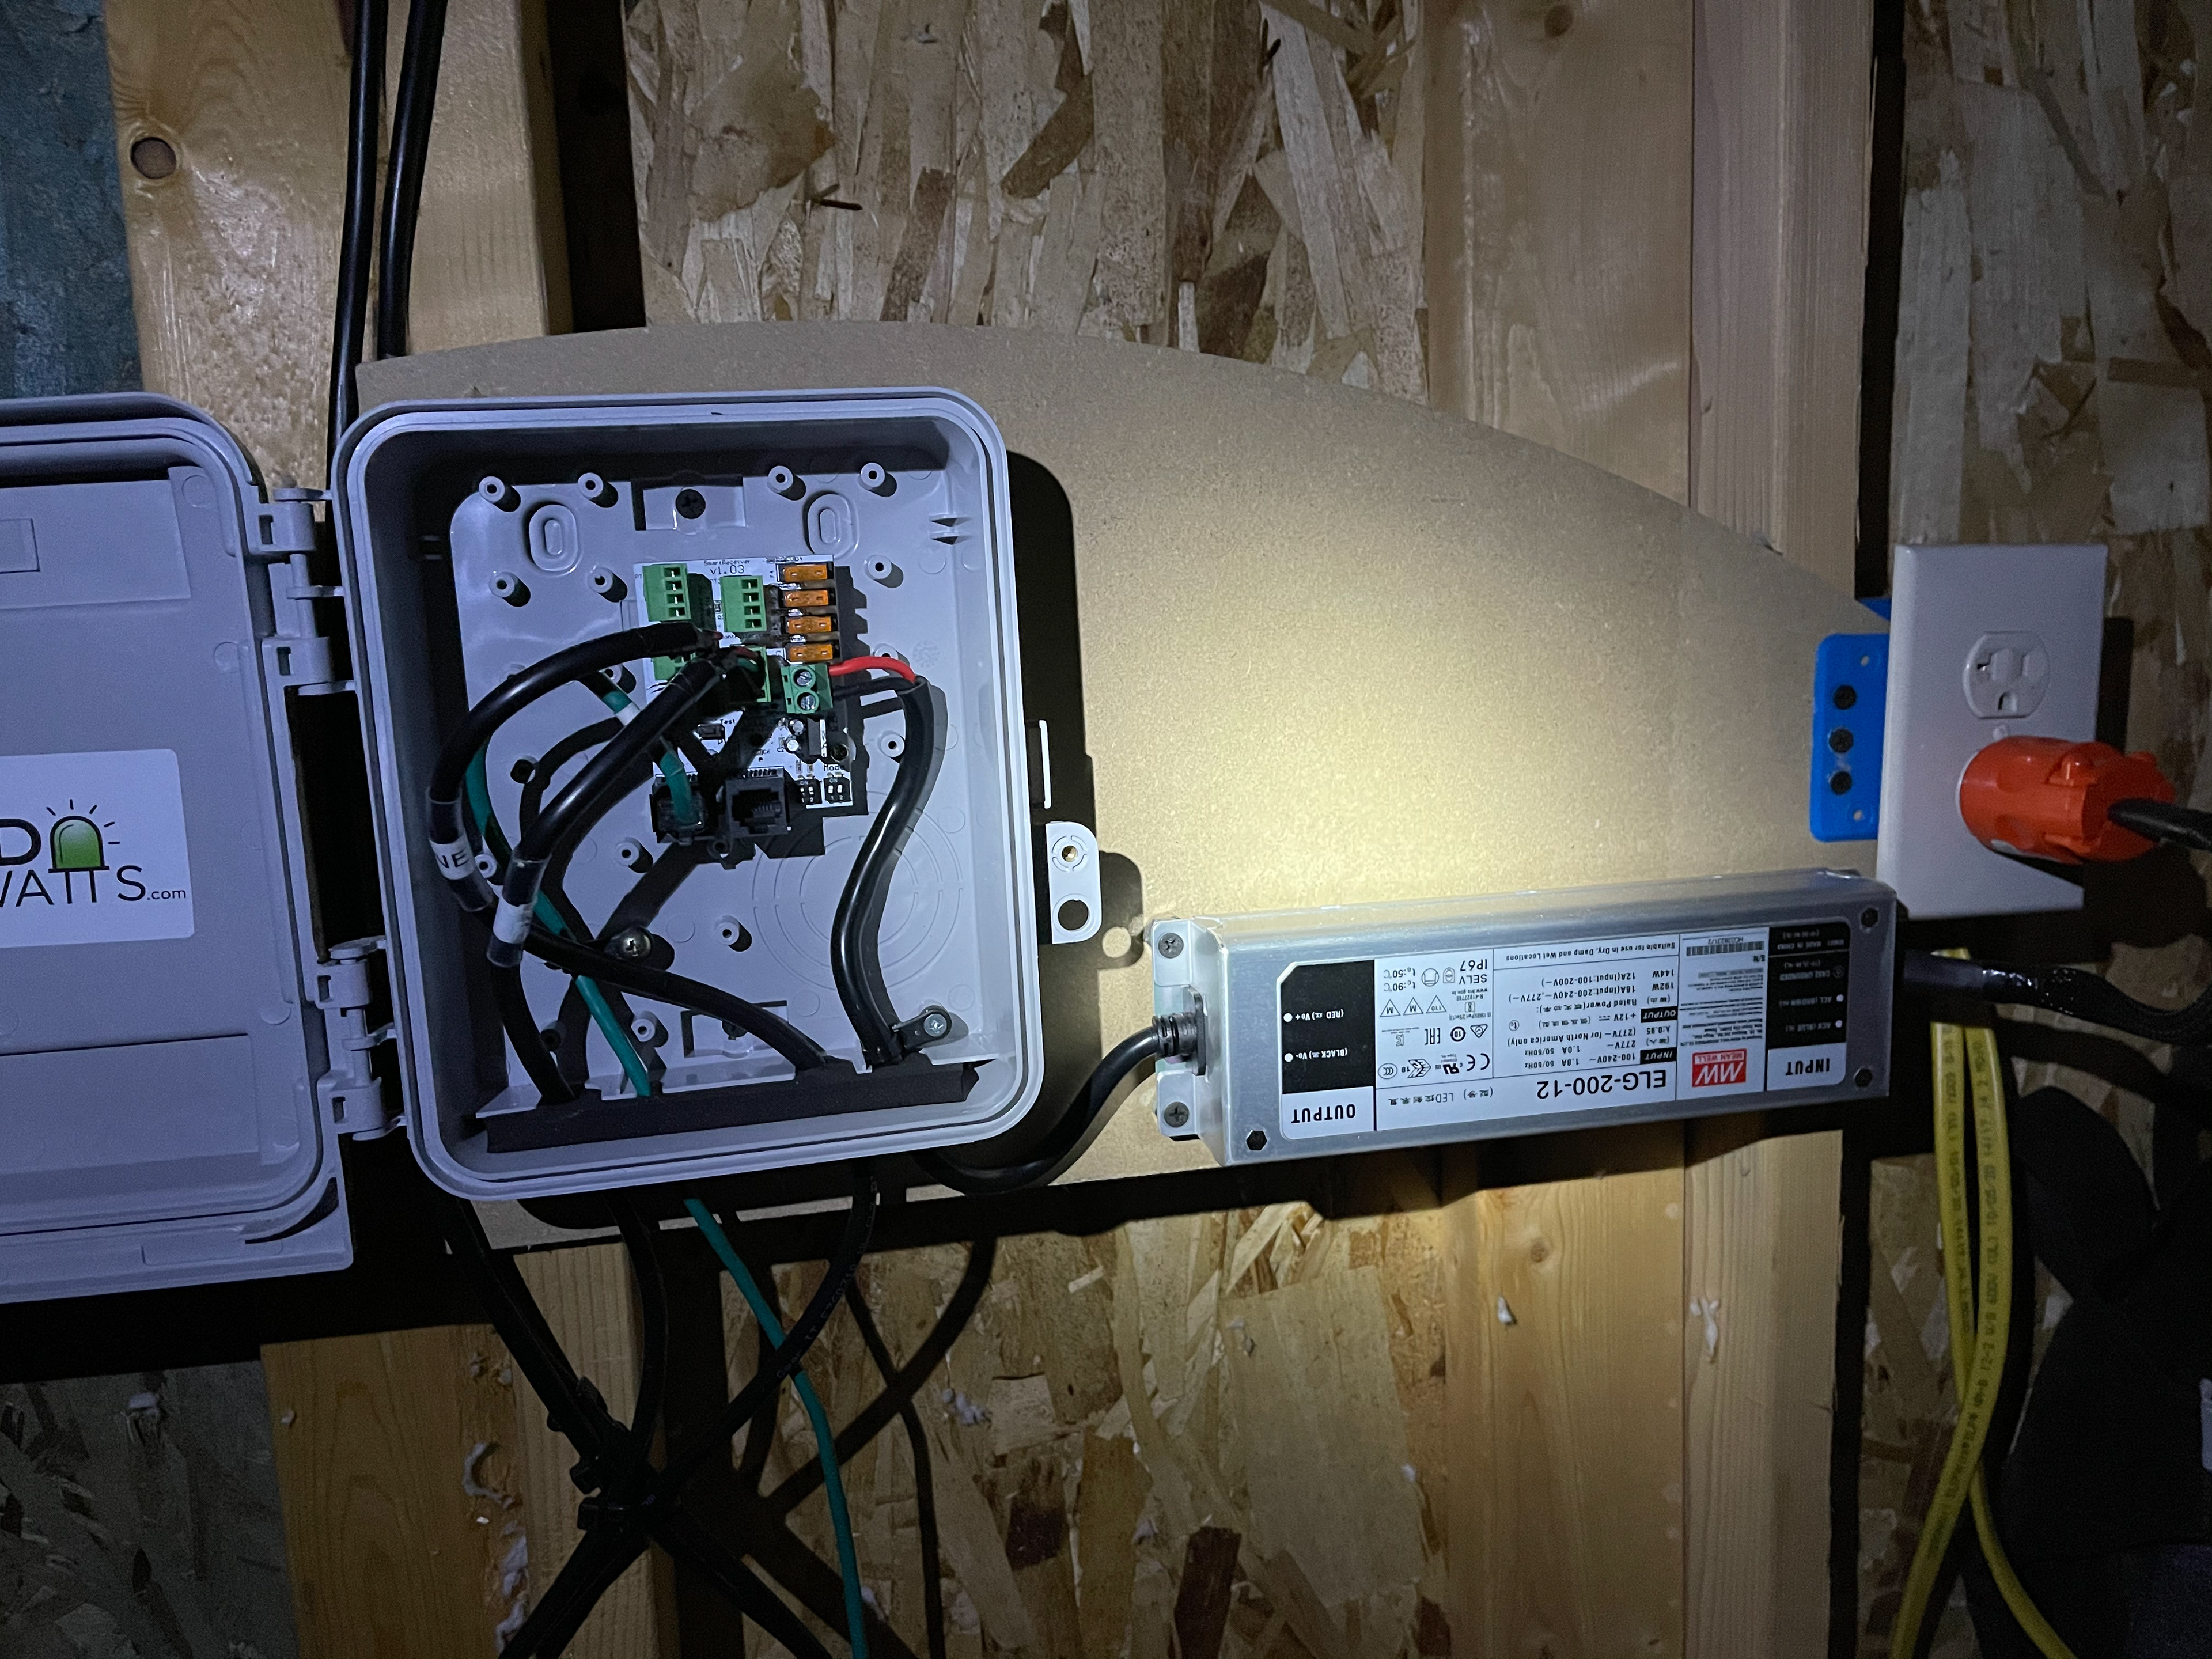
East Attic
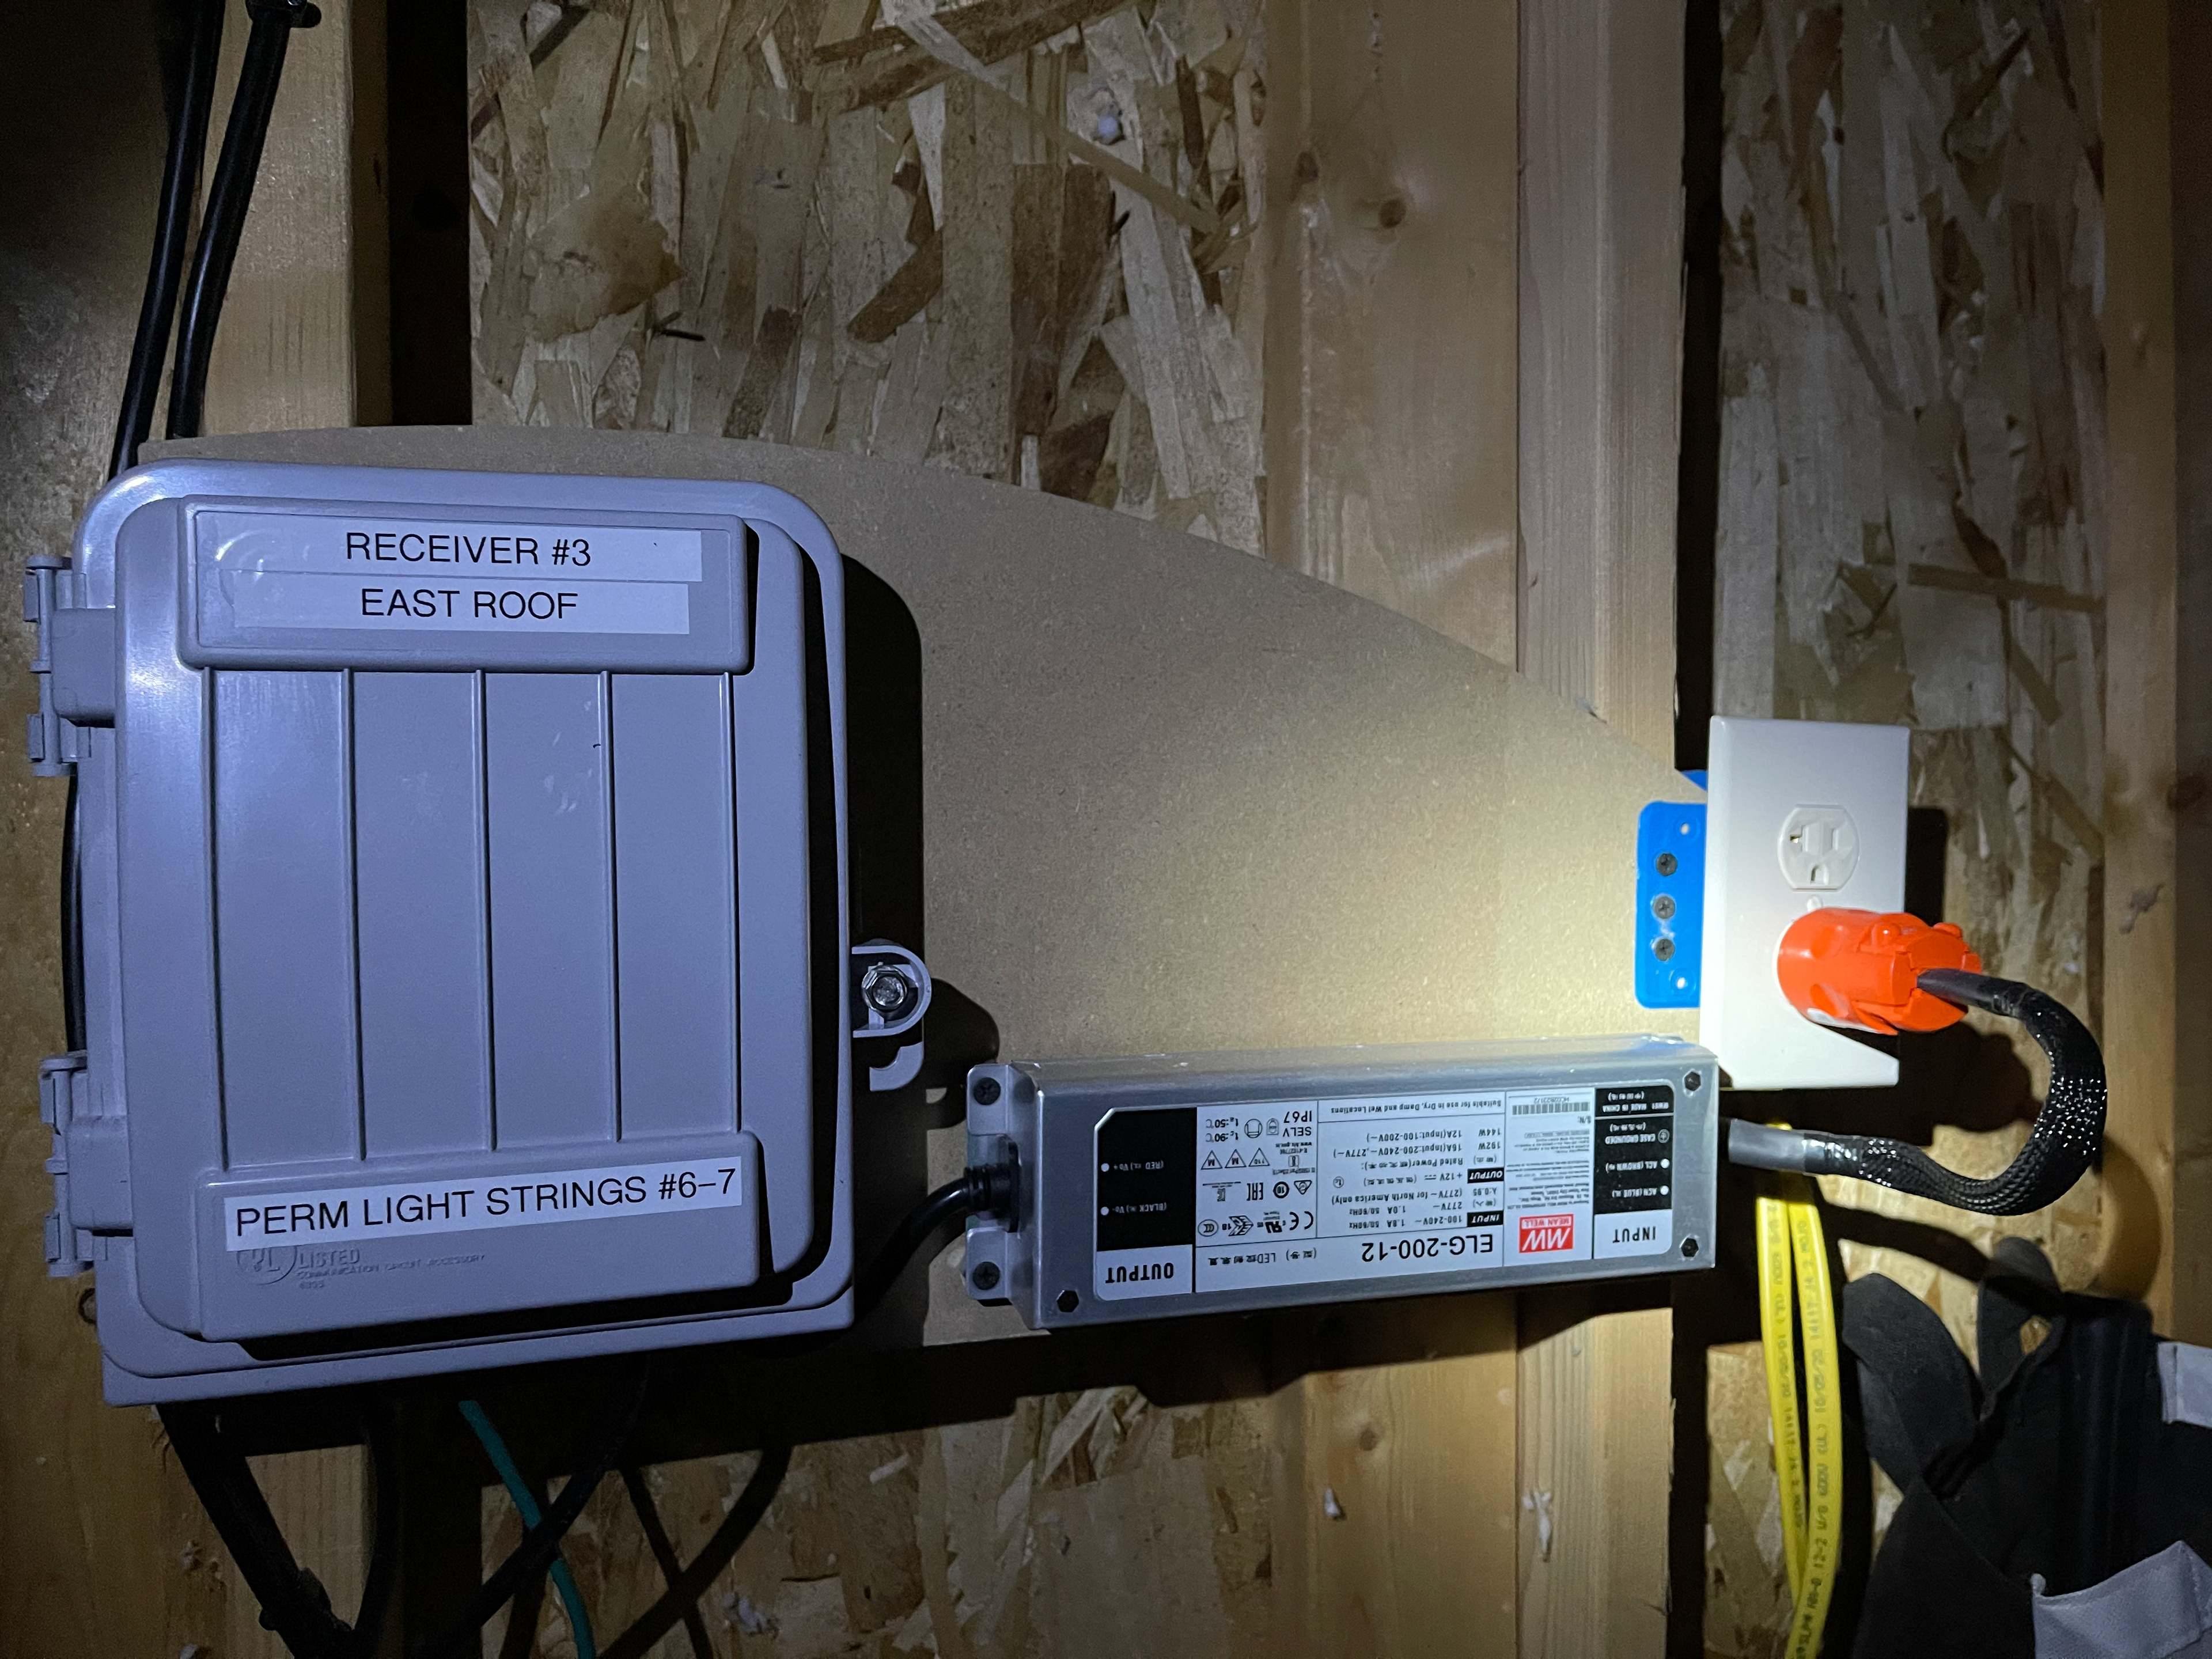
East Attic
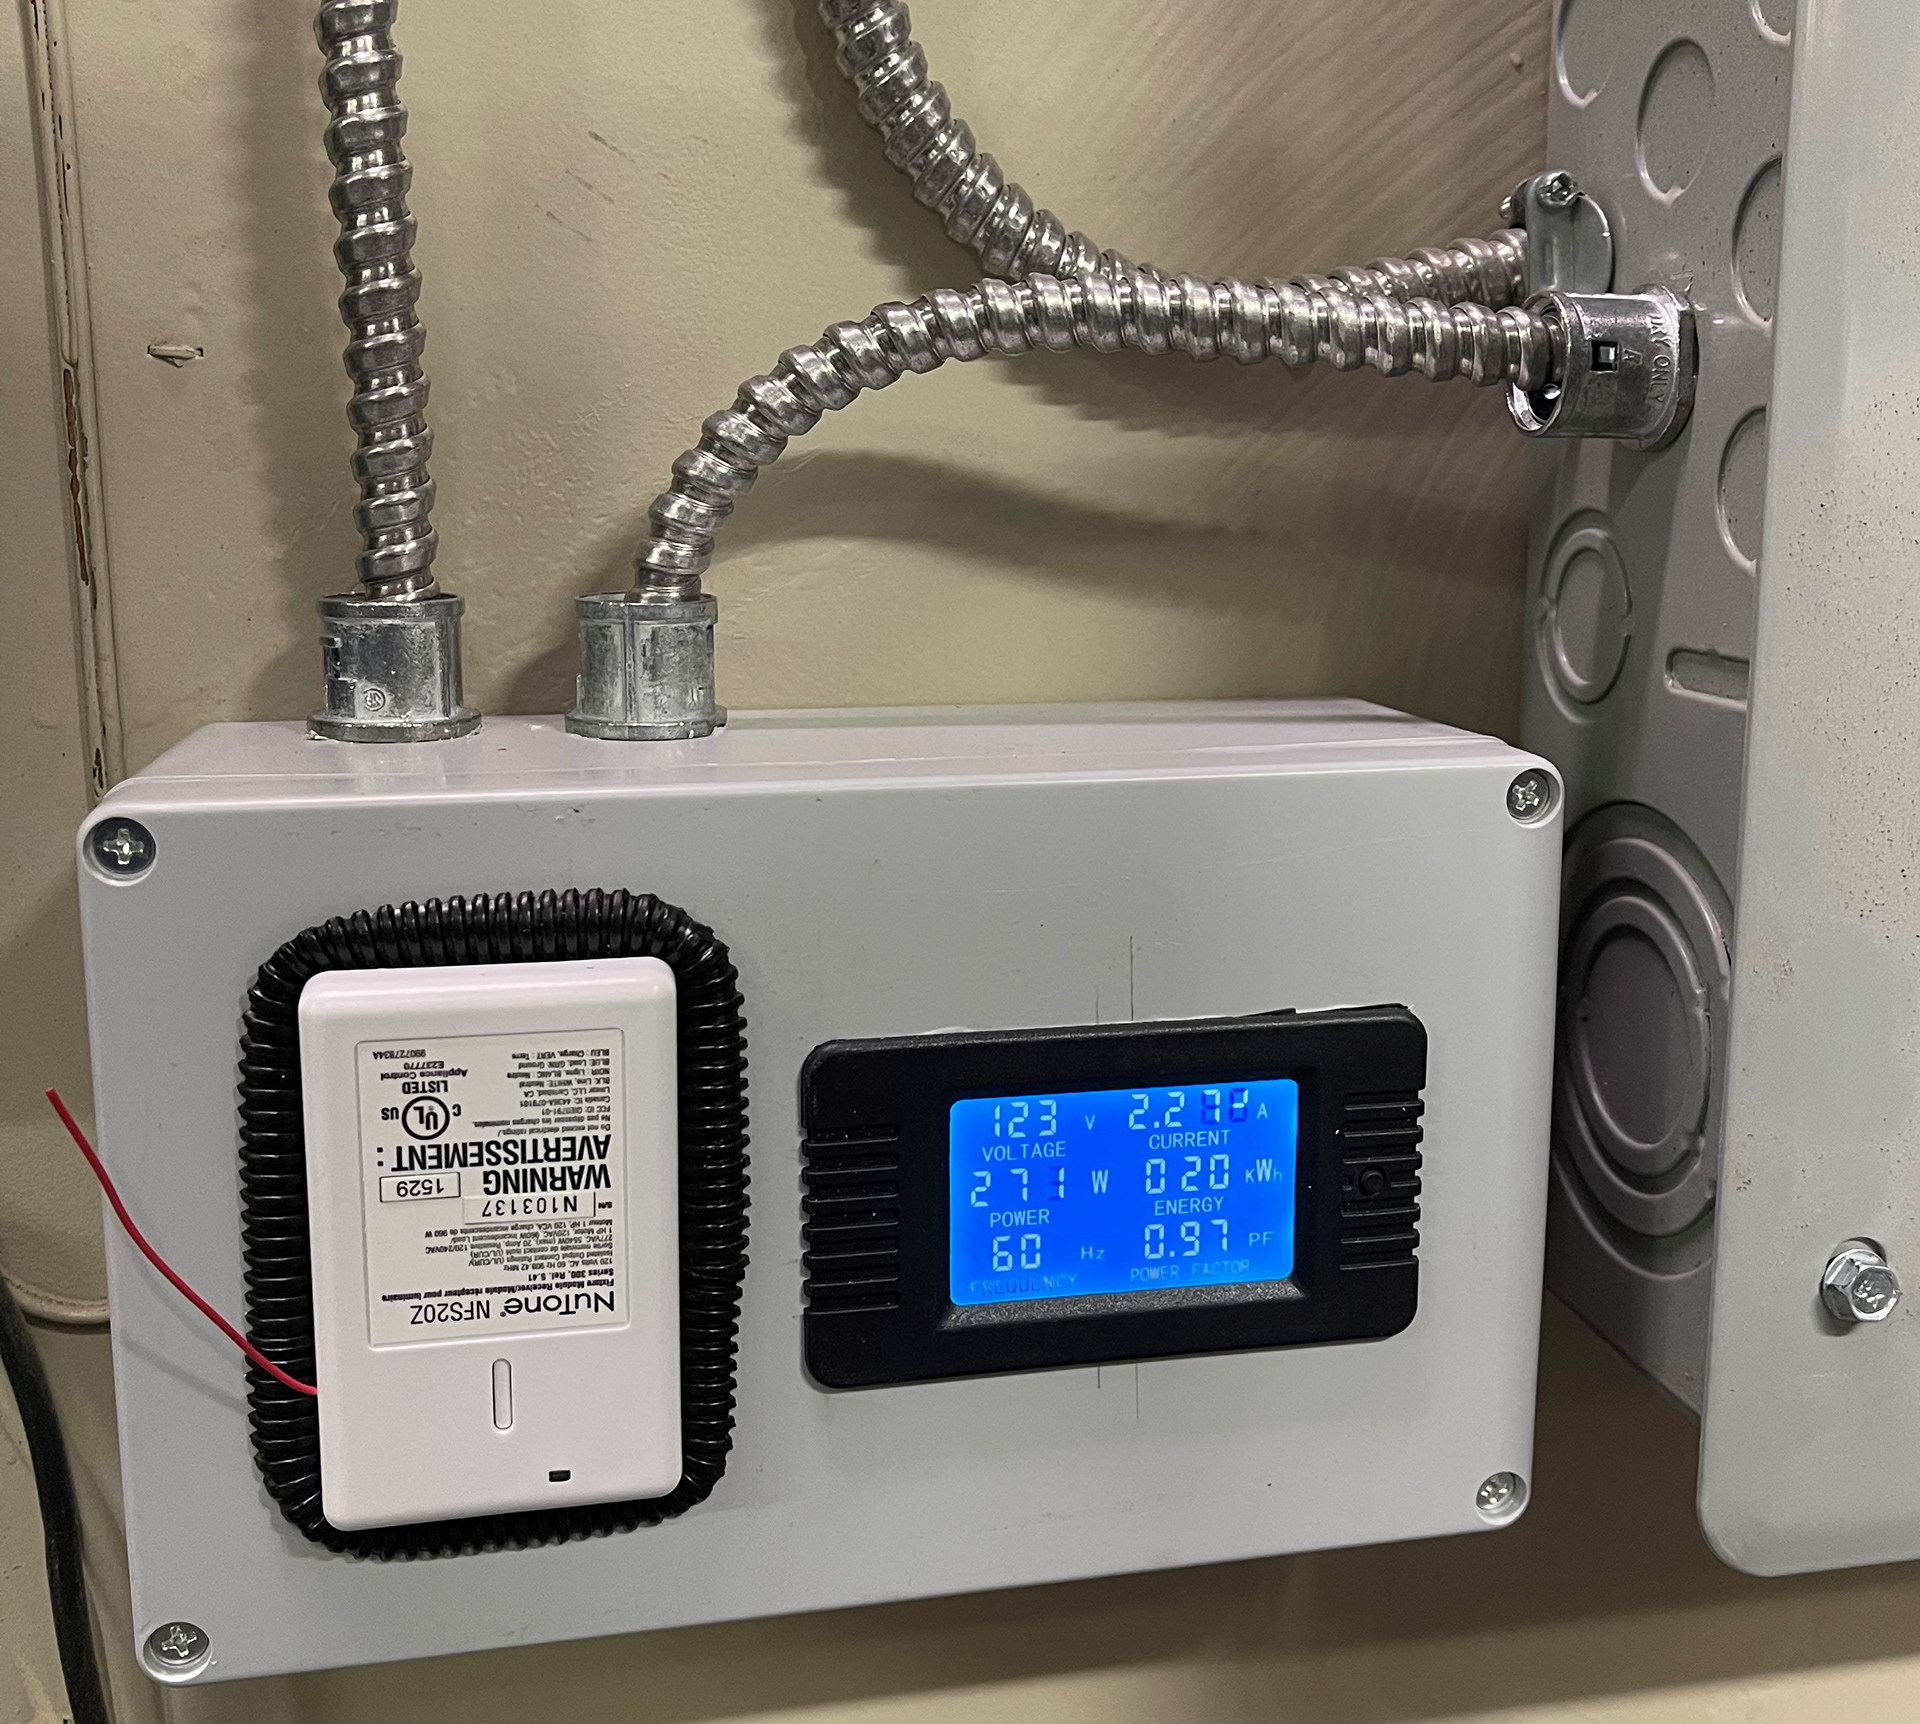
Z-Wave Controller & Energy Monitor
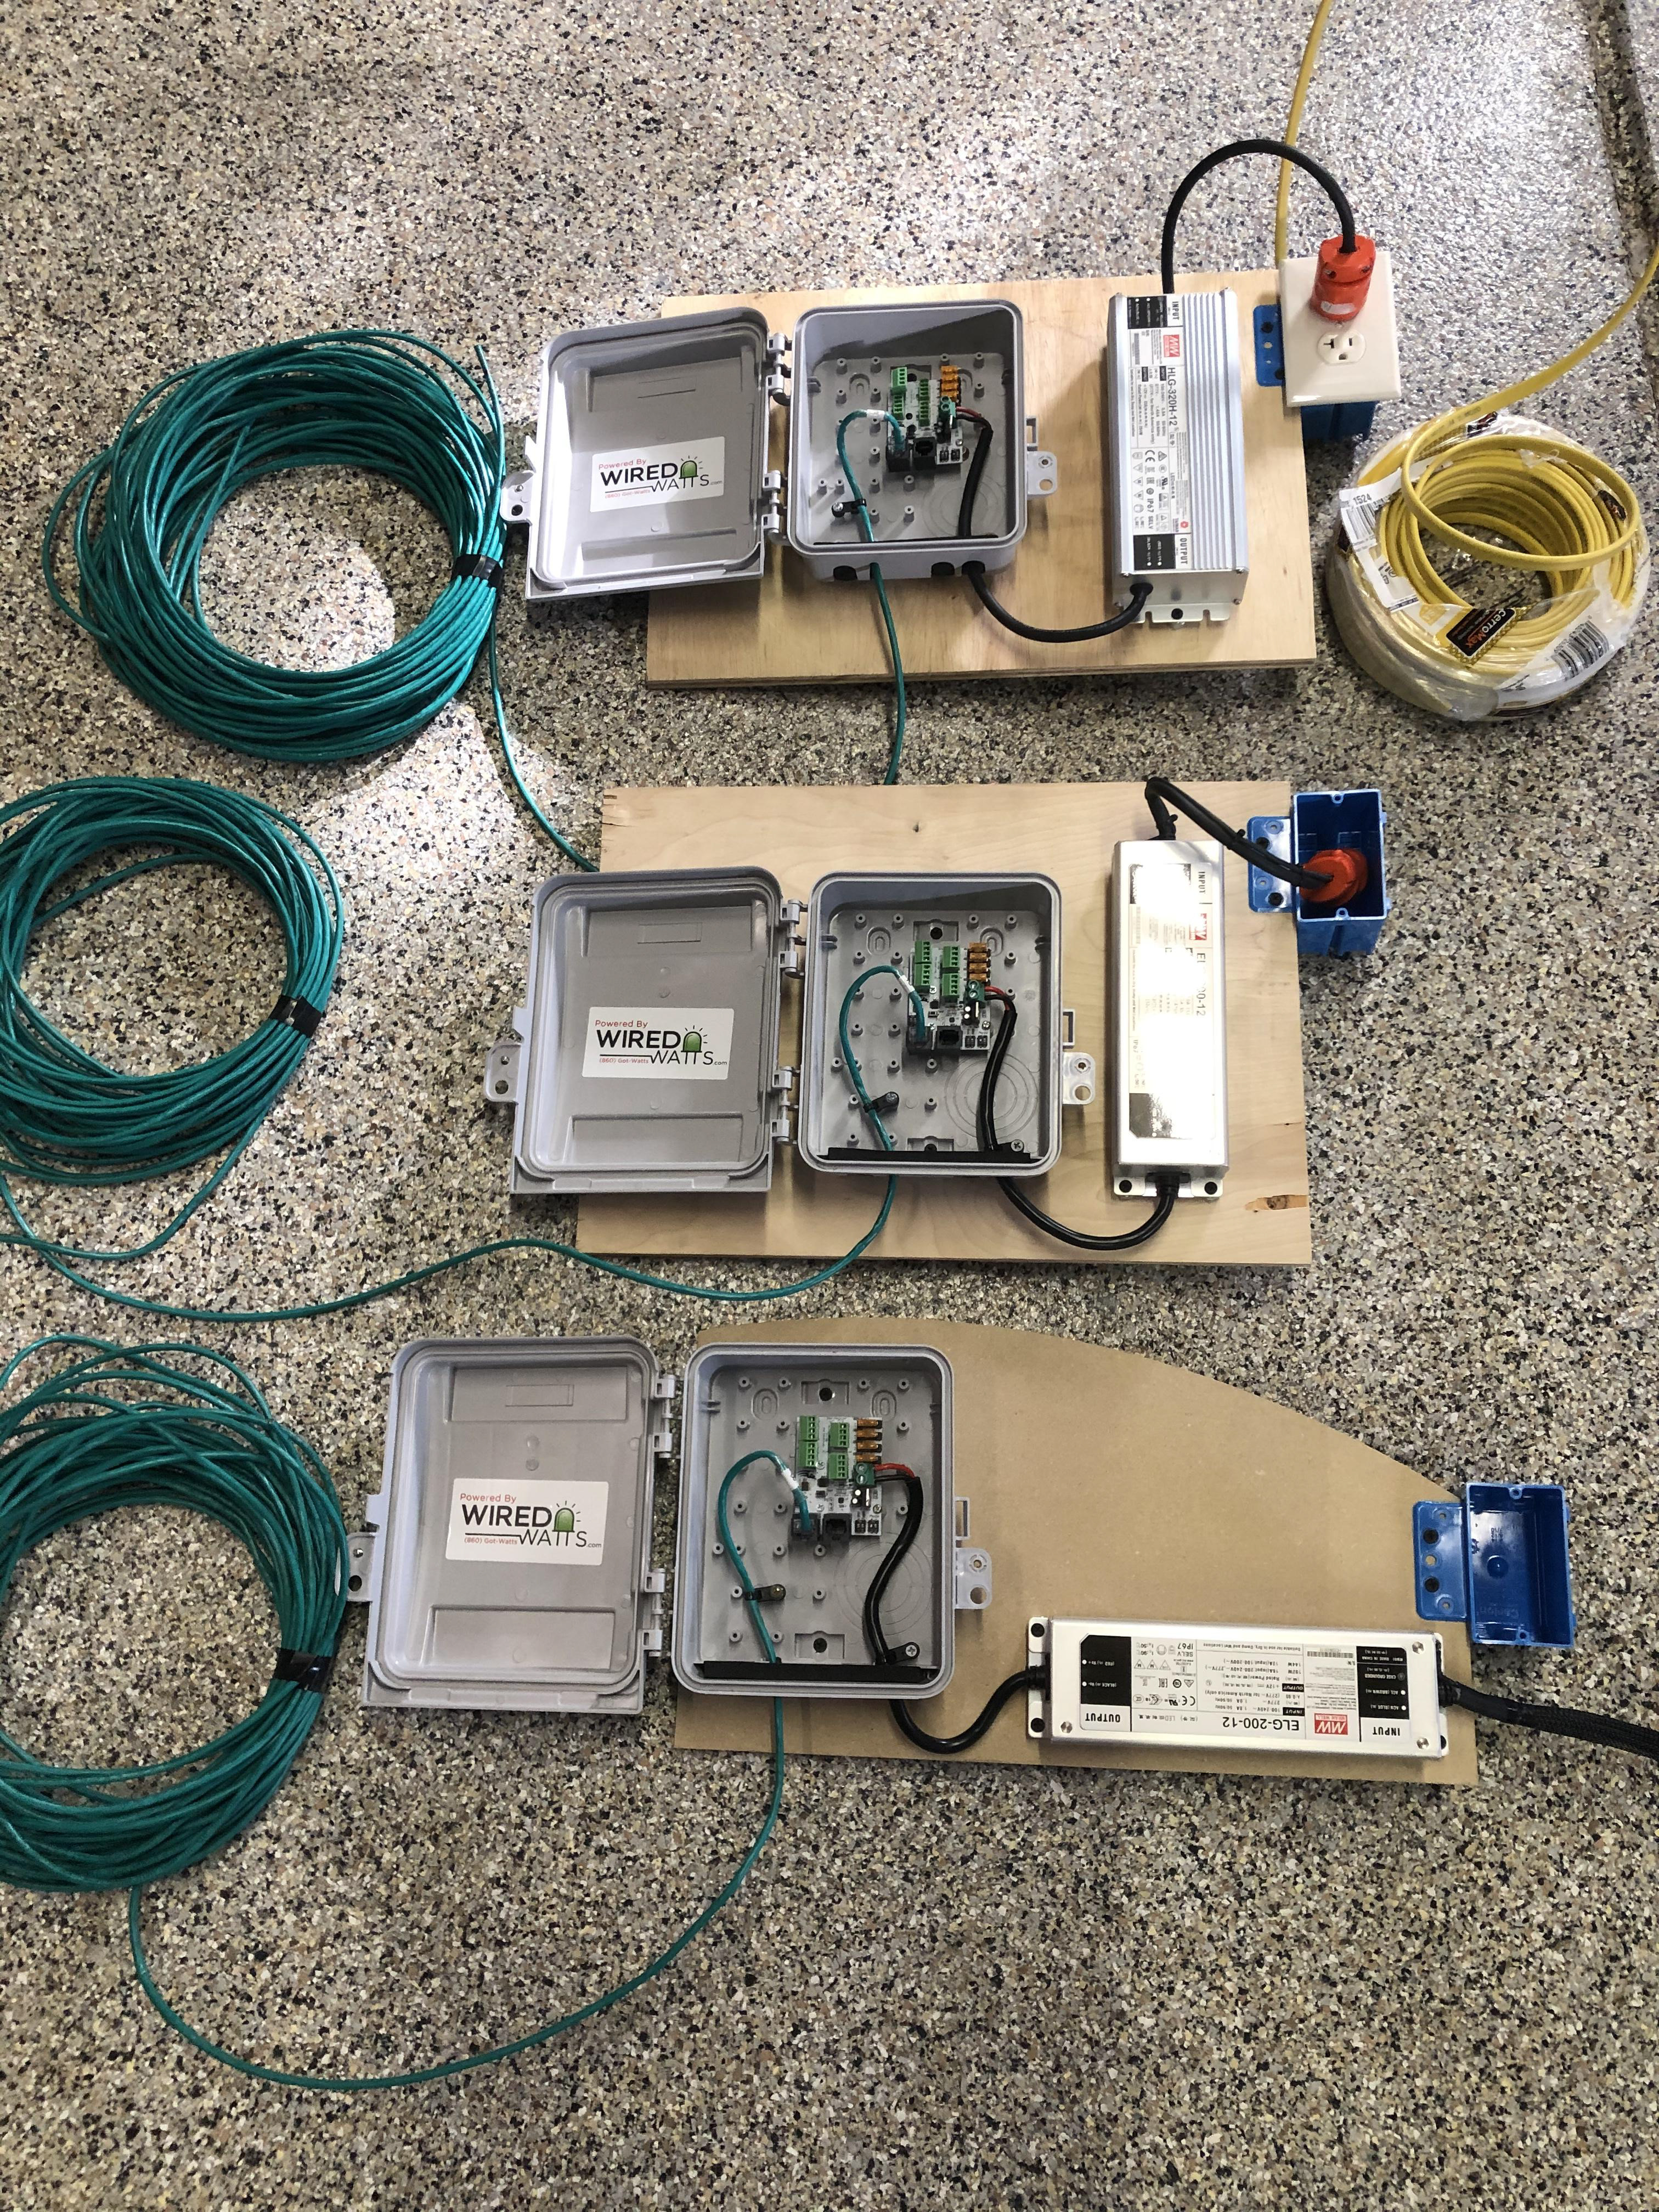
Pre-wired for Install
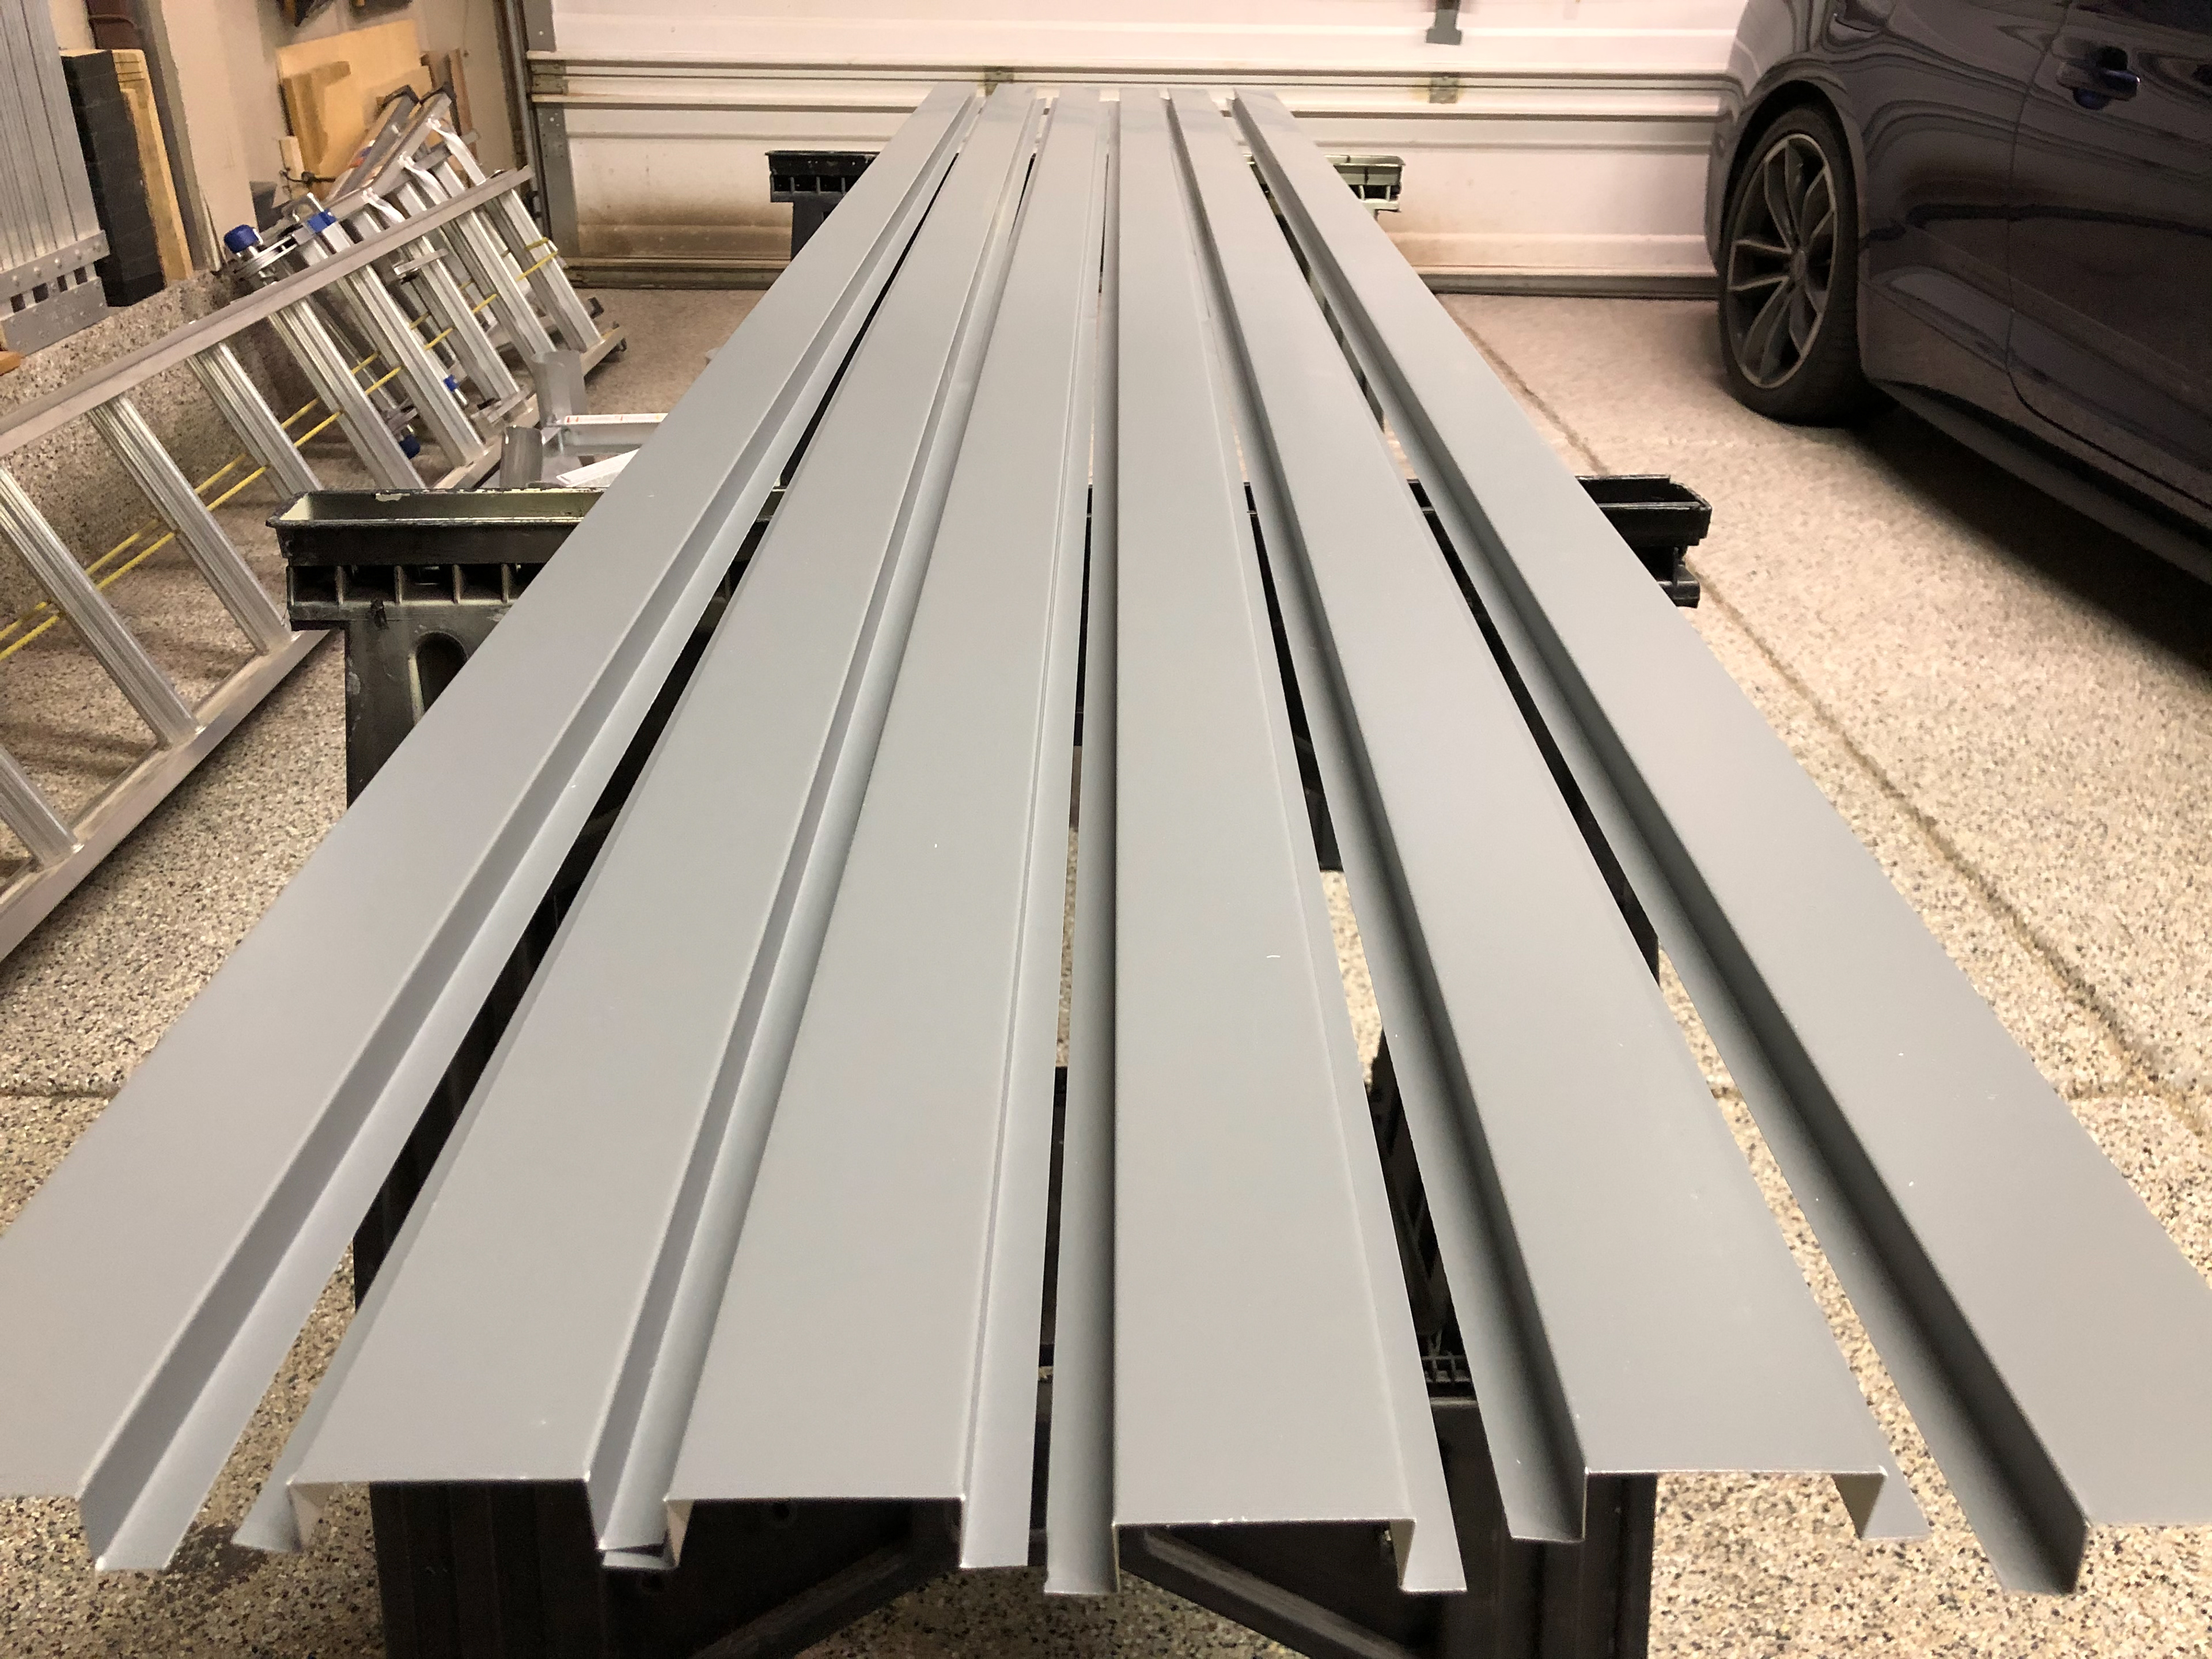
When it came time to decide what material to use for the channeling, I evaluated many different options. Many Holiday lighting pixel enthusiasts use "hat channel" as a temporary means to mount their lights in long sections (rather then attaching each individual pixel to the house). This common building material is reasonably priced and readily available at your warehouse store. However for a permanent installation such as I was intending, it is an unpainted galvanized product, and with a width of only 7/8," was too narrow for my pixels.
I wanted something aluminum and color matched similar to what the commercial permanent lighting companies install. Finally a found a place online who makes custom trim to order (trimbender.com). I custom ordered my channeling based off of their BRK07 Window Mullion. I had flanges 'A' and 'G' removed. The mounting edges ('B' and 'F') are 1/2" wide. The depth ('C' and 'E') is 5/8," and the mounting surface is ('D') is 2" wide. While roughly 4X the cost of hat channel, this is an aluminum product approximately color matched to my house trim. It is easily worked with standard tin snips to create end caps or right-angle corners.
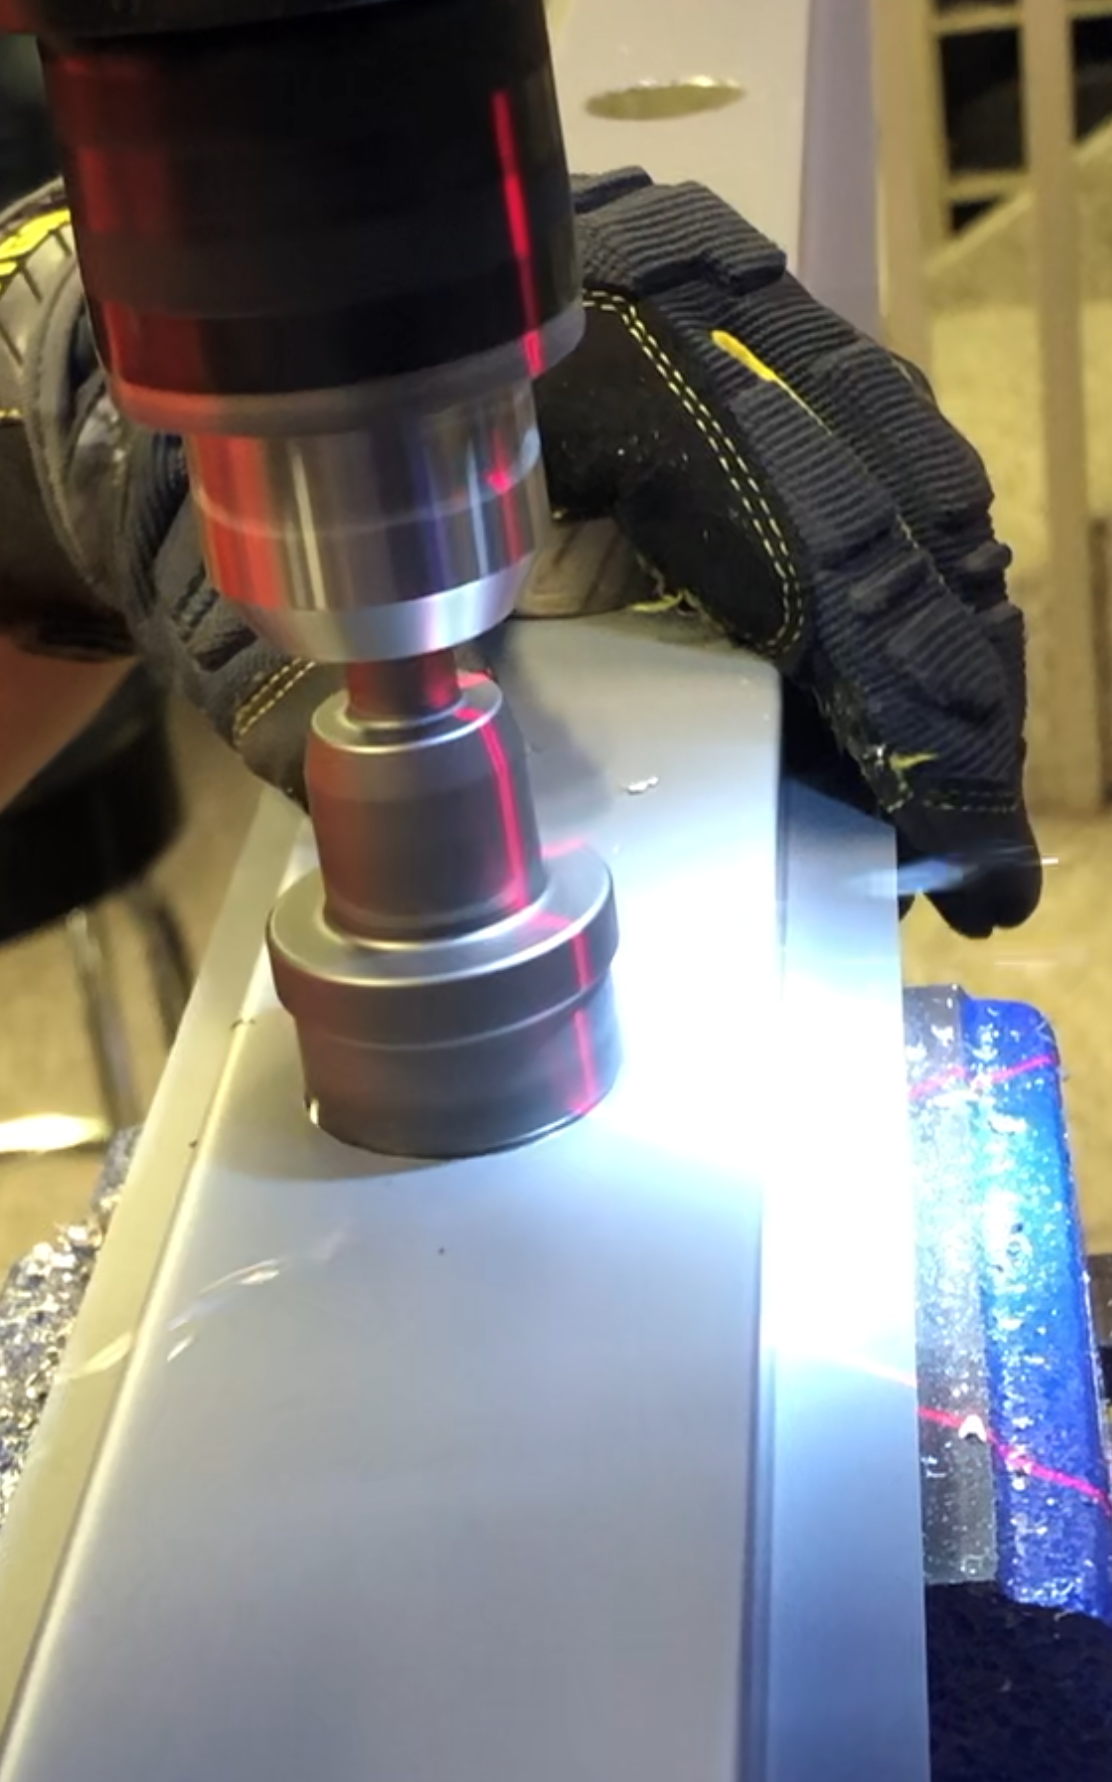
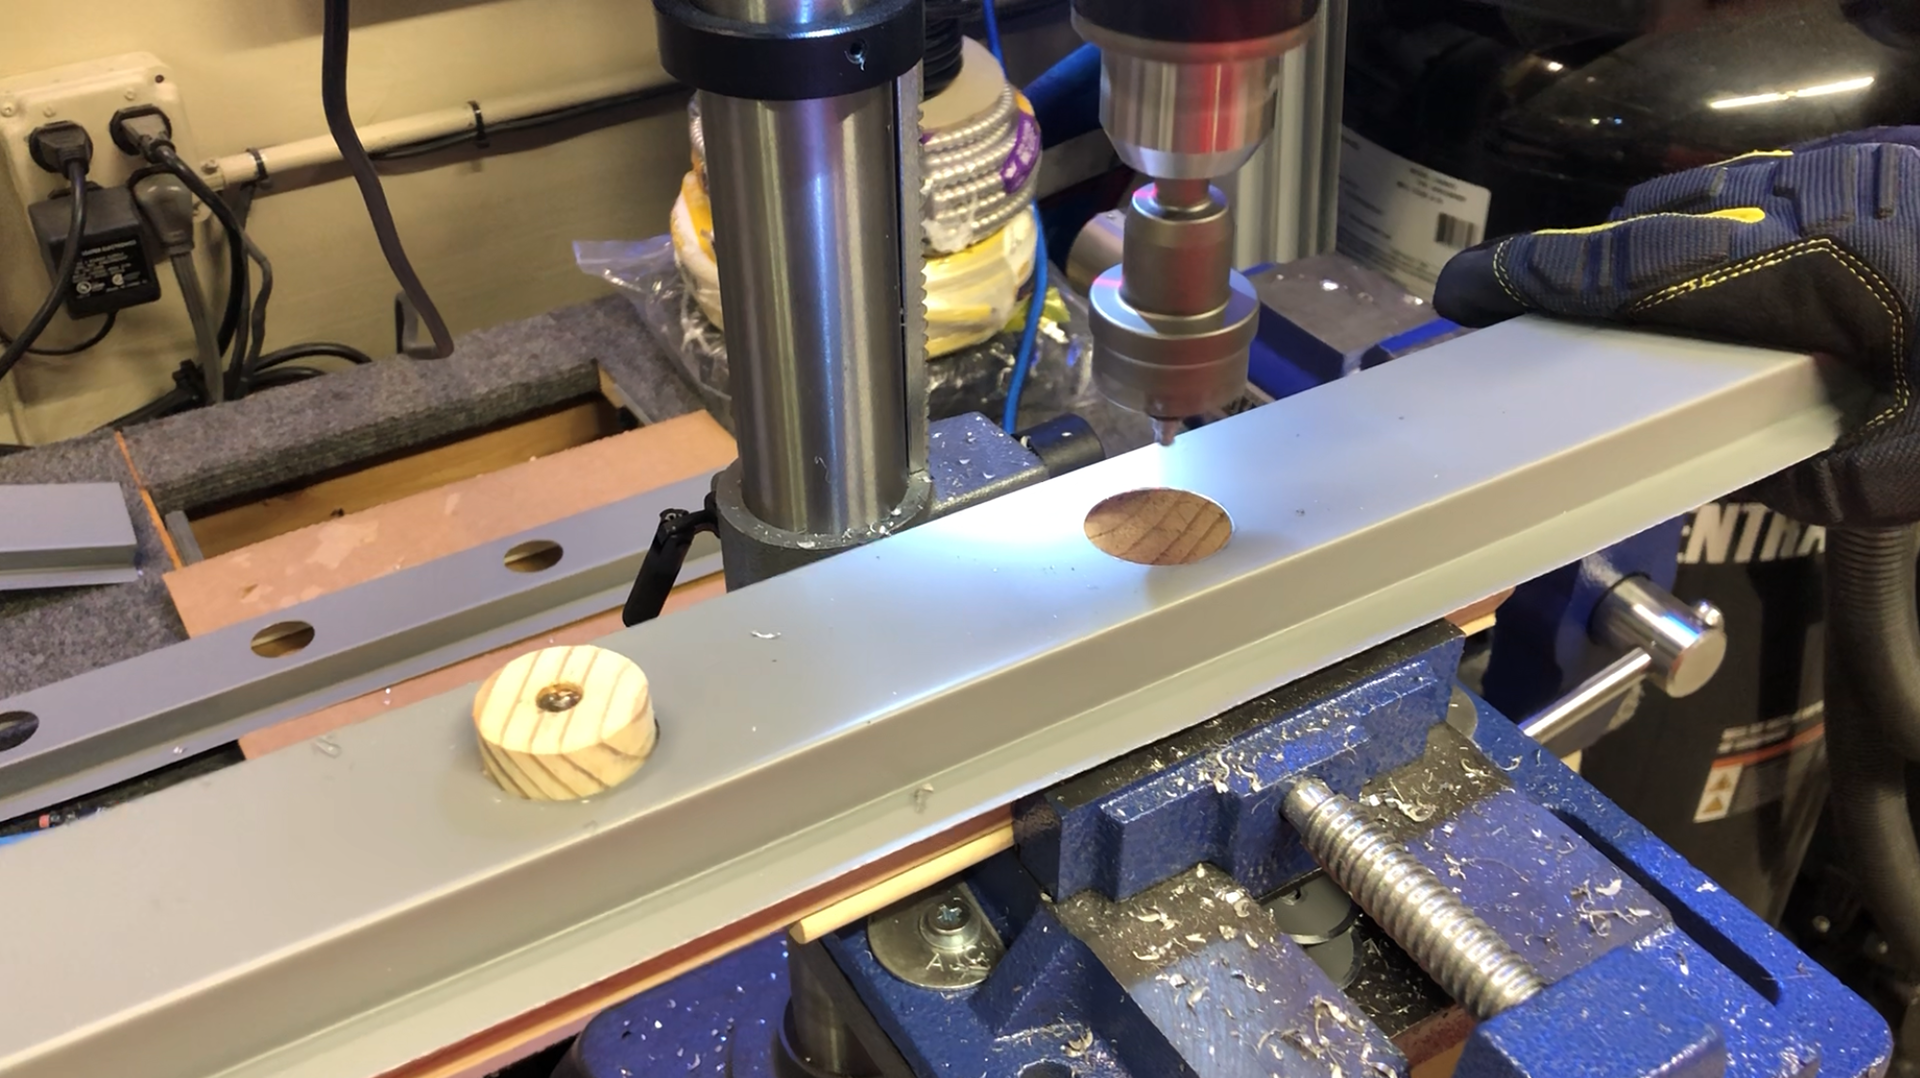
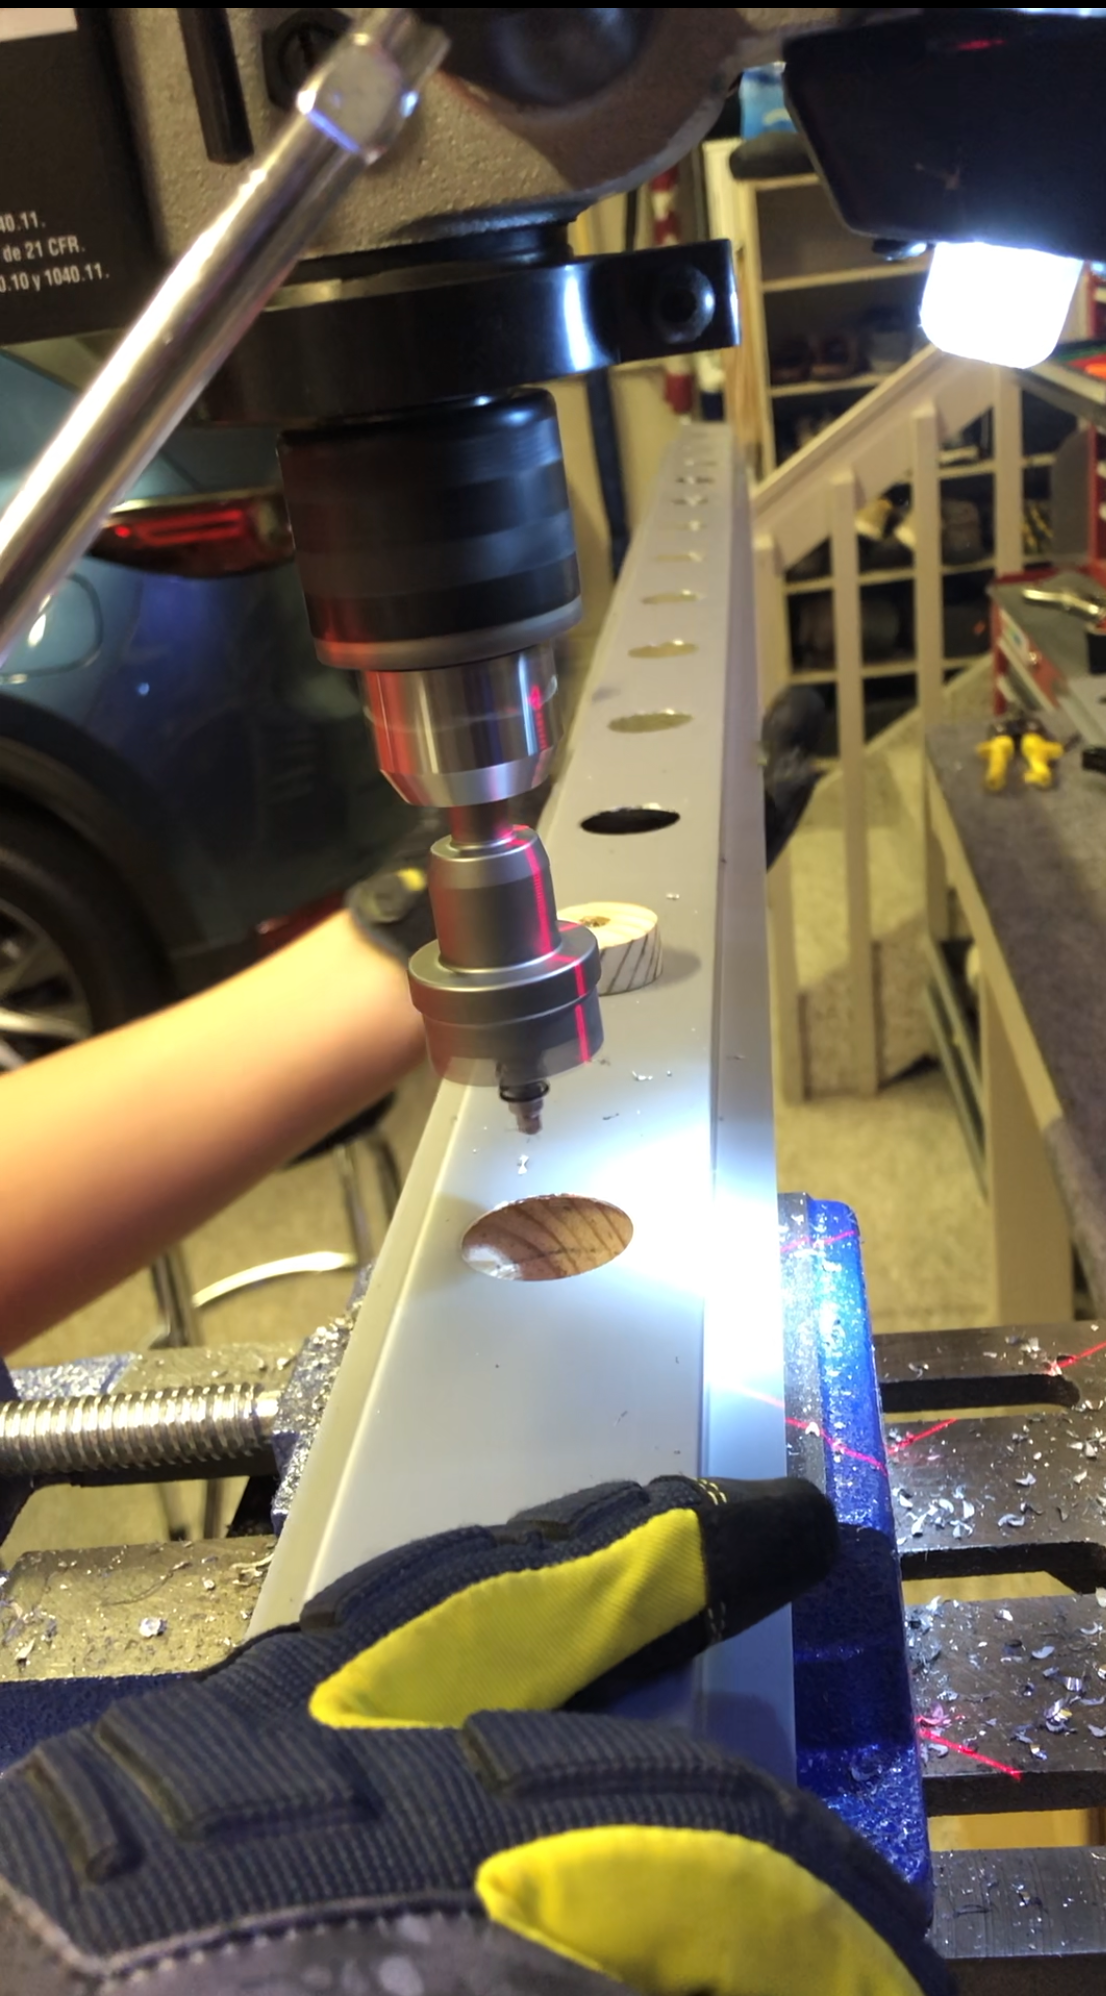
Now we just had to drill all 487 holes! But with a very simple jig that I built for my drill press, spacing the holes exactly 5" apart was a breeze!
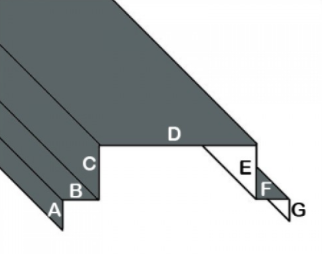
trimbender.com
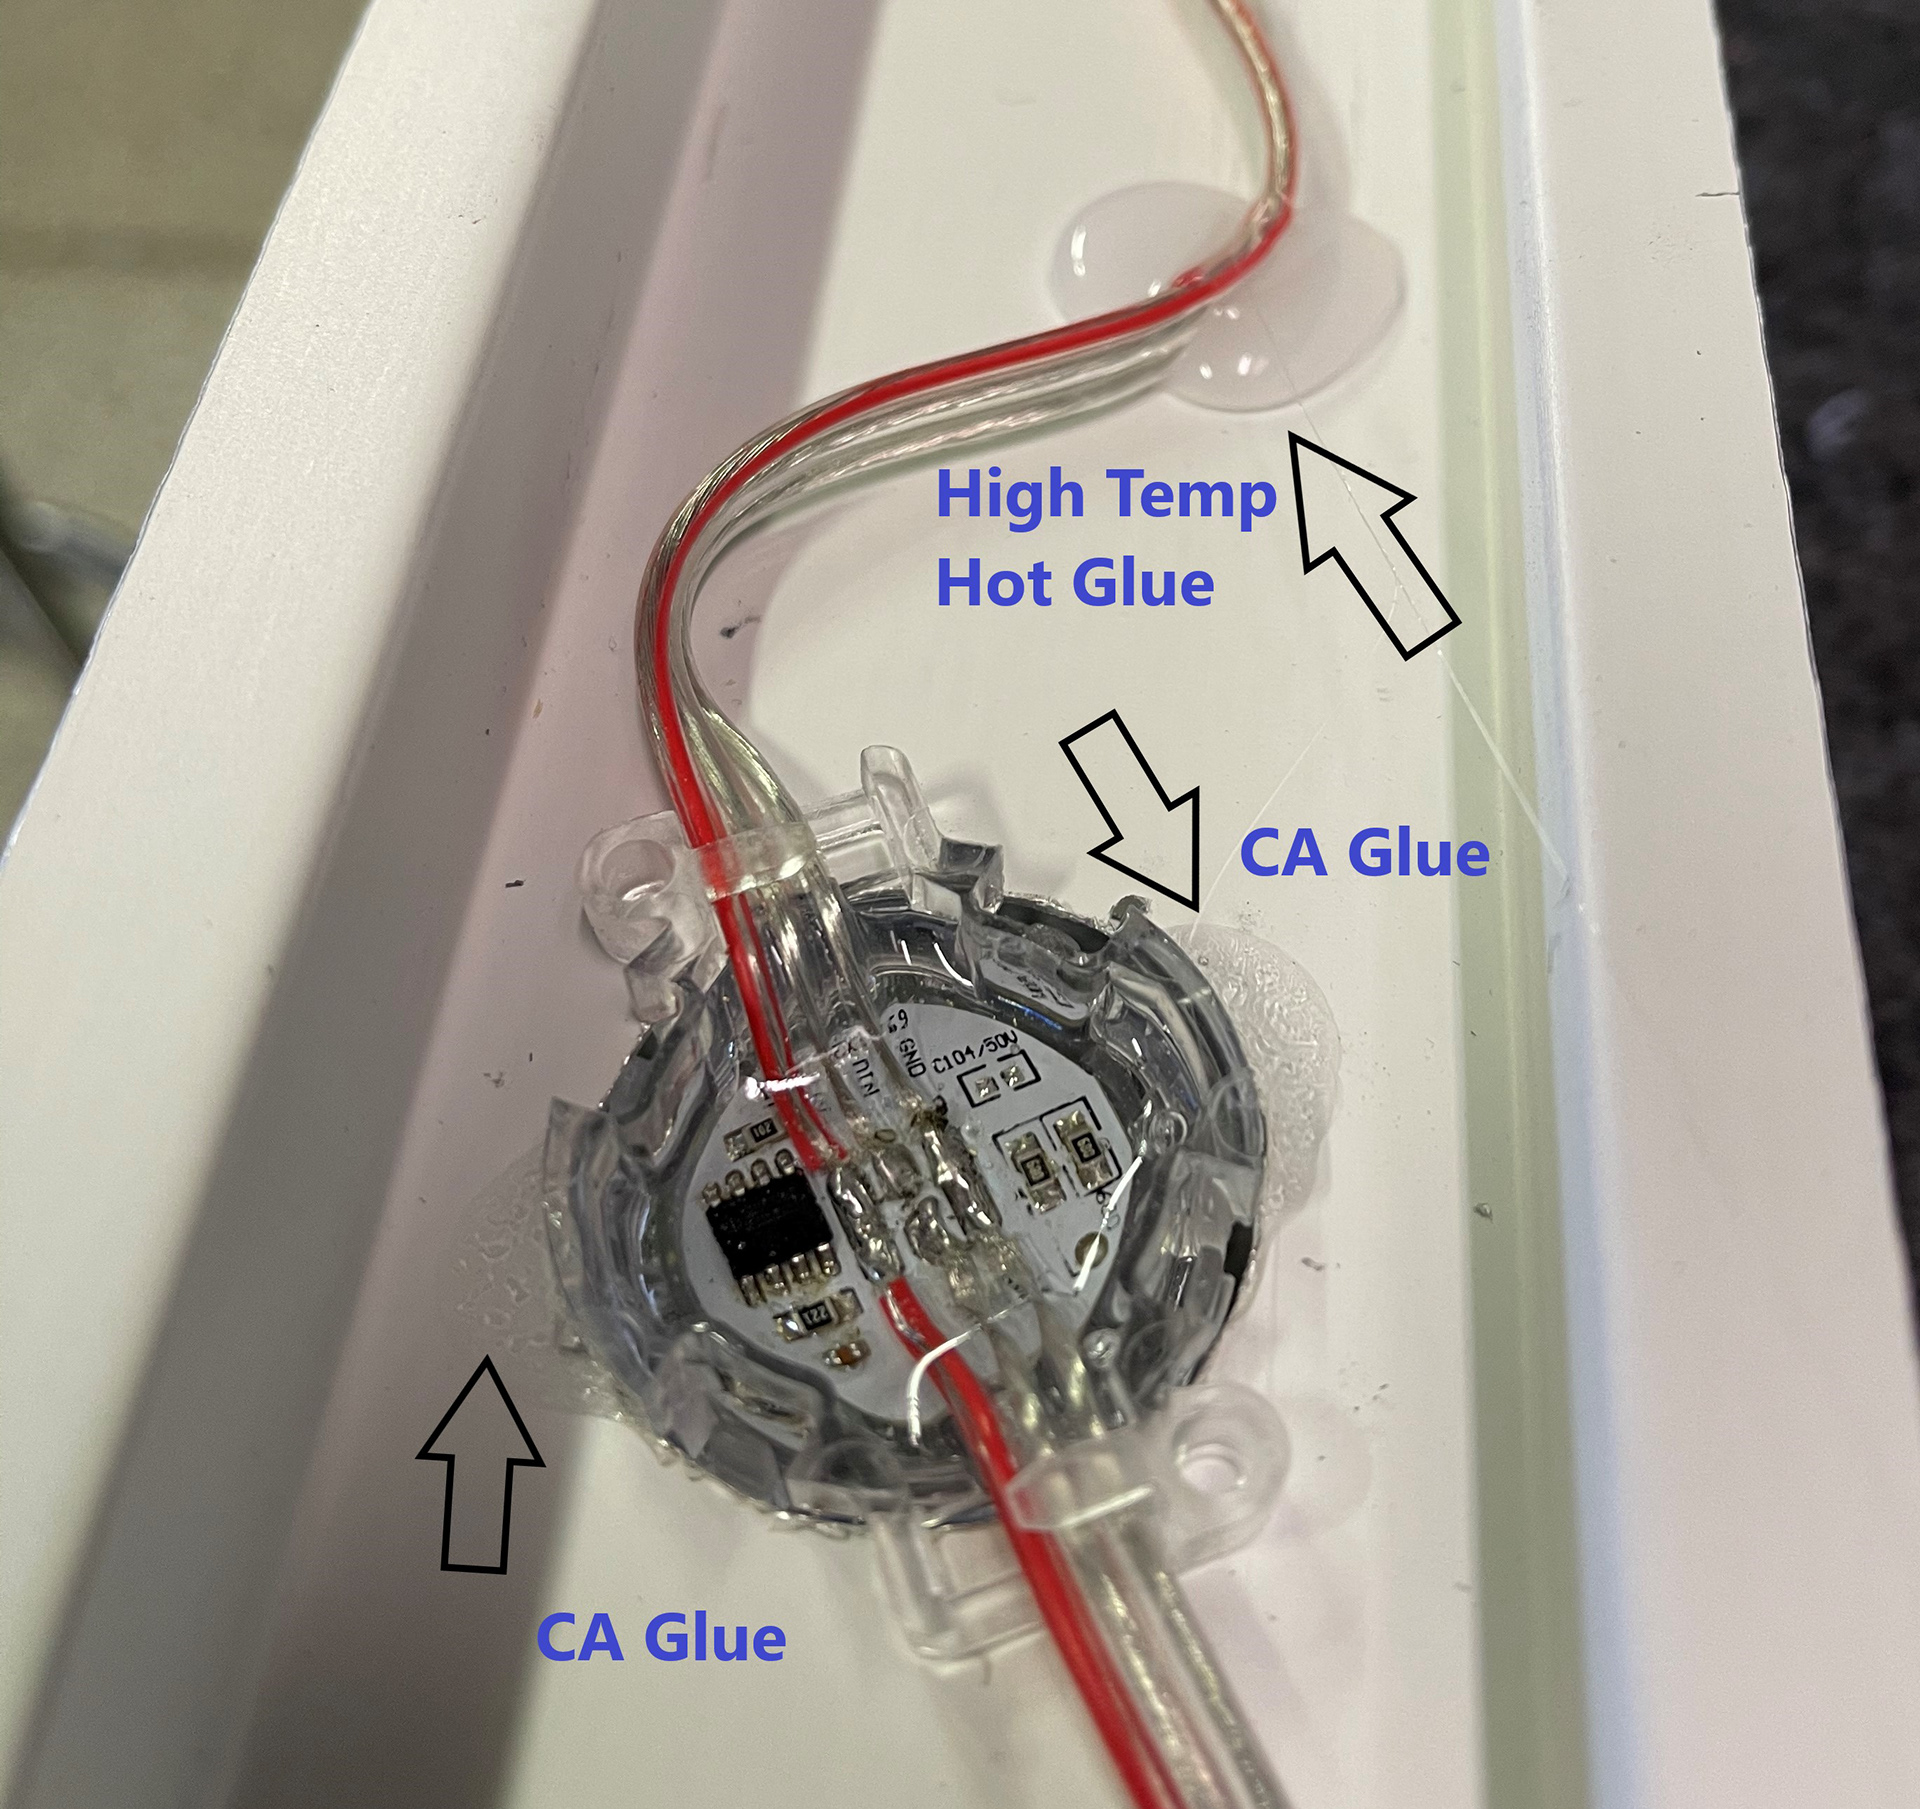
Even though I matched the hole saw to the same 30mm (roughly 1- 3/16") diameter as the pixels, they were still a little loose. Not wanting them pop back up into the channel or angle themselves an direction besides parallel to the face of the channel (especially with temperature changes), I elected to add a drop of gel Cyanoacrylate (CA) Glue ("Super Glue") on either side of the pixel and quick set it with a spray accelerator.
For wire management, even though it would never be seen, I secured the wire between each pixel with high-temp hot glue which melts at around 400 degrees Fahrenheit (again just in case of the hot summer months). You are never going to see the wire, but this reduces any possibility of the wire making its way to the flange of the channeling where the screws were going to be drilled and running the risk of shorted wires, etc.
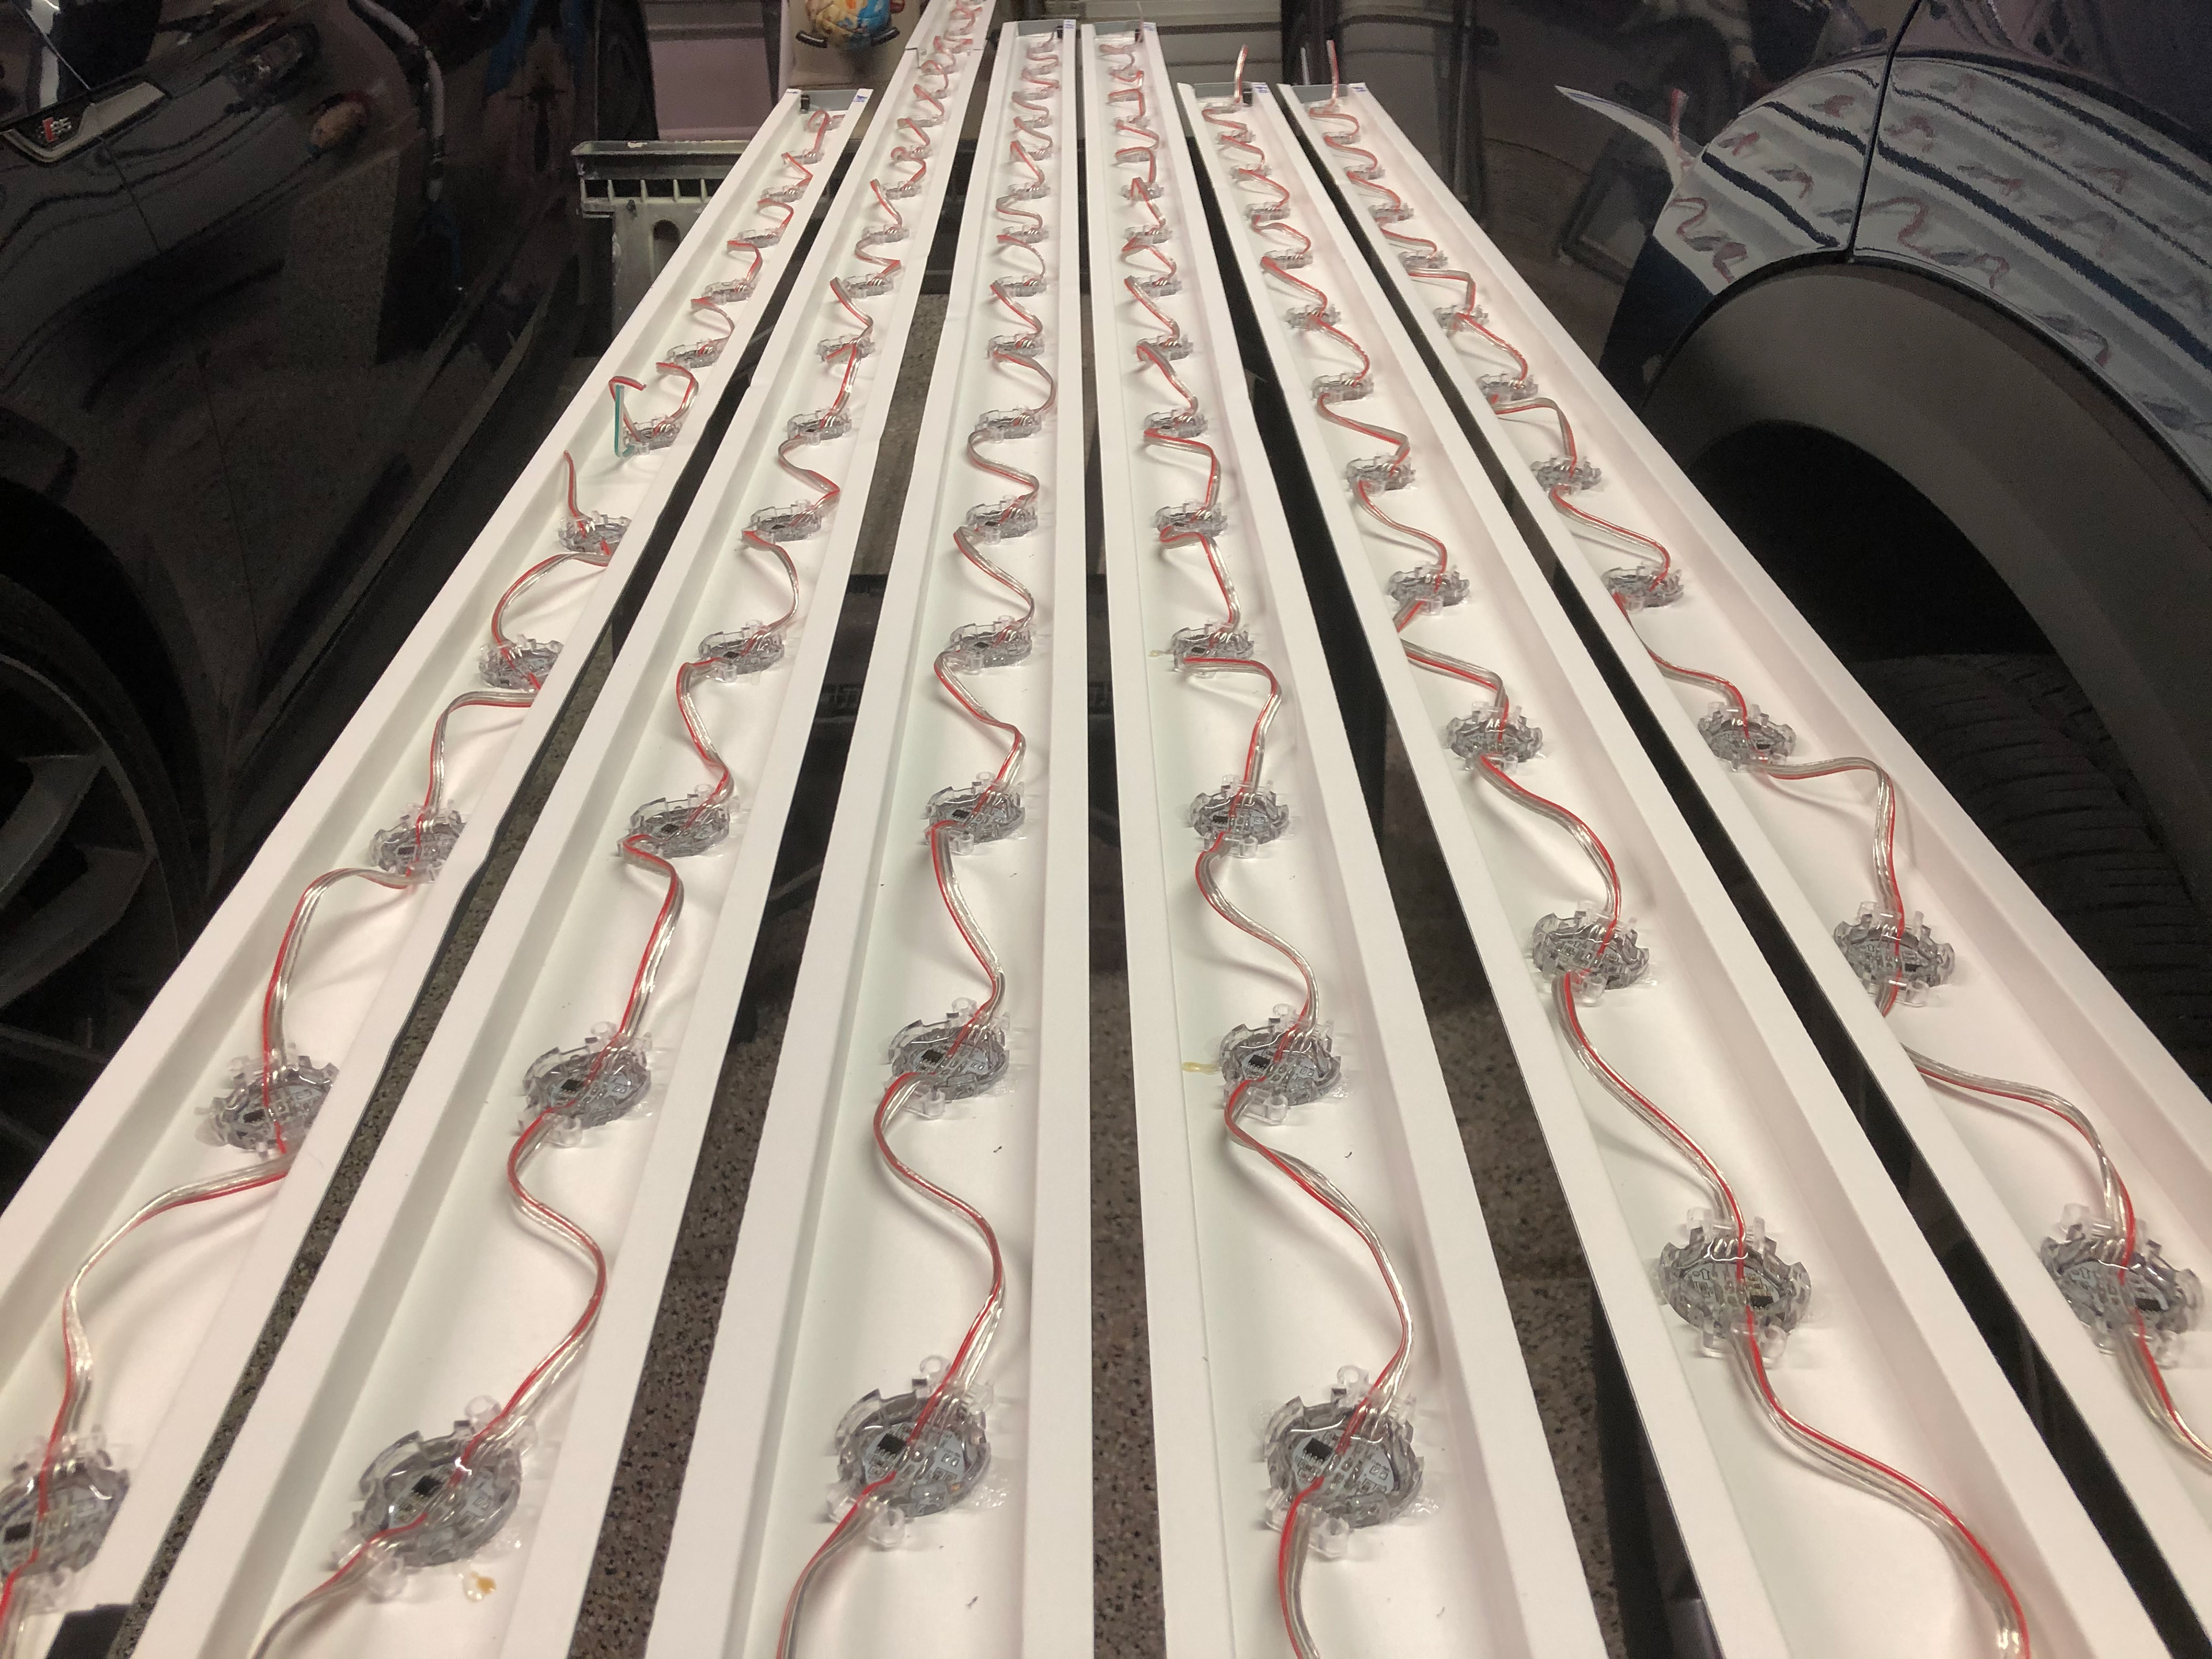
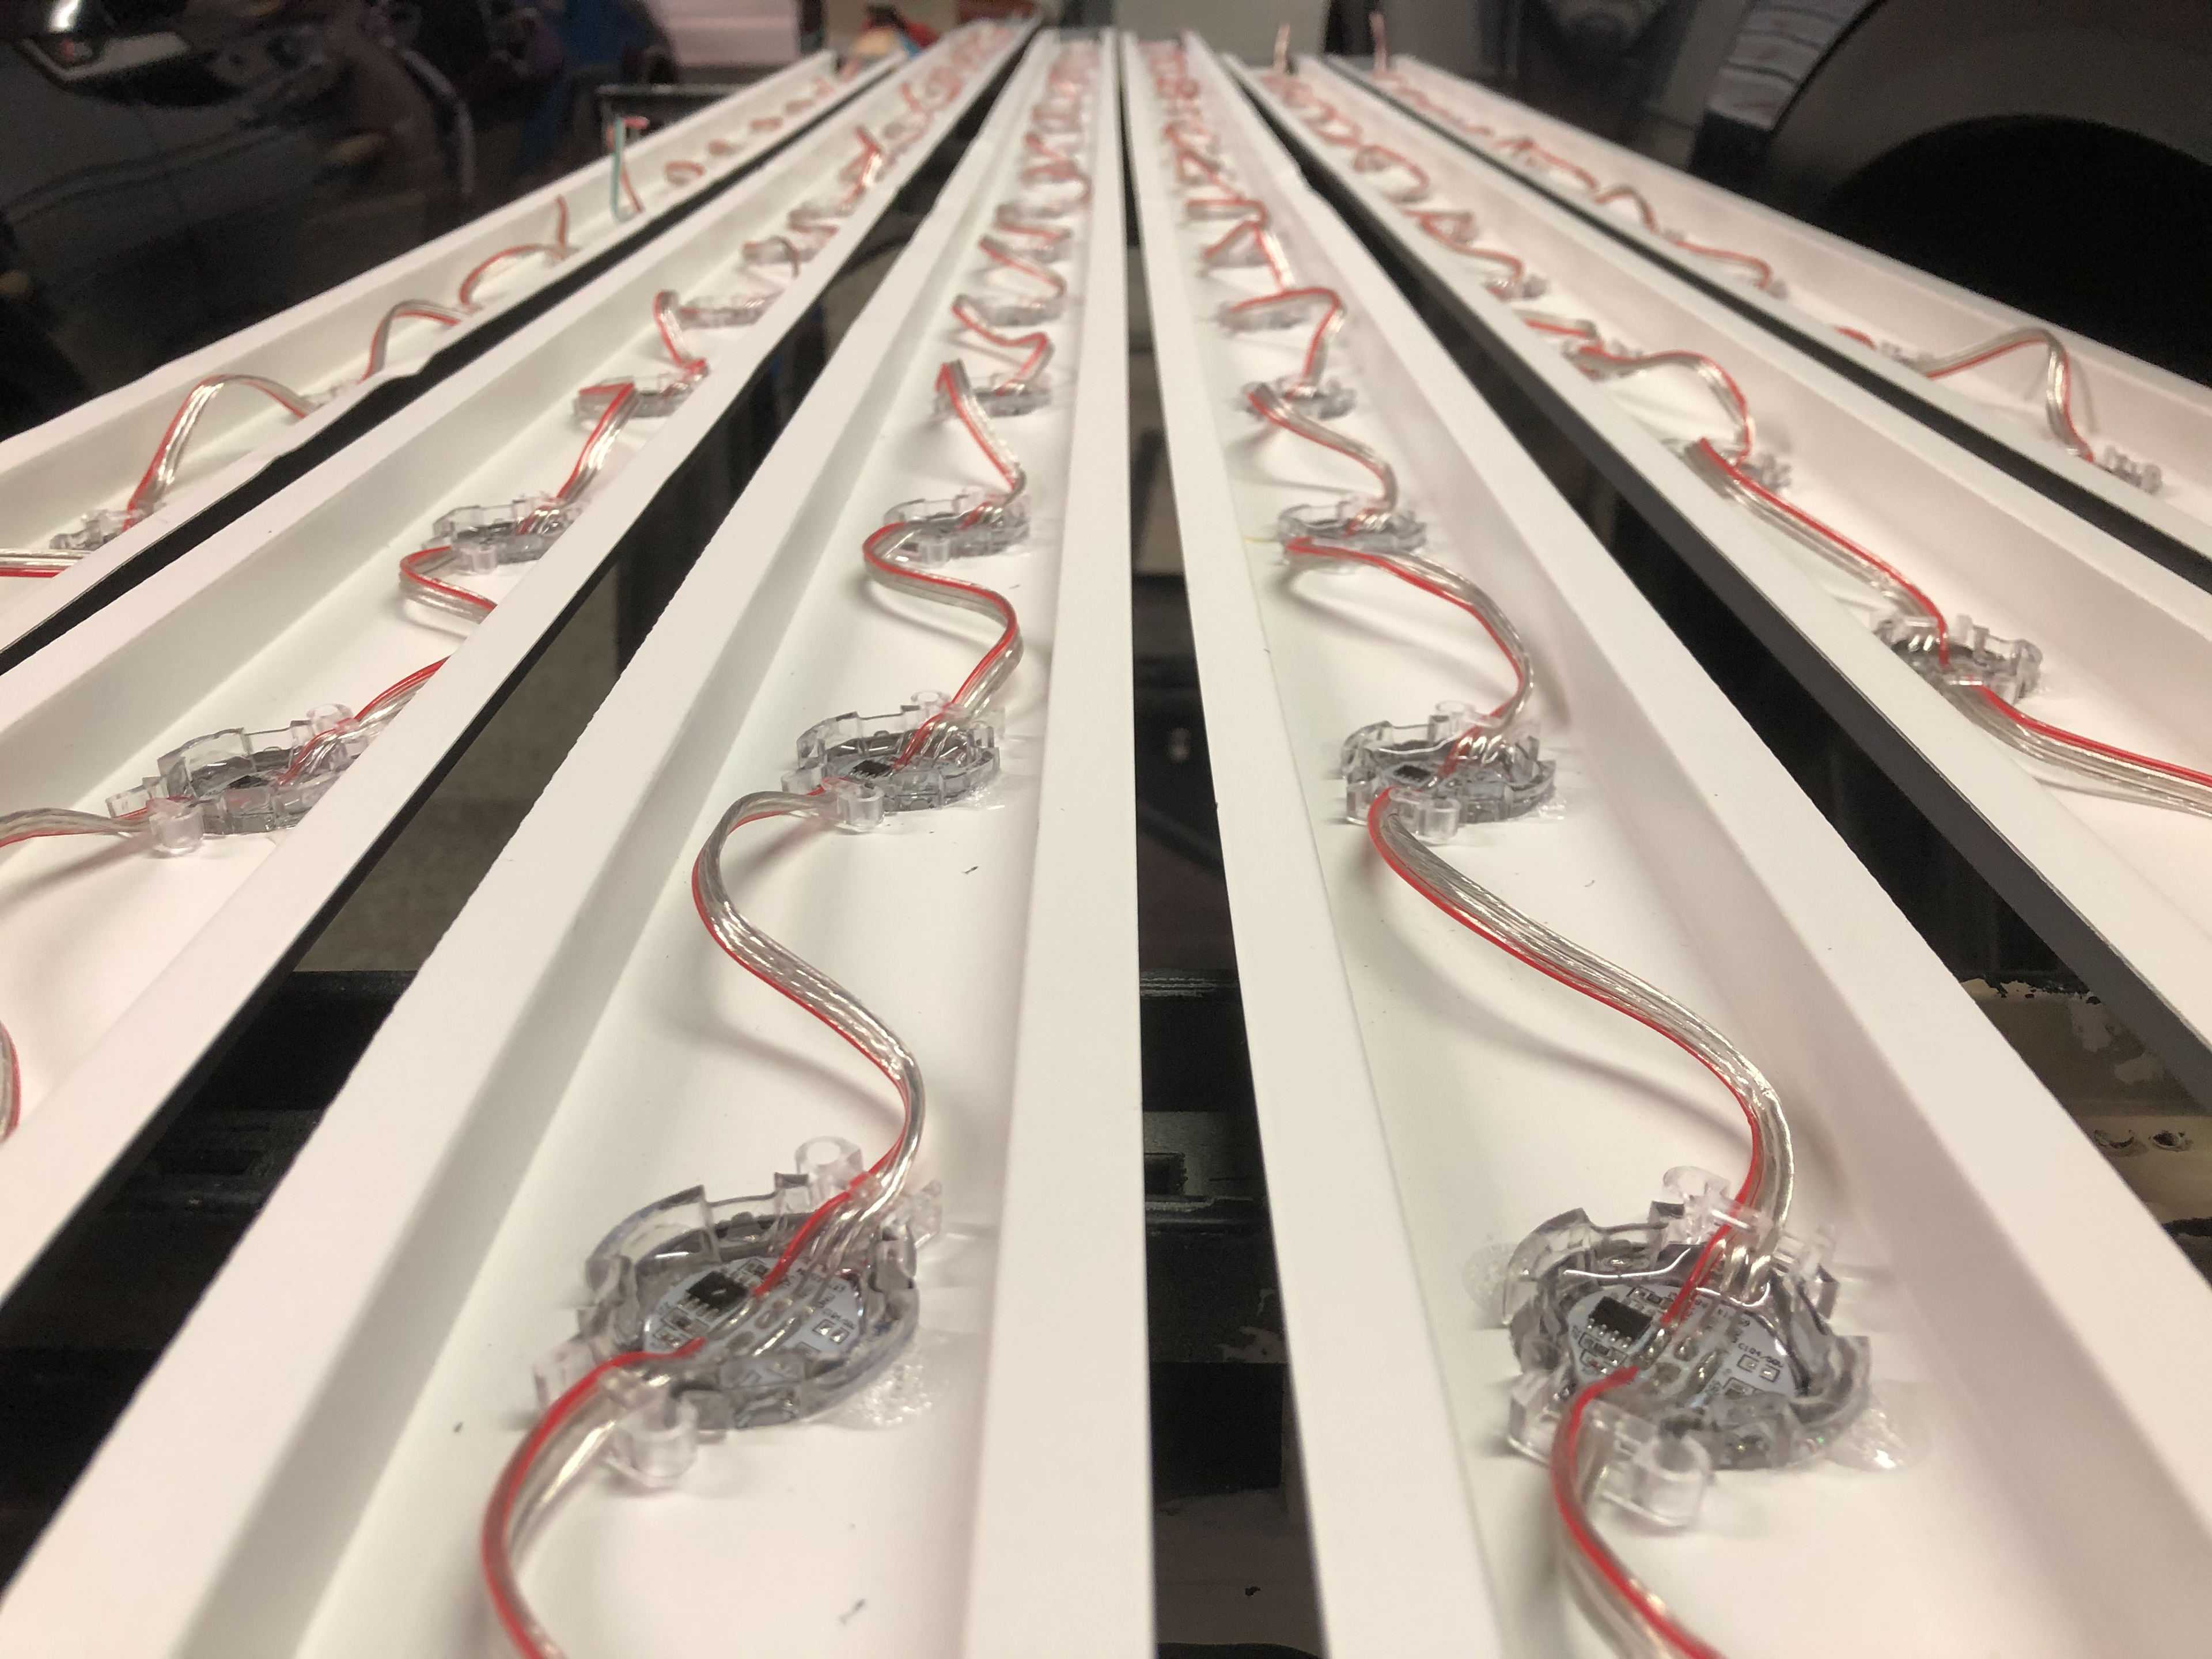
Everything is finished and working great! When all was said and done, my cost averaged to a little over $9/linear foot, and I still have the design flexibility to create my own sequences and scale the display to whatever I want for the Holiday season.
I'm still very new to the XLIGHTS software, so there is a bit of a learning curve, but there are several Facebook Groups and frequent open Zoom meetings to offer assistance. I have time before my "full pixel" display next year to work on it!
Another benefit to these lights is that when they are not being used for Holiday lighting, they can be used as Architectural Down Lighting. I set this up using only 2 out of every 8 pixel nodes, reduced the brightness to 50%, and mimicked a warmer white color around 2500 Kelvin (RGB: 255, 159, 70).
In addition to lighting the house at night, it works well as security lighting providing ambient light for the security cameras.
In this configuration the pixels only draw about 99 watts.
STAY TUNED FOR THE CHRISTMAS 2021 FULL PIXEL DISPLAY!